Being able to get a robust wireless network signal around my house was something that I struggled with for some time. My Comcast cable broadband connection came in through my garage and basement, so that is where I had placed my wireless access point (WAP). The cable coax connected to my broadband bridge which was then connected to my 802.11n Apple Time Capsule (TC) WAP. The problem was that the wireless signal was not strong enough to reach throughout my 1700 square foot home.
I could sit in my kitchen (right above the WAPs location in the basement) and get a reliable signal, but I barely got a Wi-Fi signal in my family room or bedroom. If I wanted to use the computer from the backyard, I couldn't; unless I piggybacked on my neighbour's signal.
At first I tried to solve this problem by moving the position of the WAP. It originally on a shelf in the basement but then I moved it up into the rafters in my unfinished basement. That yield only a slight improvement. I then tried using Powerline Ethernet devices but I never successfully got those working.
Some coworkers suggested using a Linksys WET54G Wireless-G Ethernet Bridge to extend the network. These devices were complicated to set up and never worked reliably. I thought maybe the Linksys equipment did not work well with the TC, so I went searching on the Apple website discussion board for a solution. That's when I found out about Wireless Distribution System (WDS).
Apple's online documentation mentioned that I could use WDS to "set up two to five base stations as a unified network that shares one Internet connection." In other words, I could set up multiple Apple WAP to create a single large wireless network that I could reach from multiple locations in the home. I could put a WAP in the basement, one in the family room, and one in the living room (near the back of the house) saturating my home with wireless. This layout is what I did.
WDS does not yet have a standard implementation. There is no guarantee that WDS implementations from different vendors will interoperate. I used only Apple branded products to setup my WDS network. I did this because I wanted everything to work and because Apple has excellent documentation on how to do it. Your mileage may vary.
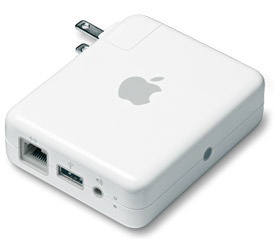 Below is a list of the equipment I used.
- Apple Time Capsule (802.11n)
- Apple Airport Extreme Base Station (802.11g)
- Apple AirPort Express (802.11g)
I bought the AirPort Express (AX) on eBay as the lowest cost method of acquiring an Apple wireless base station. The AirPort Express is a small portable WAP and Internet gateway with one 10/100BASE-T Ethernet port for connecting a DSL modem, cable modem, or Ethernet network, a USB port for connecting a USB printer, and a 3.5-mm audio minijack for analog or optical digital sound to a stereo or powered speakers. The AX also support AirTunes. AirTunes transmits music from my iTunes library on any of my Macs and sends it wirelessly to the AX attached to my stereo. How cool is that!?
I also bought an unopened flying saucer style AirPort Extreme Base (AE) station from a colleague. He had picked it up at a yard sale and was willing to let me have it for $50. With the existing TC and the new AX and AE, I now had enough to create a WDS network to blanket every part of my home.
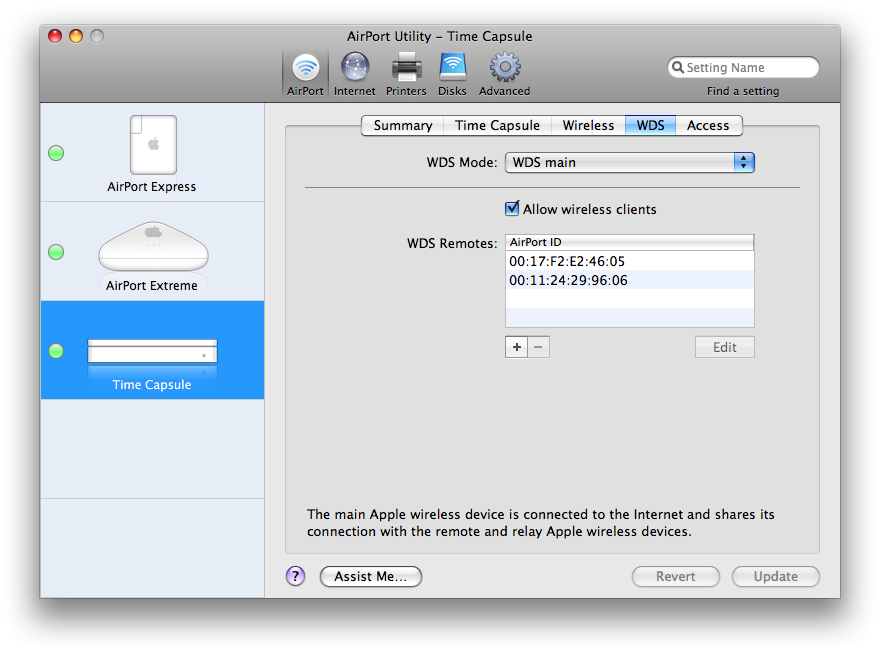
 The first thing I did was setup my main base station, the Time Capsule, in WDS mode. I had already setup all the other parameters including the SSID, channel number, password, wireless security etc. The SSID and channel number must be the same for each base station for WDS to work. These settings are found in the Wireless and WDS tabs in the Apple AirPort Utility.
Once I was done setting up the WDS information for the main base station I clicked "Update" and waited for the base station to reboot. I made sure to note the AirPort ID of the TC and used this information later to set up the other two base stations.
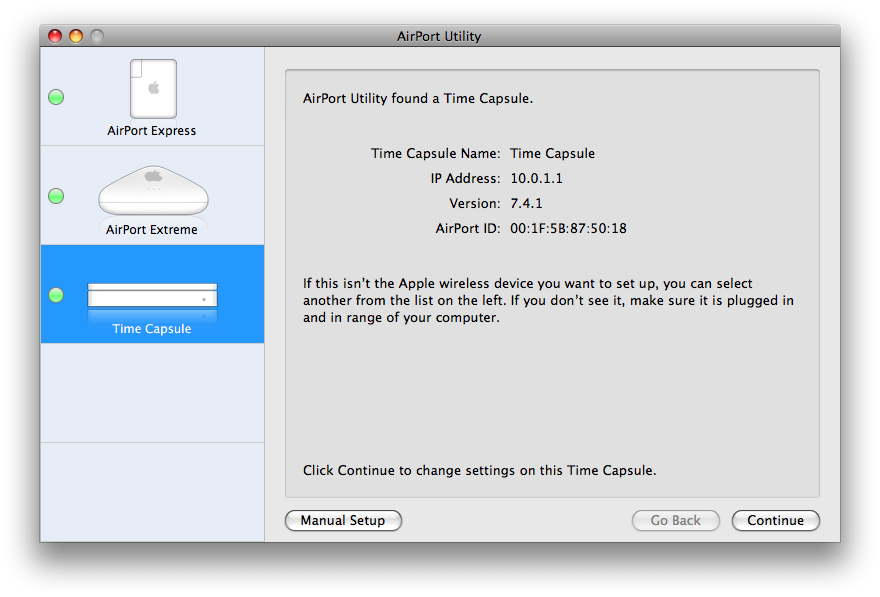
I selected "Participate in a WDS network" from the drop-down box in Wireless tab and from the WDS tab drop down I selected "WDS main" to set the WDS Mode and checked the "Allow wireless clients" checkbox.
Next, I set up the AirPort Express (AX) base station as a remote base station. A remote base station connects wirelessly to the main station and retransmits the signal from the central base station for wireless clients that are too far from the primary base station. I used the AirPort Utility to connect to the AX and set it up with the same network specific information (channel number, SSID etc.) I used for the TC. I selected "Participate in a WDS network" from the drop-down box in Wireless tab and the WDS tab drop down I selected "WDS remote" to set the WDS Mode and checked the "Allow wireless clients" checkbox. I entered the AirPort ID of the WDS Main base station and clicked update.

After the AX base station rebooted I moved on to set up the AirPort Extreme Base (AE) station. Setup was similar to the AE. I used the AirPort Utility to set up the network parameters (SSID, channel number, etc) including information for the WDS Main.
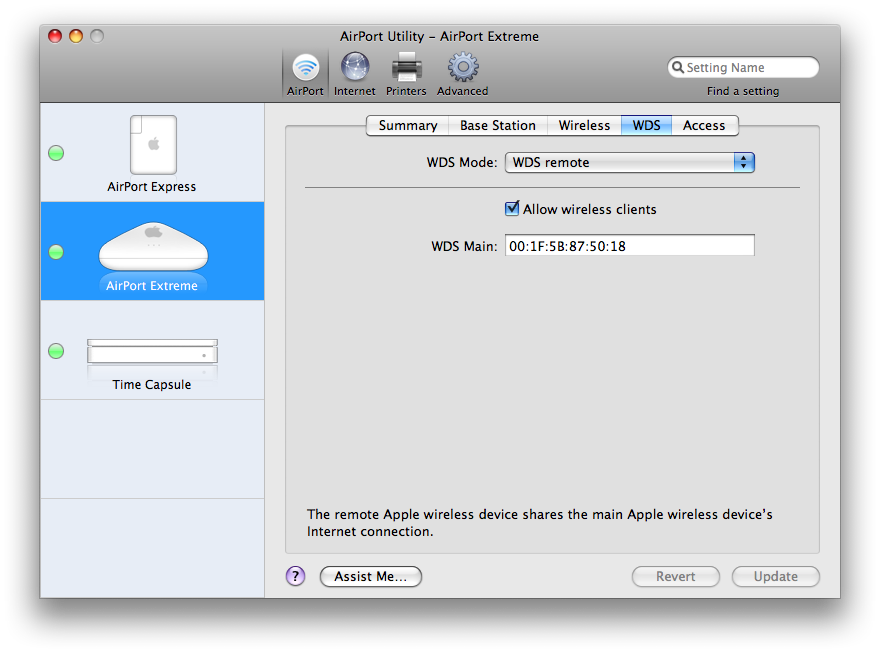
Once the AirPort Extreme Base station rebooted I used the AirPort Utility to confirm that the AirPort Express and AirPort Extreme were bound to my home network and relaying traffic.
The solution is not perfect. The WDS network uses a small amount of the network bandwidth for network management so wireless throughput is slightly less than it would be with just one base station. However, this is a small price to pay for being able to use my laptop or iPod Touch from anywhere inside or outside my home. Now I can sit in bed and catch up on show in Hulu or work in my backyard streaming music to my iPod Touch from my iTunes library.
References:
Using the AirPort Admin Utility to create a WDS network with multiple base stations


