Today, I'm tackling the sometimes confusing world of iPhone camera specs and third-party iPhone lenses. I'll write about exciting technical aspects of iPhone photography, such as focal lengths, crop factors, and lens capabilities. My post focuses on the iPhone 11 Pro, but with some Googlefoo, you can look up your pocket camera information.
Understanding Focal Lengths and Crop Factors
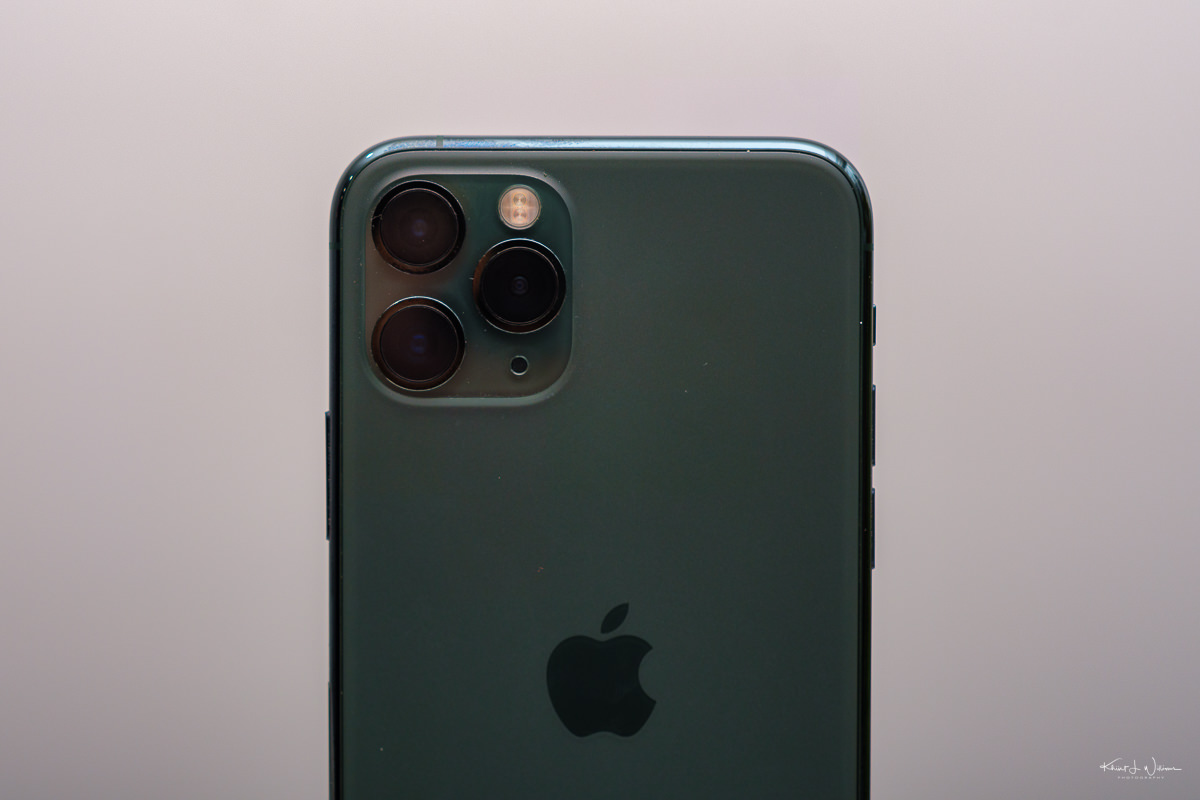
I'll start with the basics. The iPhone 11 Pro boasts three different cameras, each with a unique focal length. But here's where the misunderstanding begins: Apple gives these focal lengths in 35mm full-frame equivalent terms. So, when the Photos app shows information for a lens like the "Telephoto", it's not the actual physical length but how it compares to the traditional 35mm camera system. However, Apple's technical literature does not mention this. I'll wait while you visit Apple's website to read the technical specs for iPhone 15 Pro, iPhone 14 Pro, or iPhone 11 Pro. As a photographer and someone who understands physics, I assumed the focal length was quoted in full-frame terms. However, Apple's technical literature must mention this explicitly.
The physical focal length of the iPhone 11 Pro's cameras are listed in the table below, along with their crop factor. I also calculated the crop factors for each iPhone 11 Pro camera based on their sensor sizes. This number is important; it helps us understand how the iPhone's sensor size affects the field of view compared to a full-frame1 camera.
| Camera | Lens (Physical Focal Length) | Sensor Size (mm) | Crop Factor | 35mm Full-Frame Equivalent Focal Length |
|---|---|---|---|---|
| Telephoto | 6mm | 4.15 x 3.11 | 8.34 | 50.04mm |
| Wide | 4.25mm | 5.88 x 4.42 | 5.88 | 24.99mm |
| Ultra-Wide | 1.54mm | 3.96 x 2.97 | 8.74 | 13.46mm |
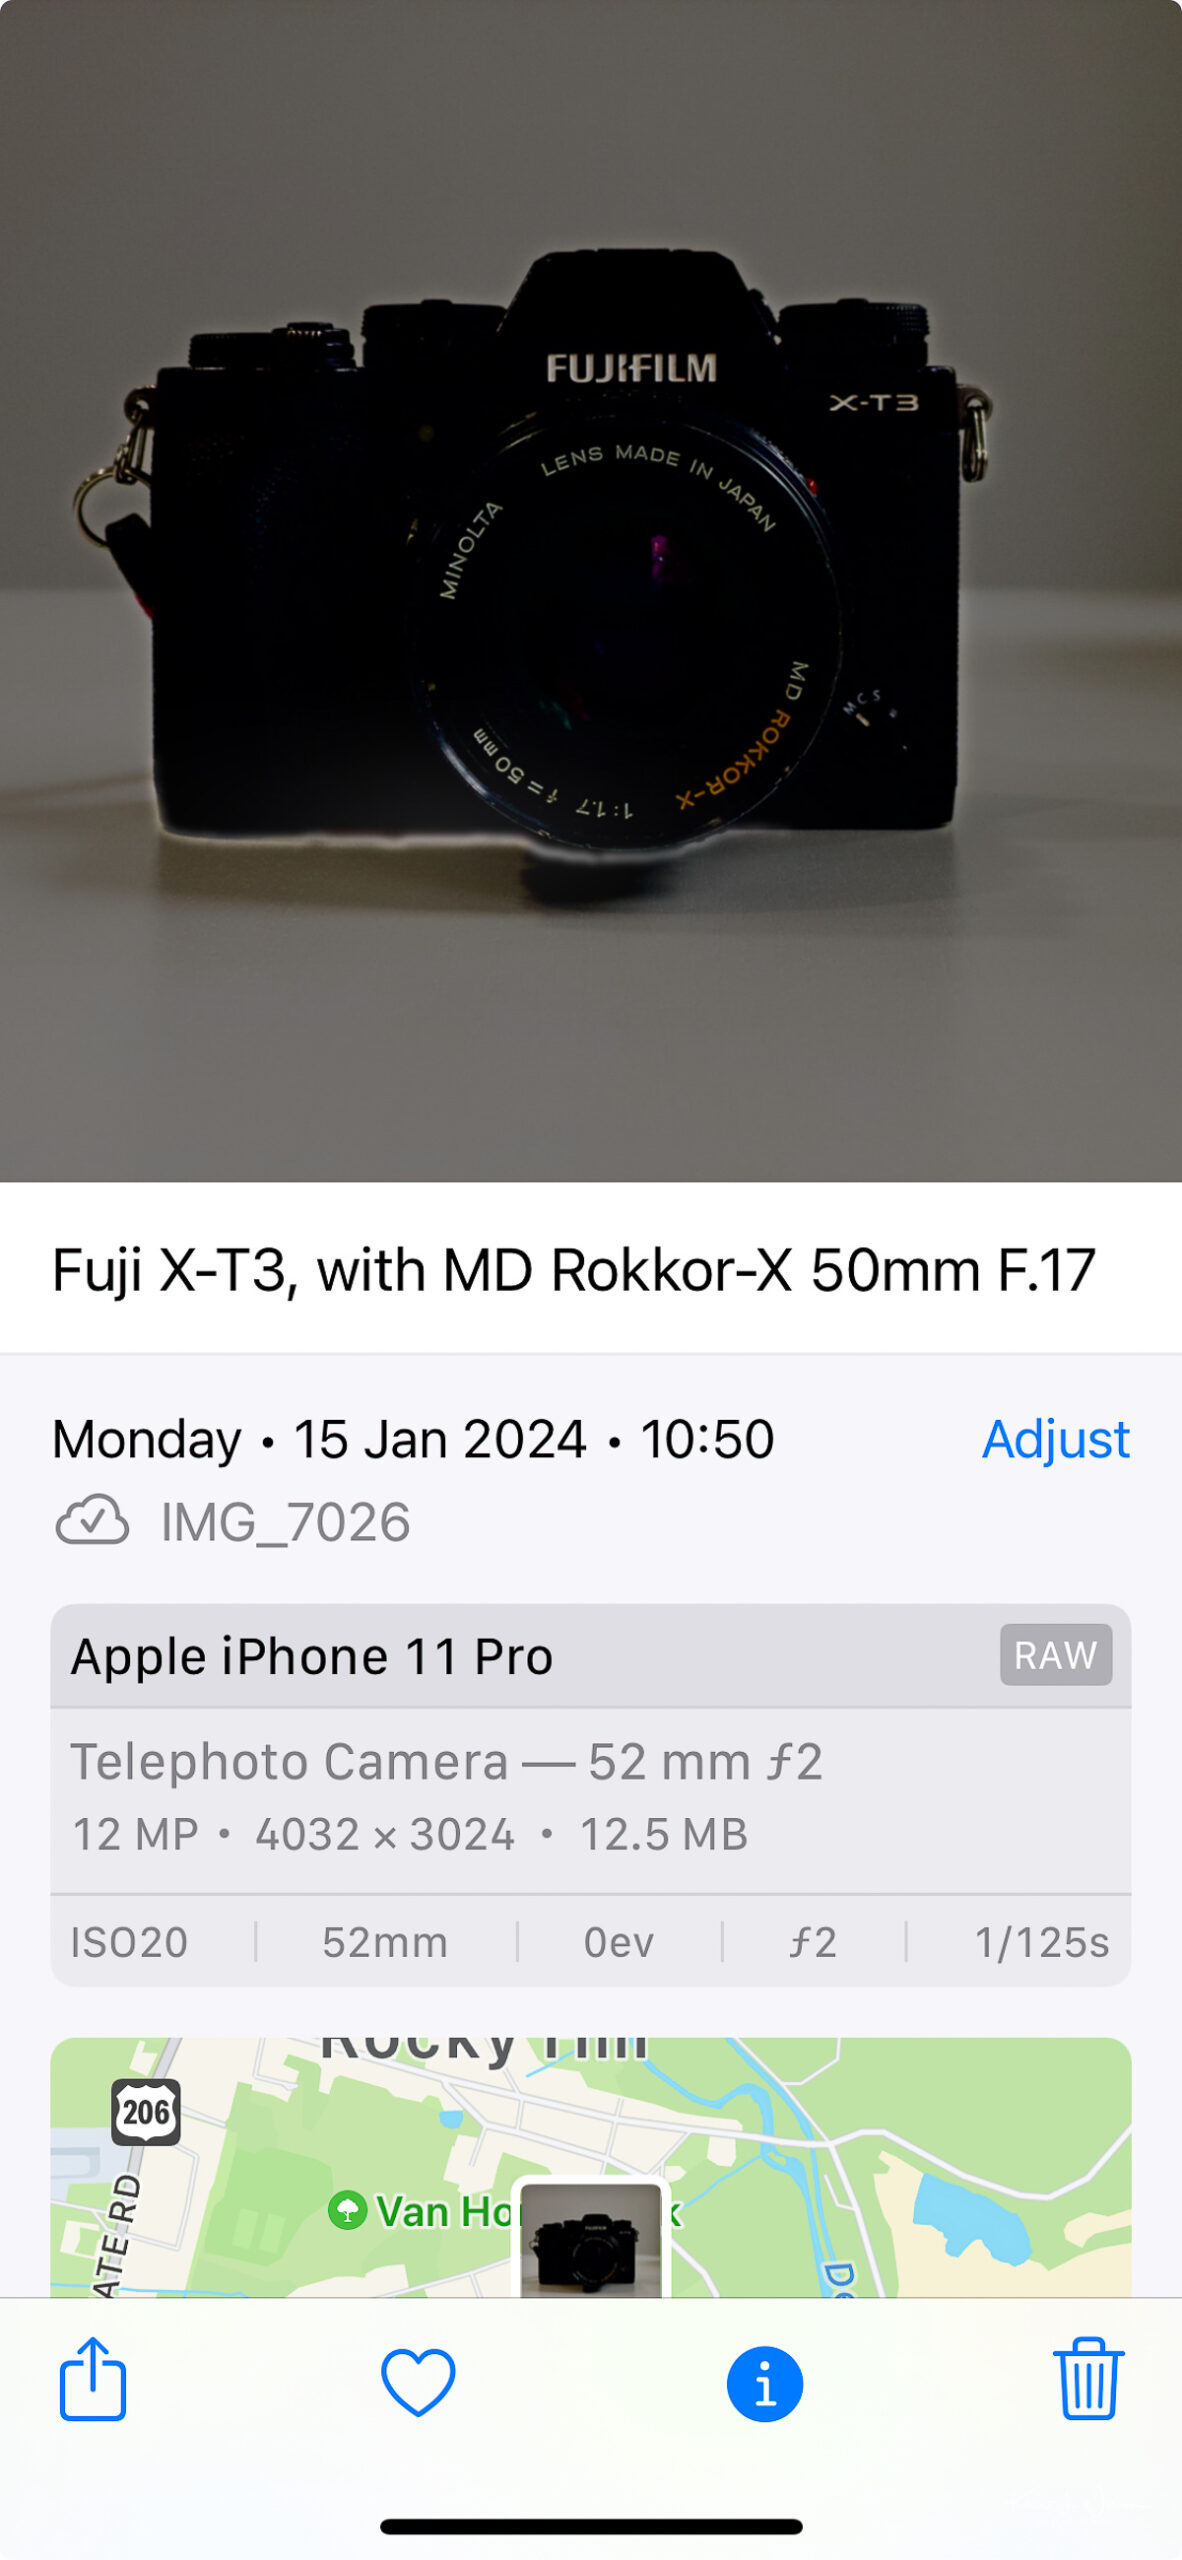
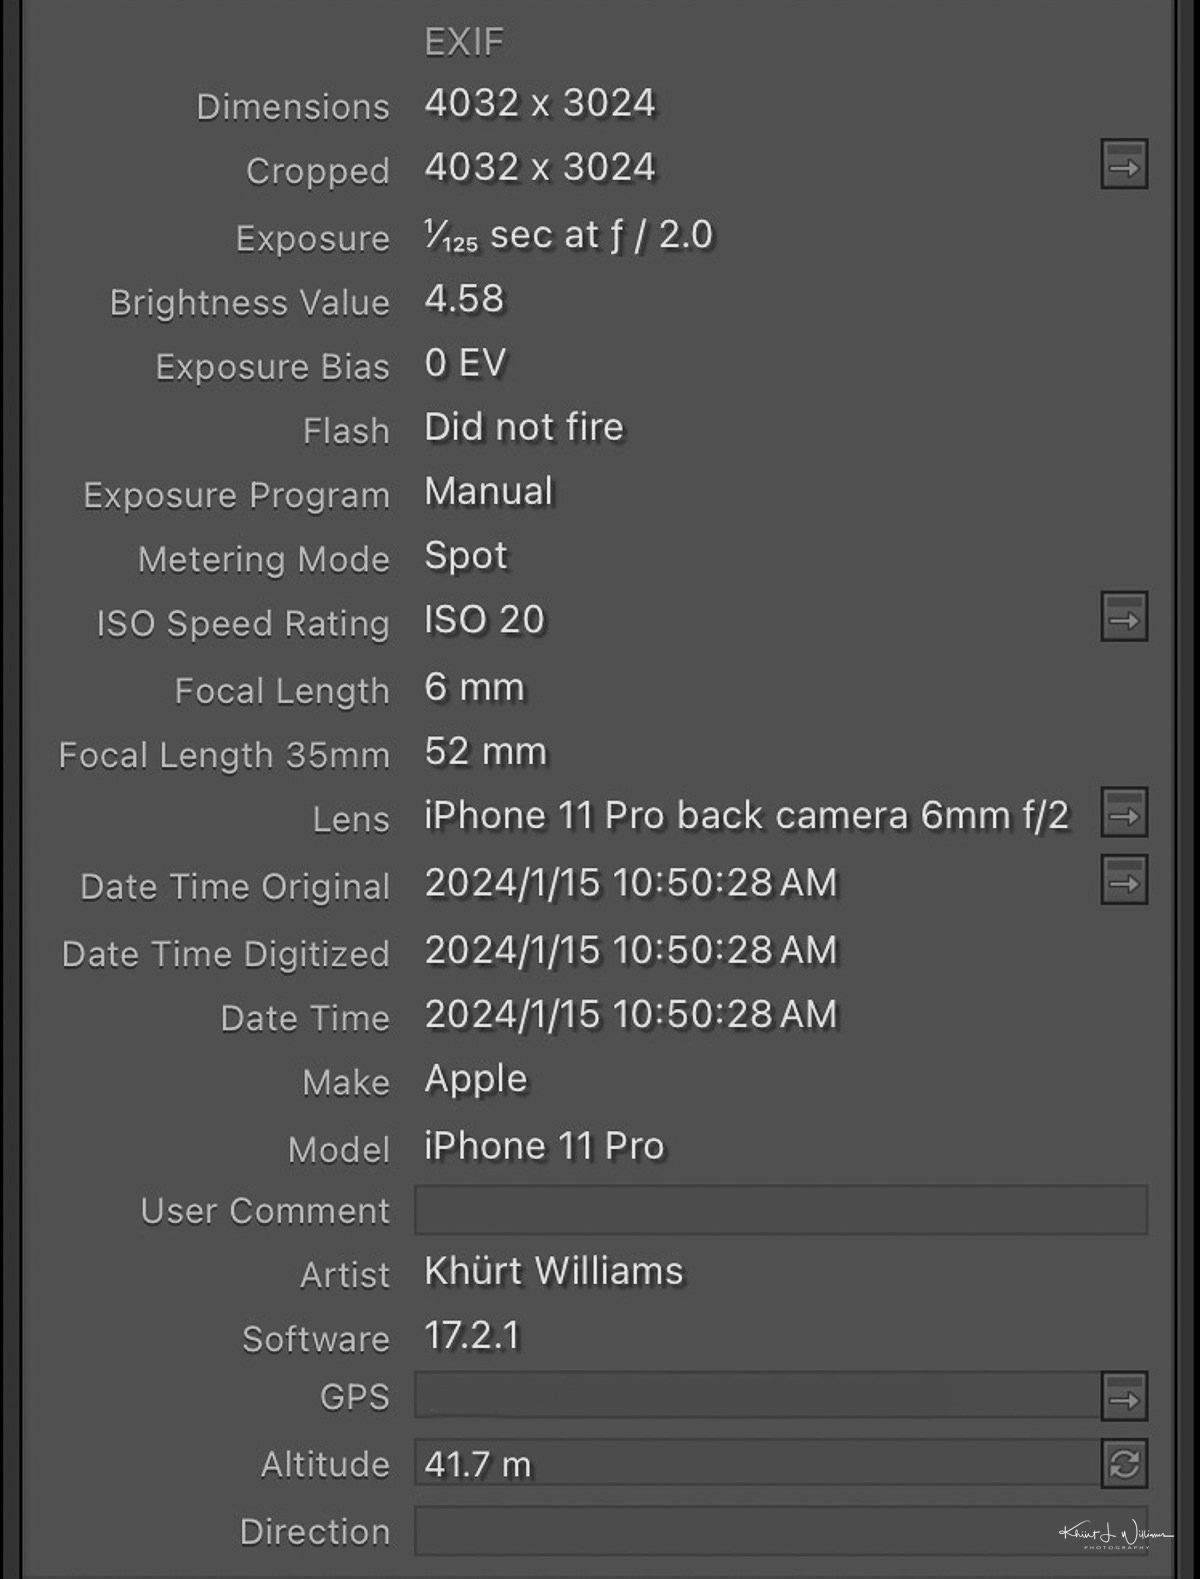
This table shows the conversion of the physical focal lengths to their 35mm full-frame equivalents based on each camera's crop factor. Using the telephoto lens as an example, multiply the physical focal length of 6mm by the crop factor of 8.34 to get a 35mm full-frame equivalent of 50.04mm. In the iOS Photos app, this is shown as 52mm. The sensor sizes I found online may be wrong.
Adobe Lightroom reveals the information that Apple seems intent on hiding away. I redid the table above using the information reported in Adobe Lightroom and removed the possibly inaccurate sensor dimensions.
| Camera | Lens (Physical Focal Length) | 35mm Full-Frame Equivalent Focal Length | Crop Factor |
|---|---|---|---|
| Telephoto | 6mm | 52mm | 8.67 |
| Wide | 4.25mm | 26mm | 6.12 |
| Ultra-Wide | 1.54mm | 13mm | 8.44 |
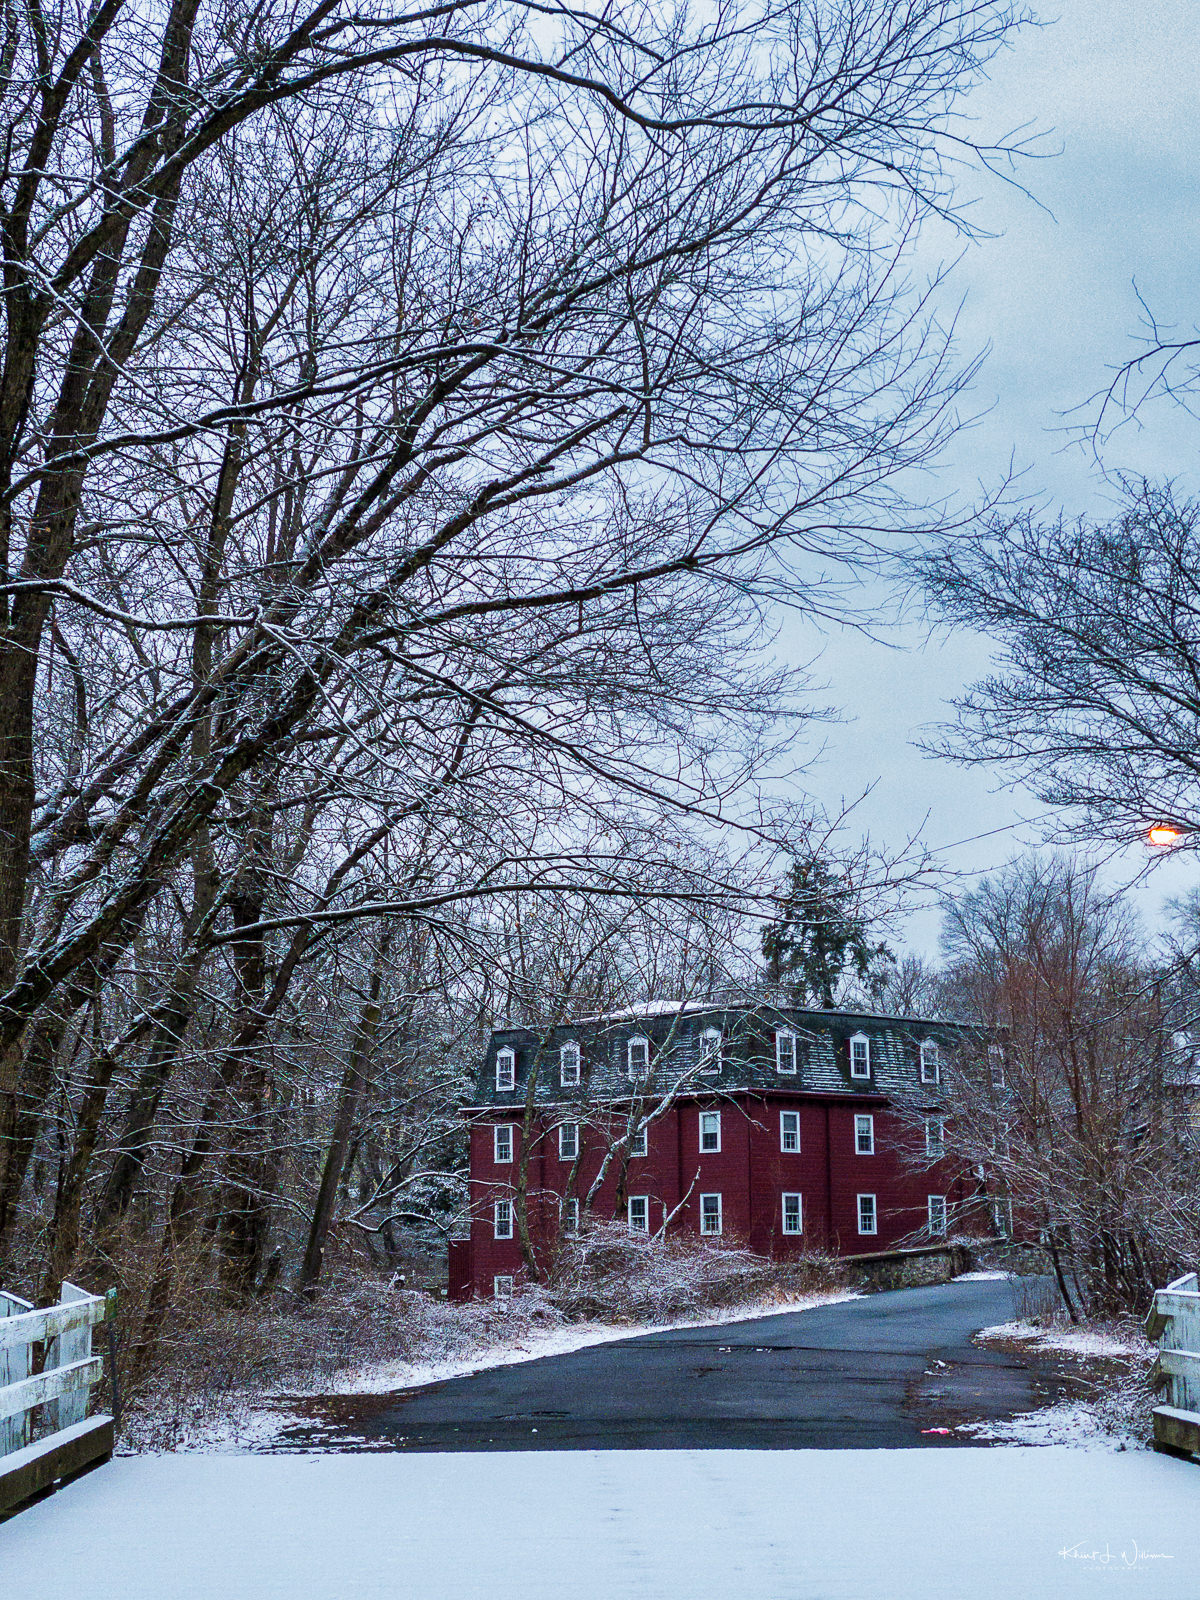
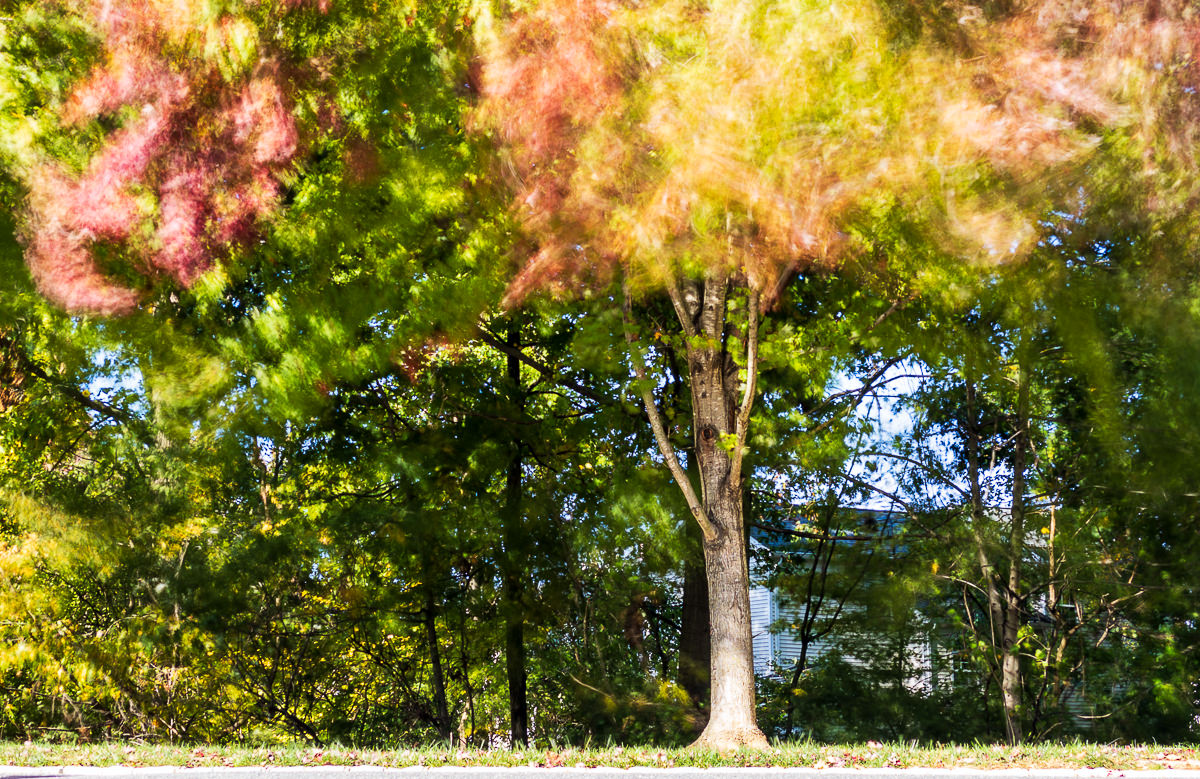
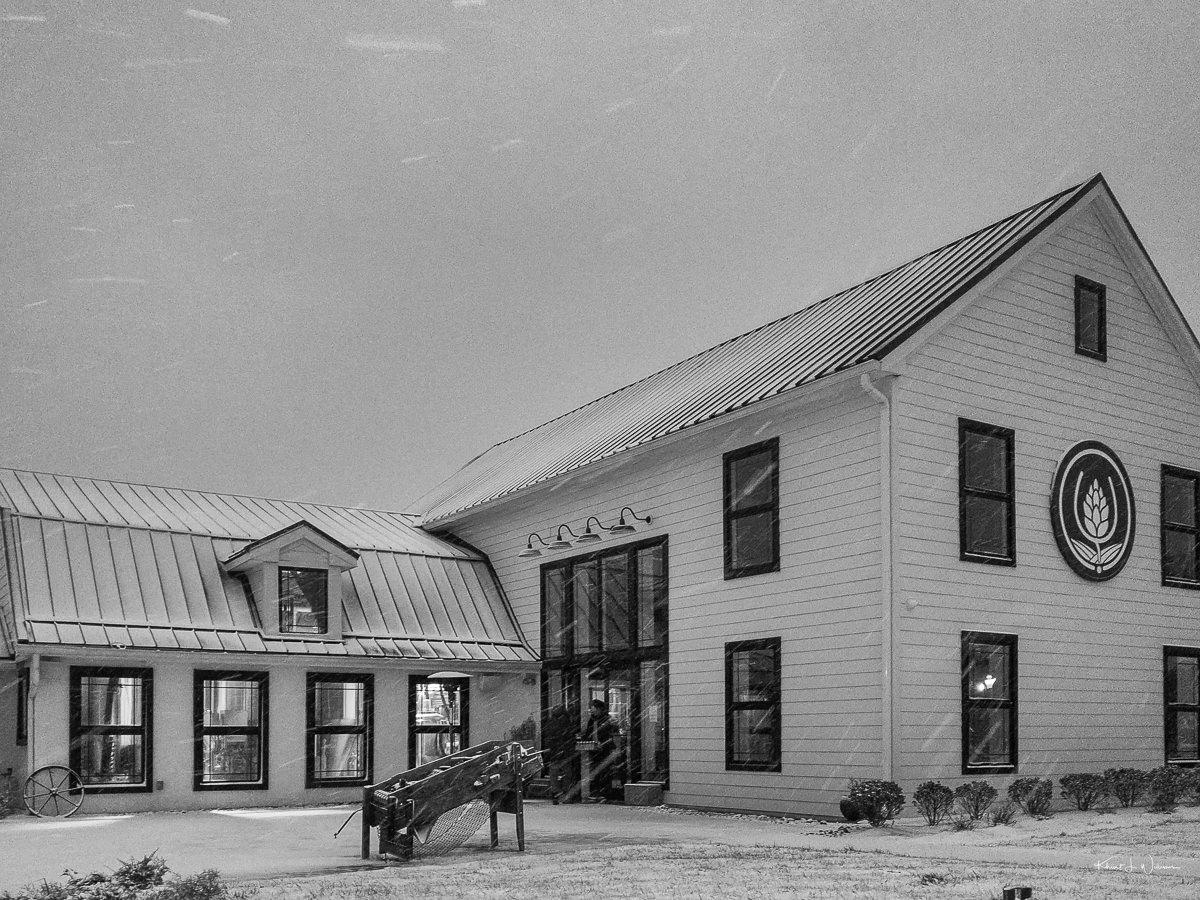
With its 136mm full-frame equivalent focal length, the ultra-wide lens is ideal for capturing wide landscapes or architectural scenes where I want to fit more into the frame. The wide lens, at 26mm, is versatile for everyday photography, including street scenes and portraits, offering a natural perspective. With a 52mm equivalent, the "short" telephoto lens helps you get closer to distant subjects for portrait photography, where I want to focus on the subject with a somewhat blurred background.
Third-party Lens Magic
Now that I have a basis for understanding the iPhone's technical specs, let's talk about a third-party "lens" like the Moment 58mm Tele Mobile Lens. I have read positive reviews about Moment mobile lenses and was touched by a bit of G.A.S.2, I dropped in on their website to look around. Moment, unfortunately, assumes I know that this 58mm focal length is achieved with the iPhone's "default" 4.25mm camera (26mm FF FOV). That confusion is, in fact, what prompted me to write this blog post. In my opinion, the "58mm" name is a distraction and a misnomer.
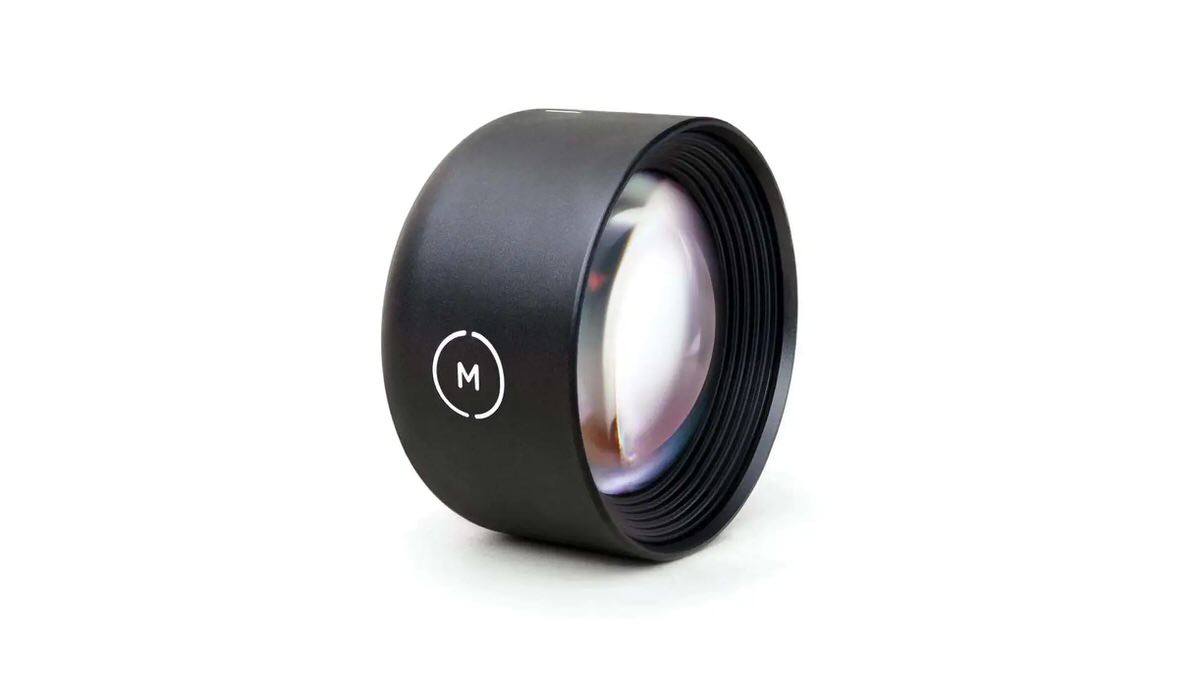
An optical multiplier is a lens attachment that increases the effective focal length of a camera lens, allowing for closer magnification of distant subjects without compromising image quality. According to the information on the Moment website, the Moment 58mm Tele Mobile Lens is a "~2X" optical multiplier. So, when used on the native 4.25mm, 6mm and 1.54mm lenses on the iPhone, we get different focal lengths and fields of view.
Here's how it breaks down:
| Camera | Physical Focal Length | With Moment 2X Multiplier | 35mm FF FOV |
|---|---|---|---|
| Telephoto | 6mm | 12mm | 104mm |
| Wide | 4.25mm | 8.50mm | 52mm |
| Ultra-Wide | 1.54mm | 3.08mm | 26mm |
I found a link on Reddit that explains the expected focal lengths. I also received an email from Moment explaining that the multiplier is 1.75. With that revised information and assuming it's correct, here's what I think I know about using a Moment lens with an iPhone 11 Pro. So "~2X" means "1.75x". That’s technically correct.
| Camera | Physical Focal Length | With Moment 1.75X Multiplier | 35mm FF FOV |
|---|---|---|---|
| Telephoto | 6mm | 10.5mm | 91mm |
| Wide | 4.25mm | 7.44mm | 45.5mm |
| Ultra-Wide | 1.54mm | 2.7mm | 22.75mm |
Why This Matters
Understanding these specifications is important for photographers like myself who want to make the most of their pocket cameras. Knowing the crop factors and how the Moment lens alters the field of view, I can make informed decisions about my photography purchases.
Now that I understand that the Moment lenses are just optical multipliers, I can see how they open up new possibilities. They enhance the iPhone's capabilities, offering versatility for casual snapshots or skilled compositions.
I think the 45.5mmm FF equivalent focal length is nearly perfect for street and general photography. The 91mm FF equivalent focal length is an excellent focal length for portraits.
Final Thoughts
Photography is an art and a science. We blend technical knowledge with creative vision. Whether you're a professional photographer or a hobbyist, understanding your tools can transform how you capture the world around you.
- Apple. (n.d.). iPhone 11 Pro - Technical Specifications. Retrieved from https://support.apple.com/kb/SP805?locale=en_US
- Reddit user drunk_caterpillar. (2019, September 28). Gate dimensions of individual iPhone 11 Pro sensors with comparisons to traditional film formats. Retrieved from https://www.reddit.com/r/cinematography/comments/dadfas/gate_dimensions_of_individual_iphone_11_pro/
- Full-frame refers to a digital camera sensor size that matches the 36mm x 24mm dimensions of traditional 35mm film, frequently used as a standard for comparing different camera sensor sizes ?
- G.A.S., or Gear Acquisition Syndrome, refers to the urge to continuously acquire new equipment or gear, often driven by the belief that it will improve one's skills or results, typically seen in hobbies like photography or music. ?