The real Kodachrome film is dead but lives on as Fujifilm X camera film simulation recipes or as Adobe Lightroom Classic presets.
Ritchie Roesch has done a fine job of creating Film Simulation Recipes for Fujifilm cameras. Two of my favourites are his Kodachrome 64, Vintage Kodachrome, and Kodachrome II recipes for the Fujifilm X-Trans III or IV sensor cameras. These recipes create excellent straight-out-of-camera (SOOC) JPEG images, which I often use for social media. I recommend clicking the links to Ritchie's website and reviewing his recipes.
One of the downsides of SOOC JPEG images is that they are well, straight-out-of-camera. Sometimes I want to correct for perspective, vertical or horizontal alignment, a crop to remove distractions, etc. I can do this in Adobe Lightroom Classic, but of course, I lose the look from the film simulation recipe. I could edit the SOOC JPEGs, but I prefer to retain as much image quality as possible. With the Classic K14 Lightroom Presets, I get the best of both.
For most SOOC JPEGs, I have used Ritchie’s Kodachrome II film simulation recipe. I used these JPEGs when I am out in the field, and I want an image for direct upload to my blog or for use in social media and when I am sure the as-is image suits my purpose. More often, I prefer to post-process the Fujifilm RAW image files (RAF) in Adobe Lightroom Classic before uploading them to my website for a blog post. Sometimes I want to remove a distracting object from the frame, something that I could not remove by re-framing or change the shadow or highlights in a particular section of an image frame, etc. JEPGS are not the best option for doing that. Often, after making my edits, I will apply an Adobe Lightroom Classic preset before uploading. Several months ago, I purchased the Classic K14 Lightroom Presets package from The Classics Presets.
The Classic K14 Lightroom Presets are an easy way for me to create the fashionable Kodachrome film look in Adobe Lightroom Classic and Photoshop Camera RAW. With this Adobe Lightroom Classic preset the camera profile is included to ensure the preset will perform uniquely for each camera model. The Classic K14 bundle includes additional tools to adjust the contrast, white balance, grain, and correct for orange skin. For images processed with the Classic K14 Lightroom Preset, I typically adjust only the exposure or white balance.
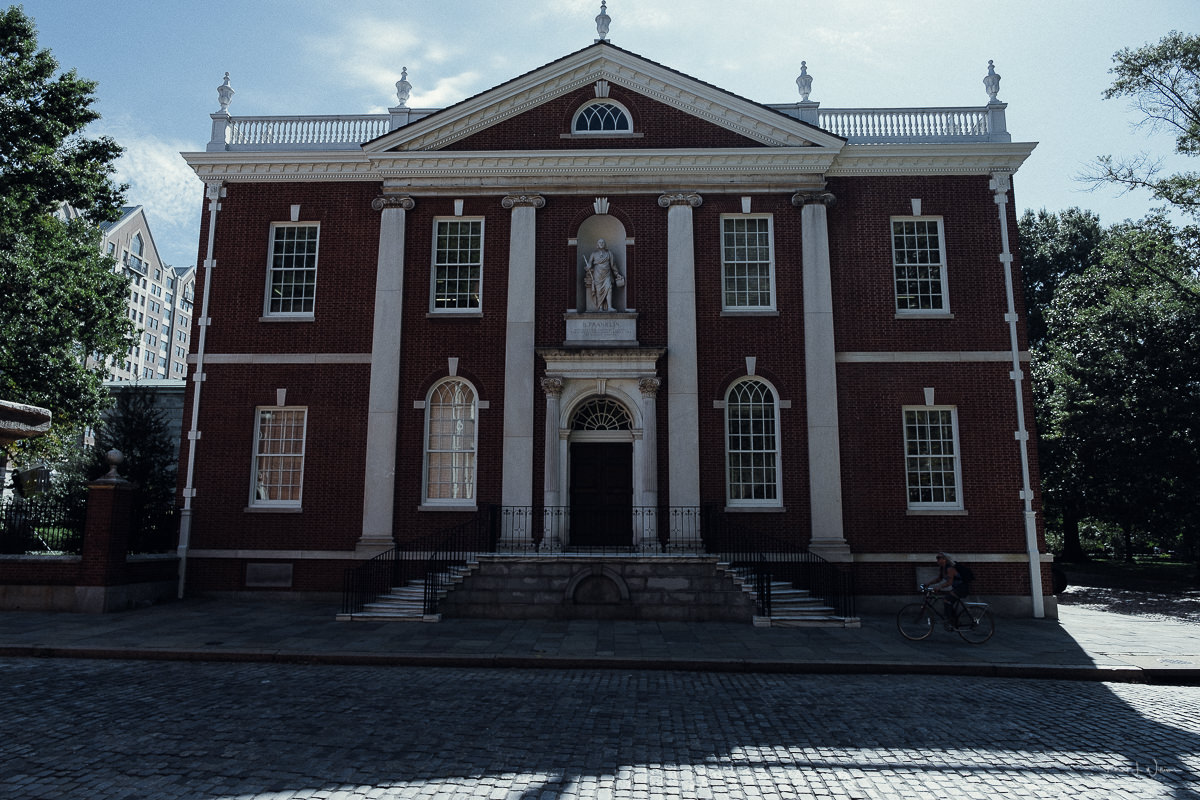
What do you think? Which image do you prefer?
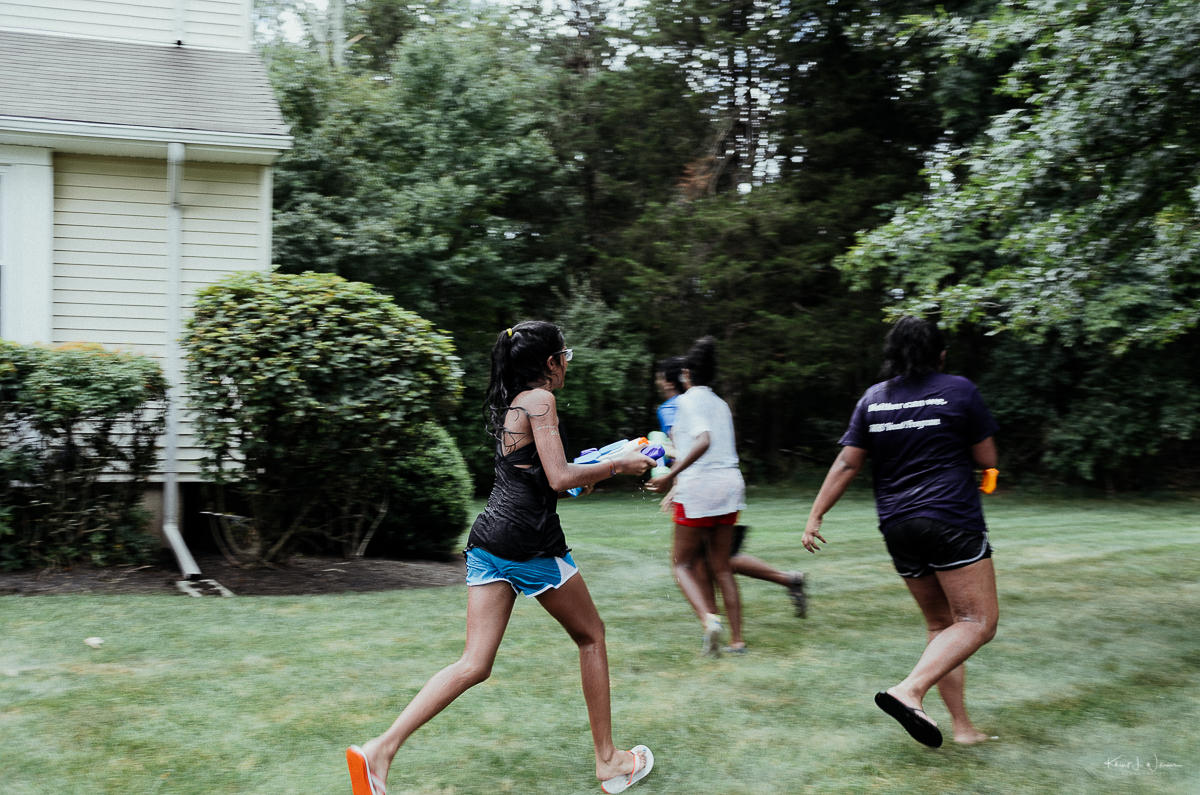
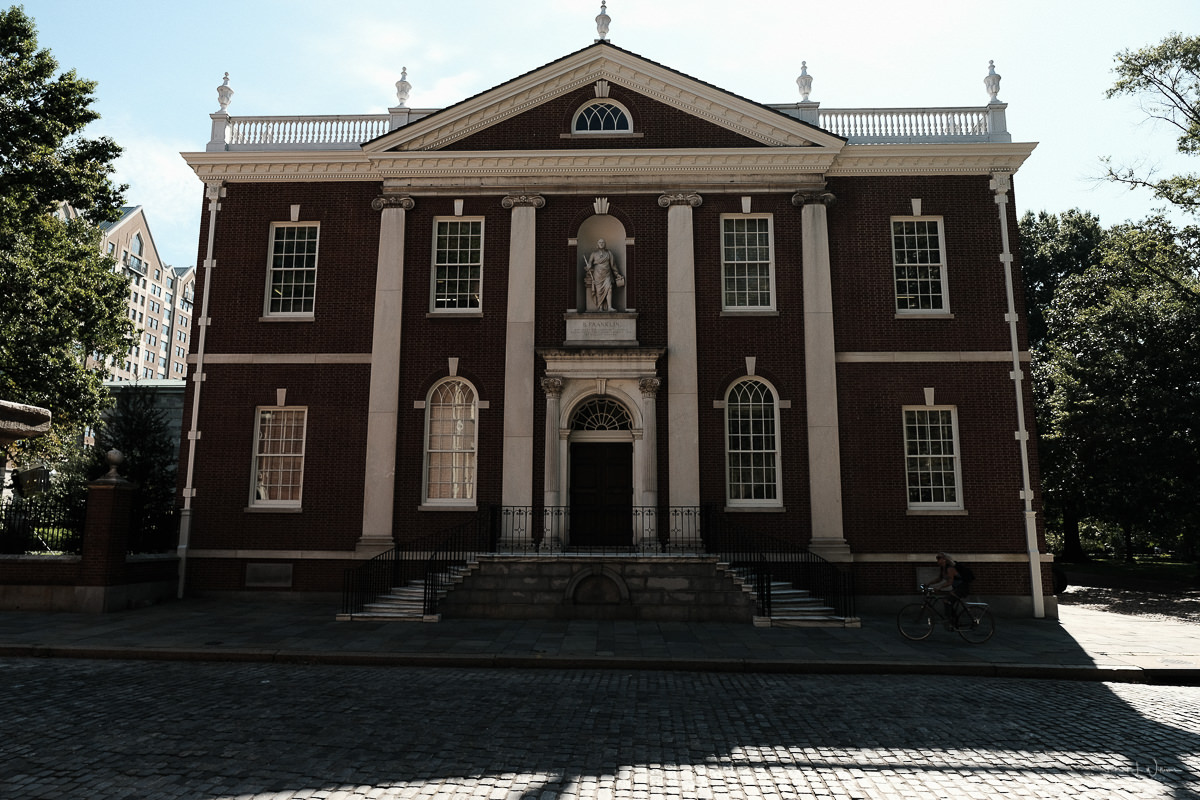
I can apply this preset in Adobe Lightroom Classic during import or later using the develop module. Examples are given below for some of the images I took on my Nikon D5100, a rented Sony α7 and my Fujifilm X-T2.
I can also apply the Kodachrome II film simulation recipe to an un-edited RAF file using the Fujifilm X RAW Studio app. I applied the K14 Kodachrome inspired presets from The Classics Presets to the images below.
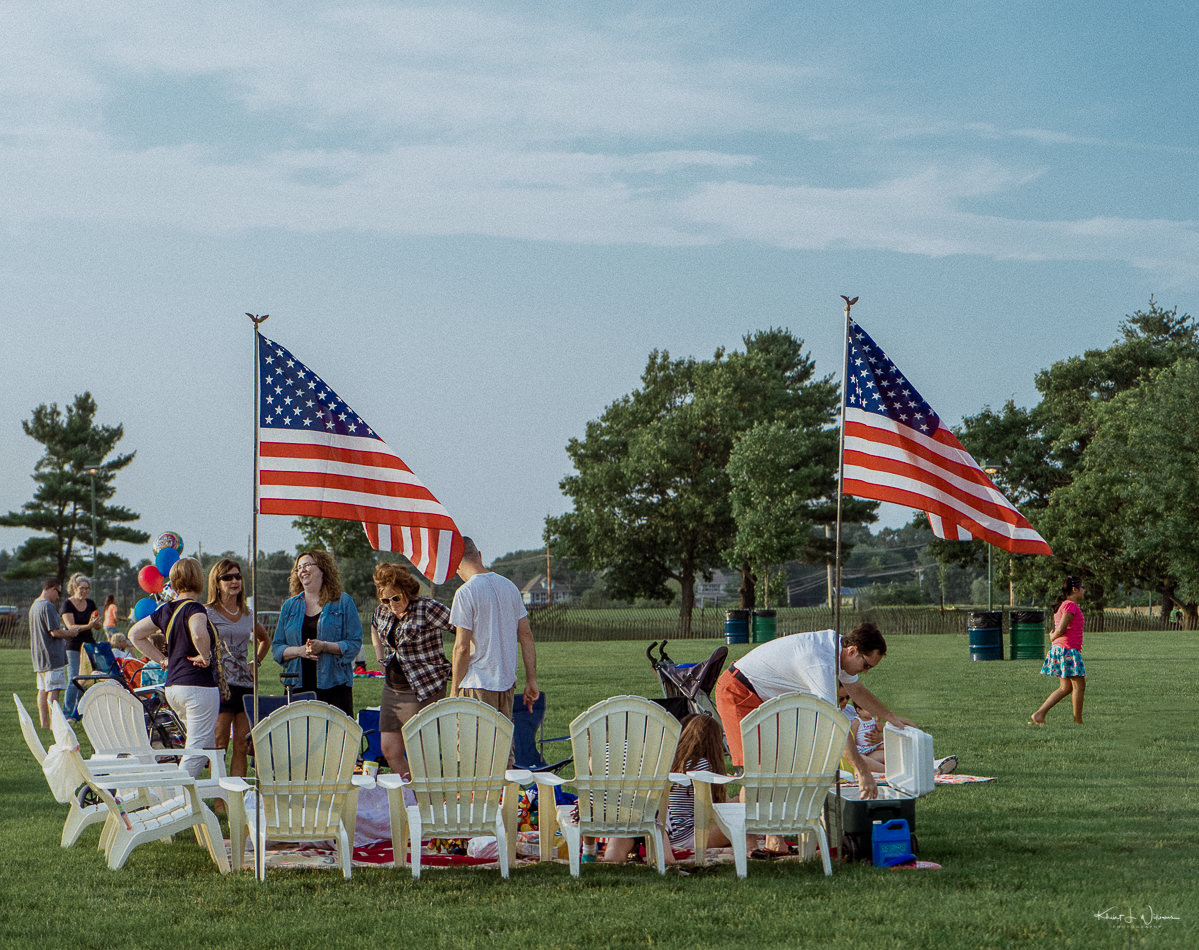
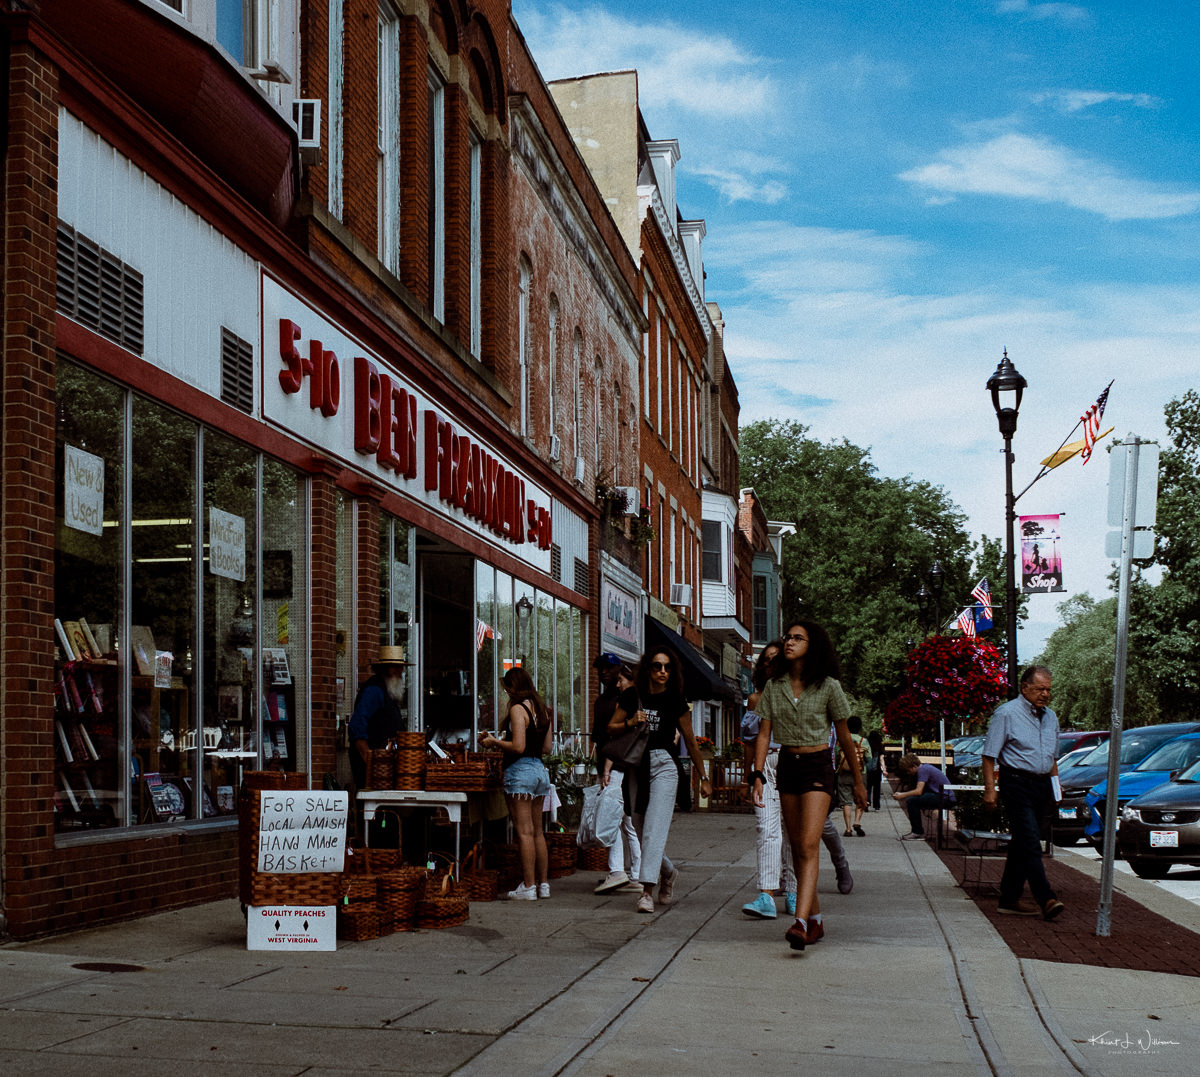
For comparison, I have included an image shot on my Fujifilm with the SOOC JPEG using Ritchie’s Kodachrome II film simulation recipe, and the Classic K14 Lightroom Preset applied to the Fujifilm RAF.
I had some experience with Classic k14 recently and I'd say they're ok for some jobs but overall lack versatility and depth. So for this comparison I'd better choose RNI All Films 5, their Kodachrome simulations feel more refined and much better tested across cameras, lighting situations and skin colors.
With the very limited abilities of Fuji film simulation settings to tweak the colors (only the color tint) Ritchie is doing wonderful job with his recipes. I got the Capture One version of The Classic Presets' Kodachrome style but if I understood right the Lightroom version has more versions of it. Andre Duhme has also done wonderful job with the presets and styles he offers. I do prefer more neutral color cast with white parts of the image so the K14 preset would be my choice in the long run. But the brownish color cast of Ritchie's recipe works beautifully for some subjects.
I’m happy we have choices given that we can’t shoot Kodachrome anymore. I use Ritchie’s recipes for SOOC to social media. I process my RAW images with and sometimes use the K14 presets for street photography.
I prefer the Kodachrome film recipe to the Classic K14 on the last image. I find the warmer tones, and deeper contrast more in line with my taste, but it's absolutely subjective. Overall, throughout the post, the K14 look great too.
I noticed that too. I could tweak the sliders in Adobe Lightroom to get closer to the Kodachrome II film simulation. I think I'll use them both. I'll use the Kodachrome II for in-camera JPEGs and the K14 for when I post-process the RAF.