Kodachrome 64 Memories

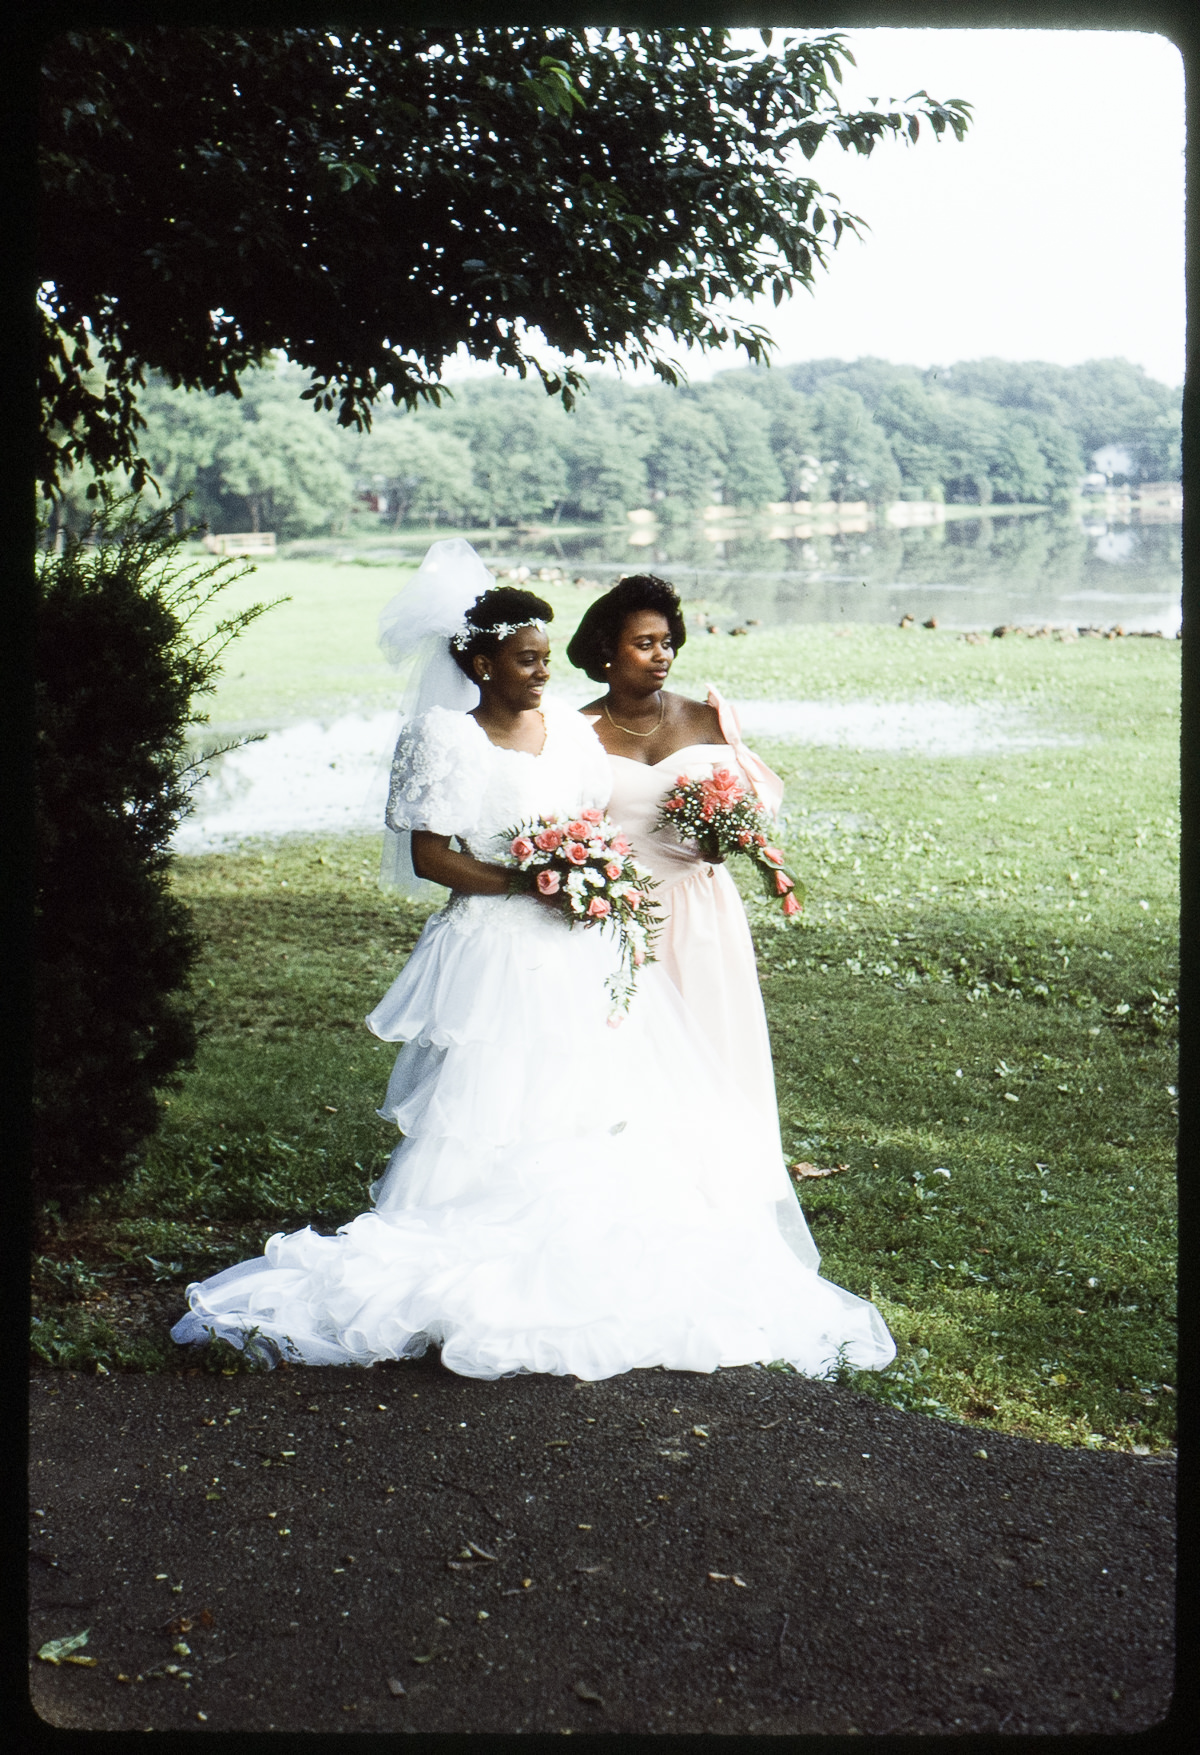
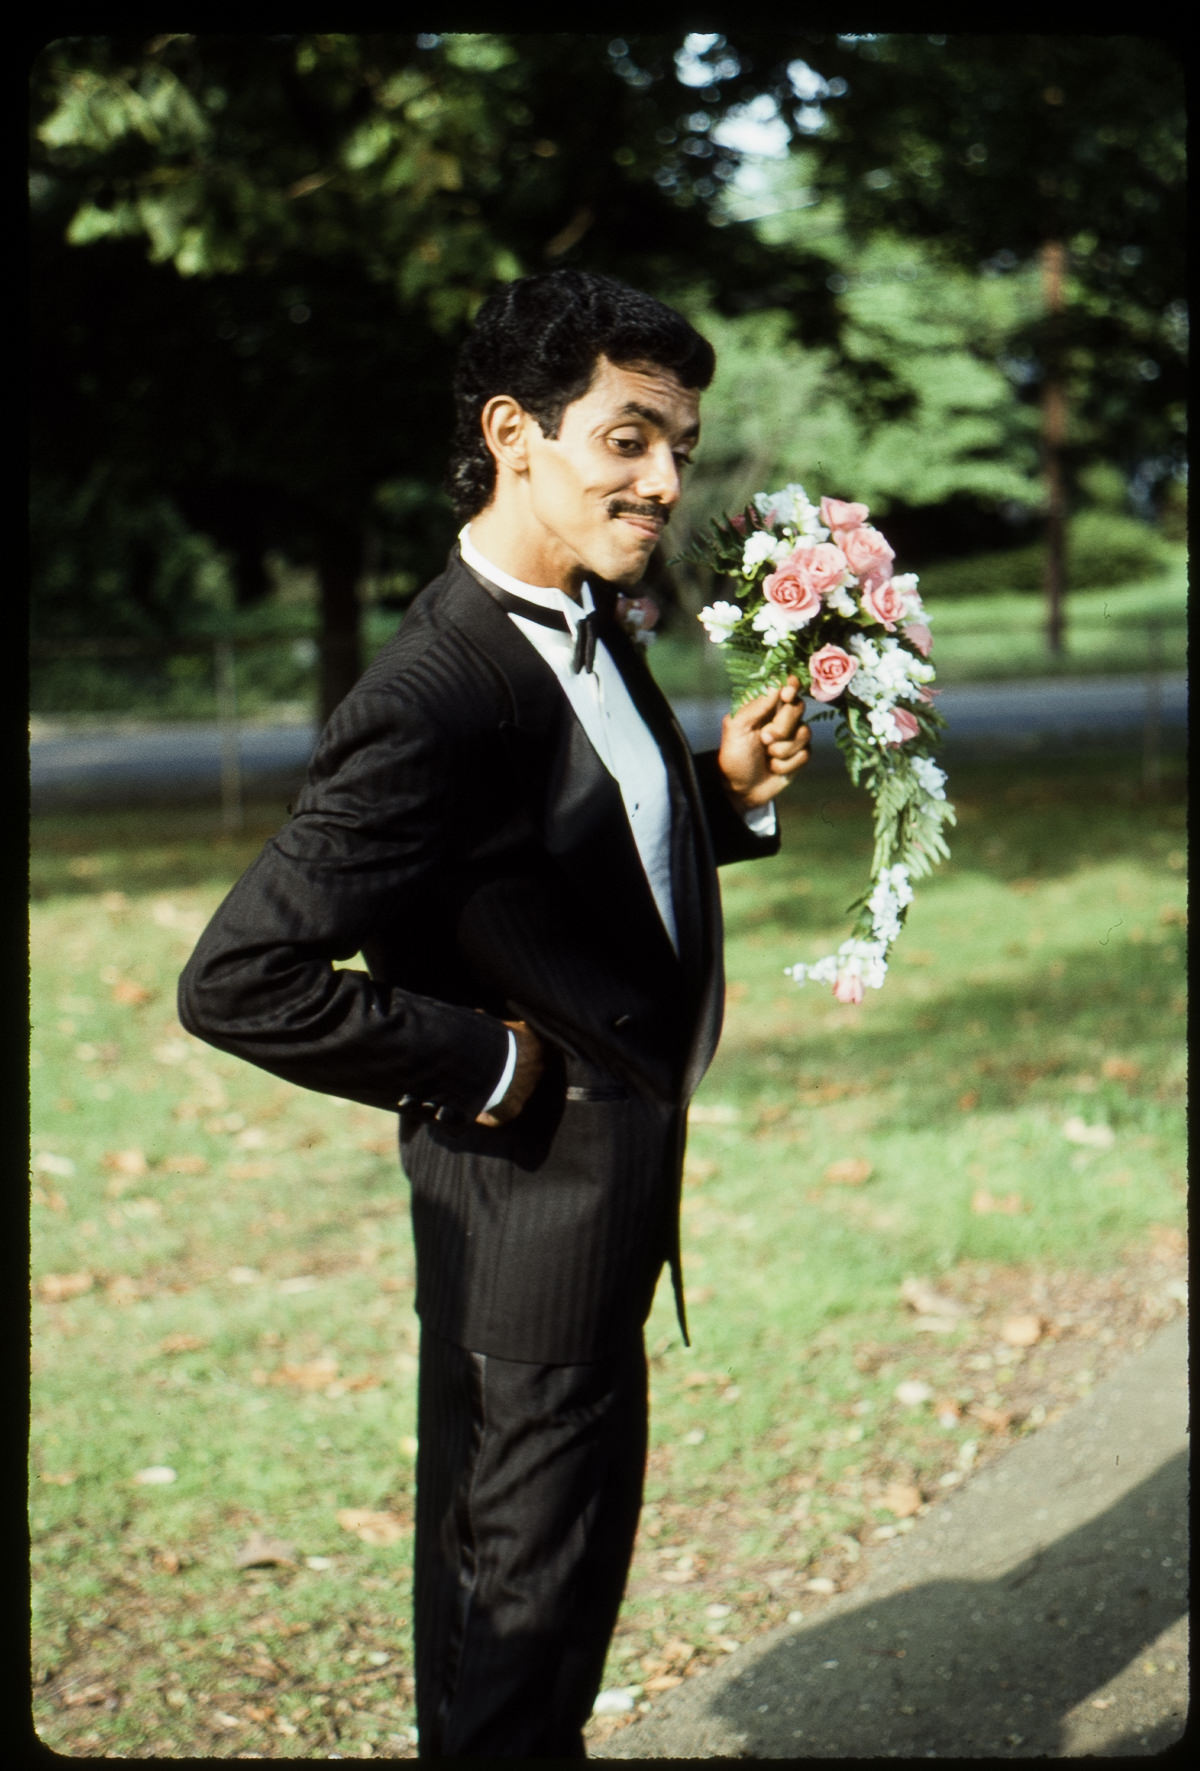
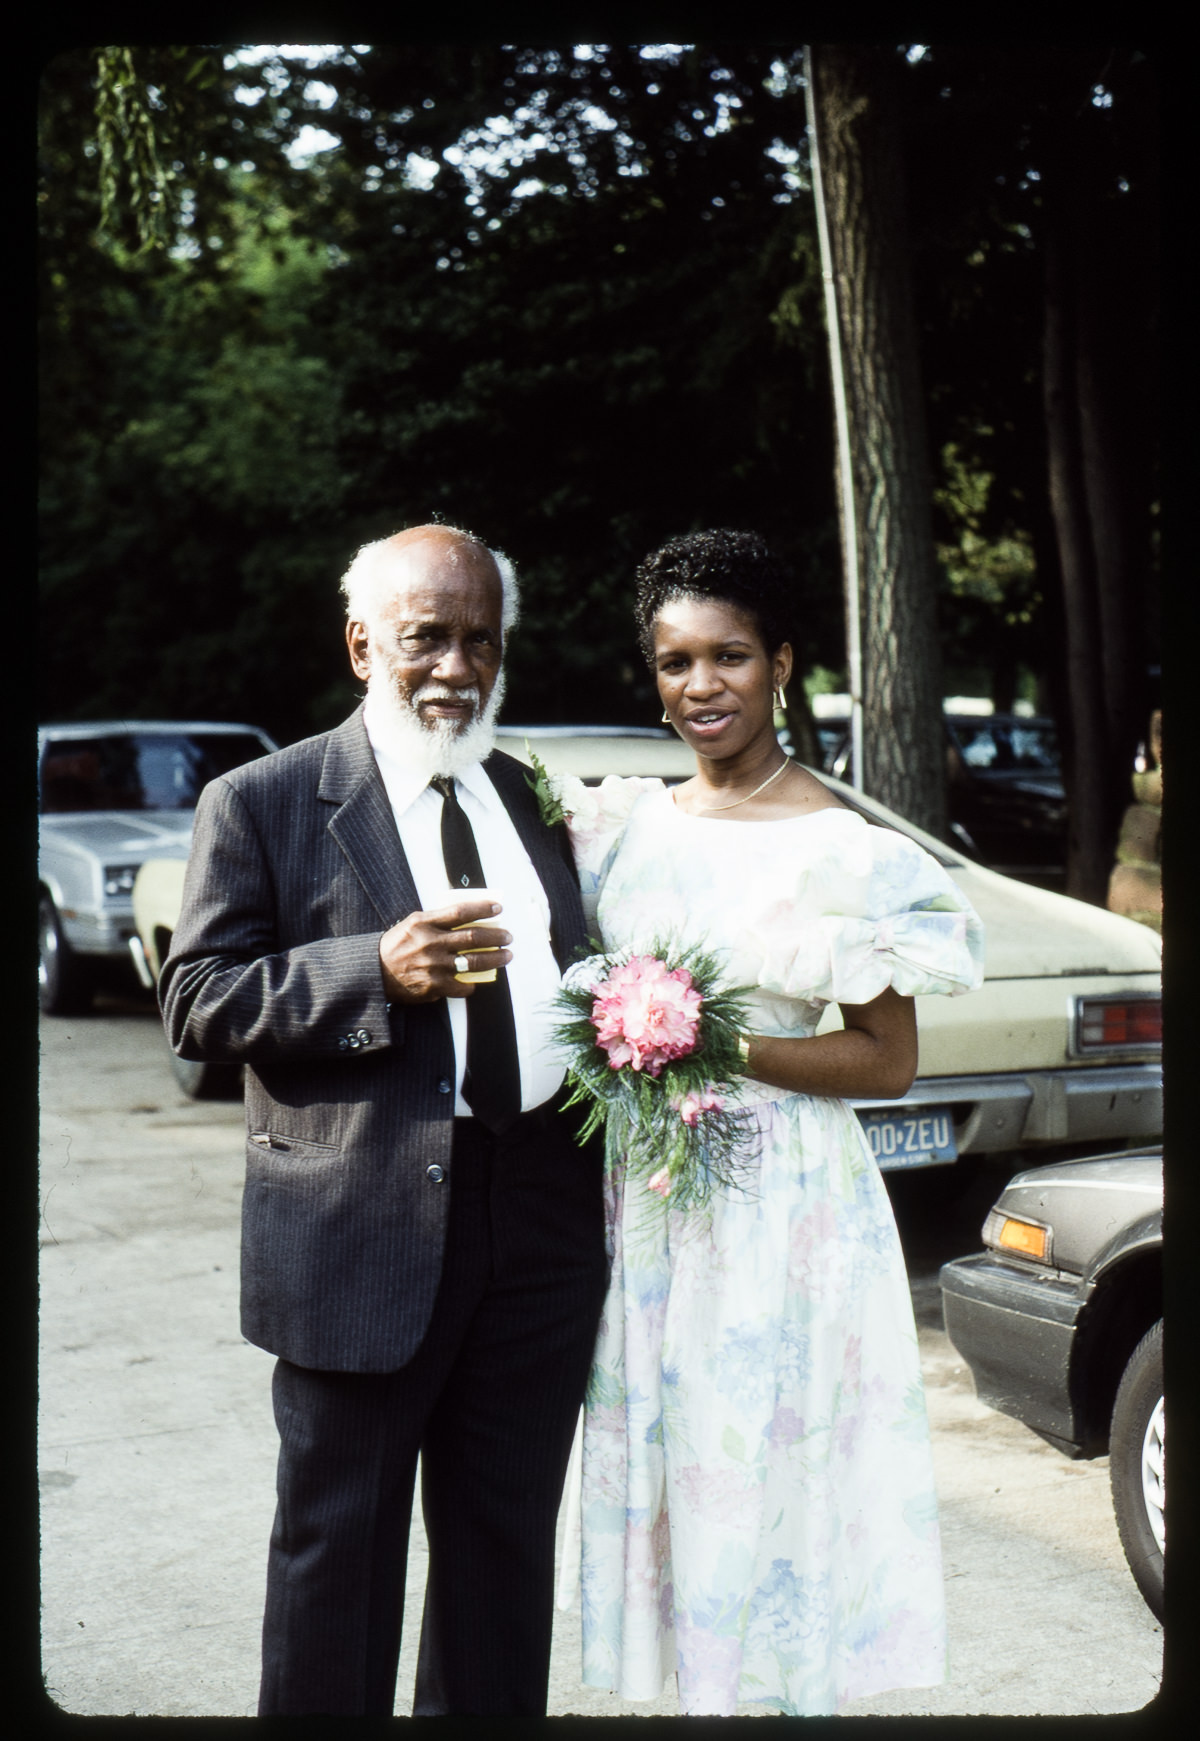
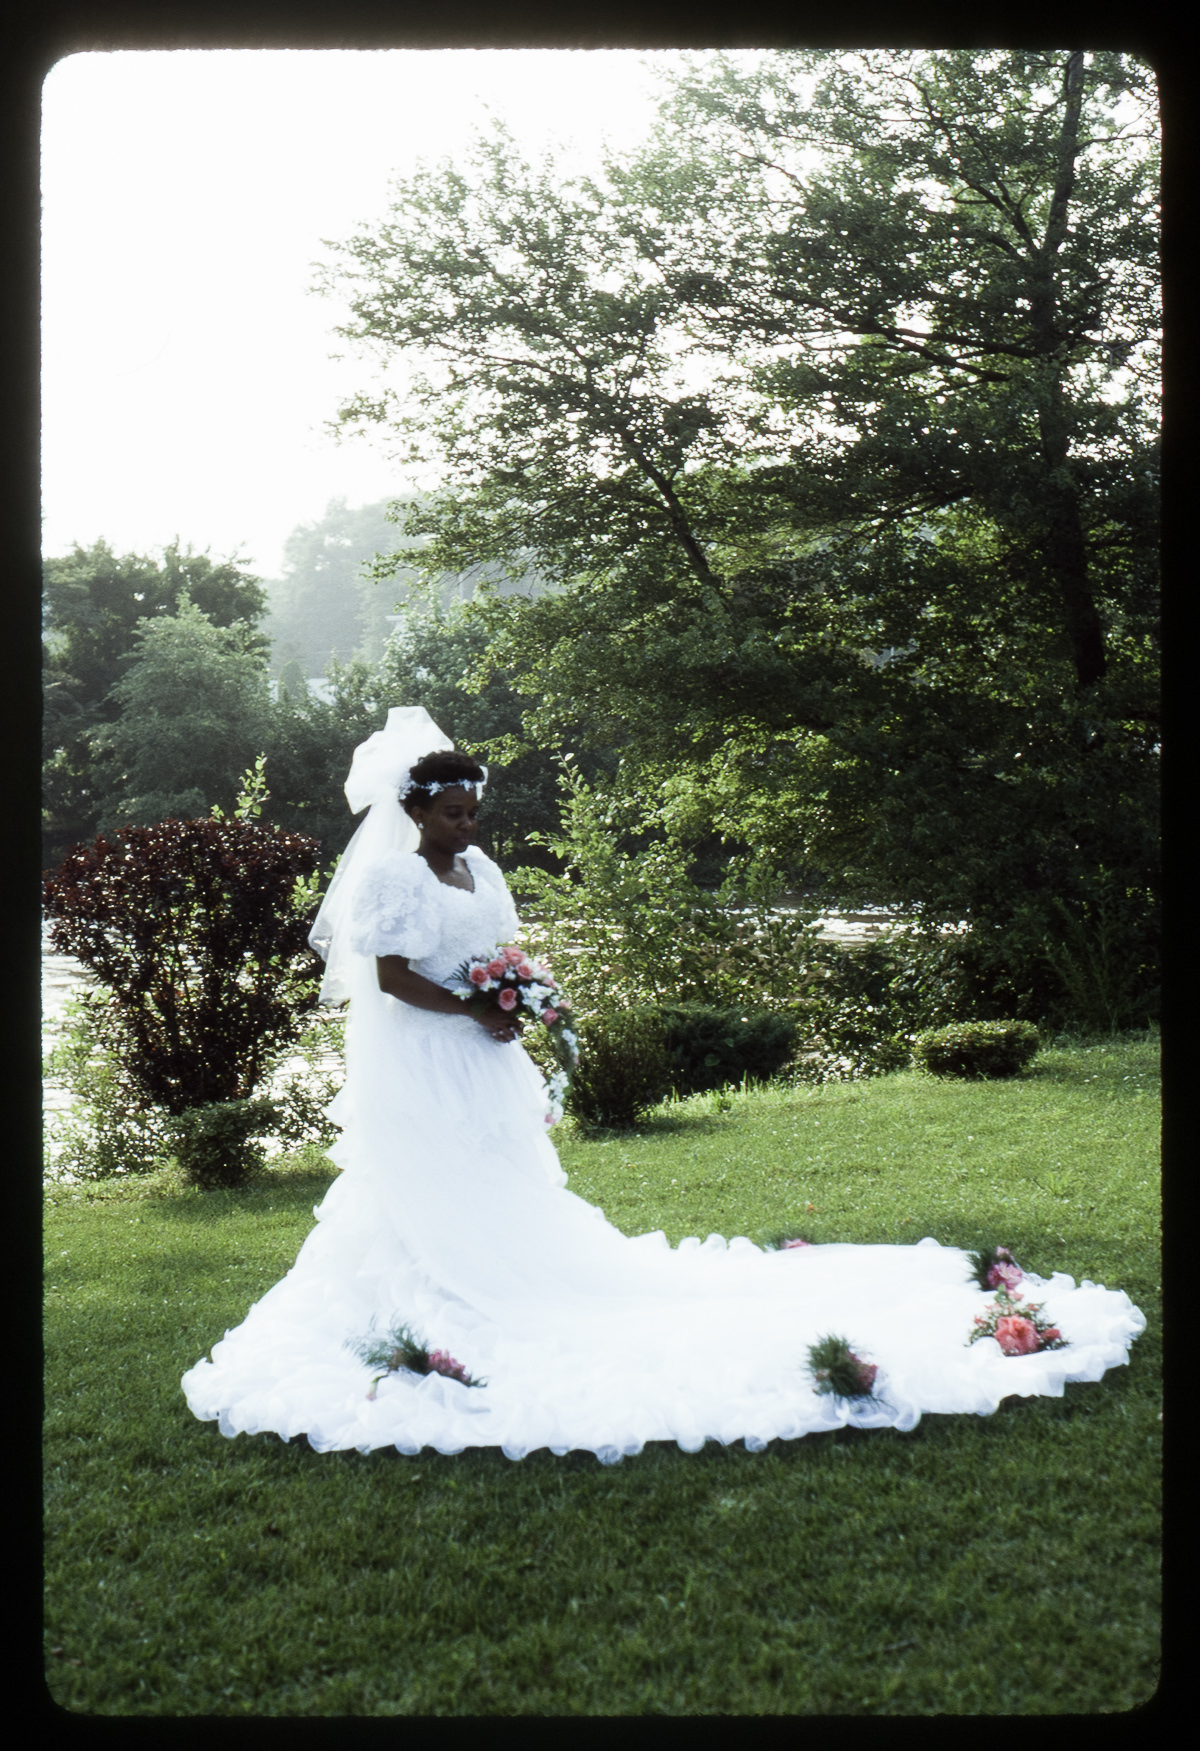
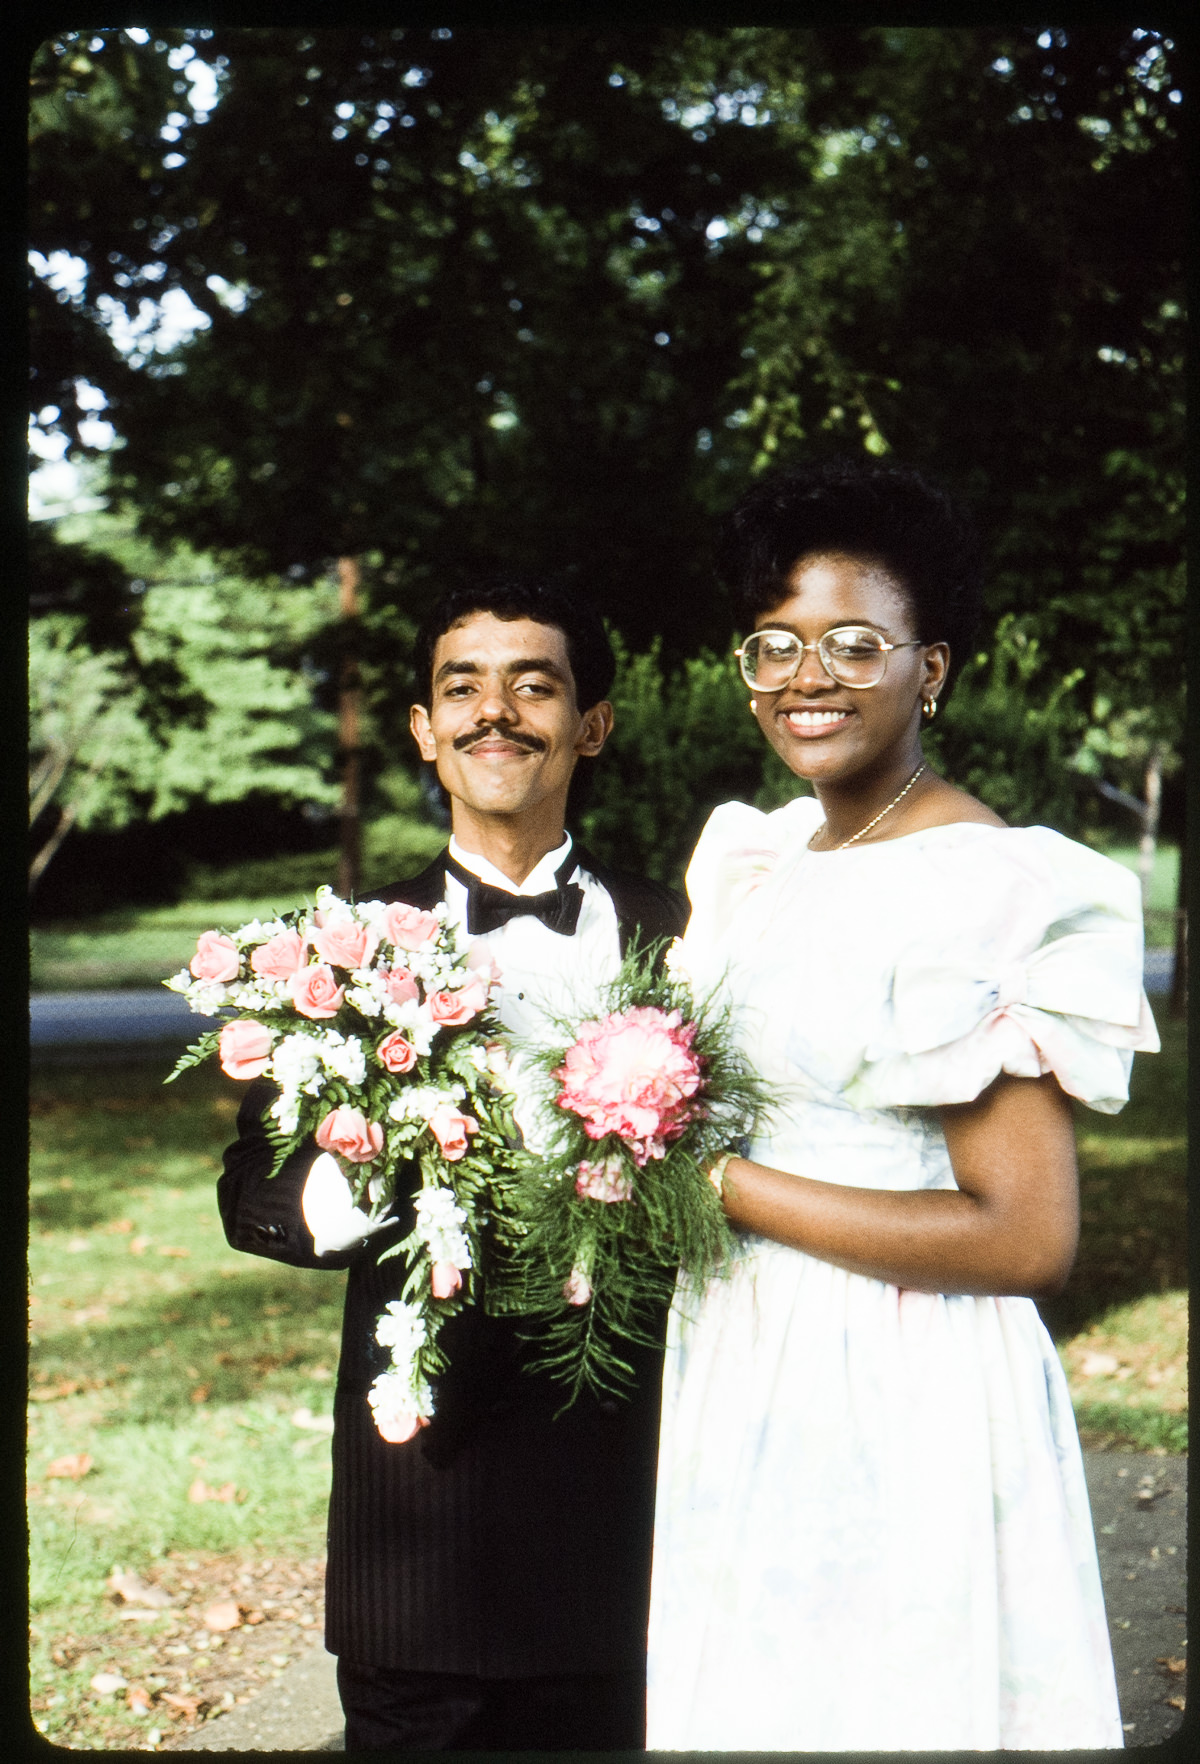
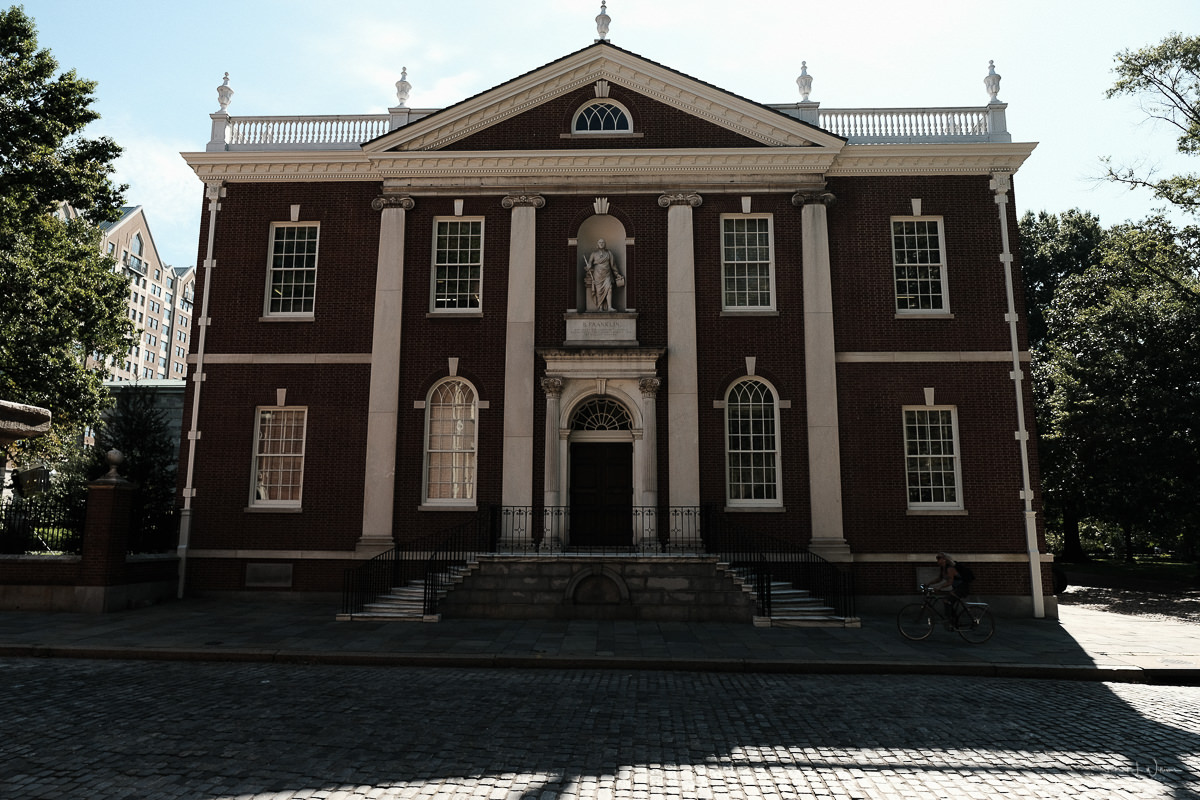
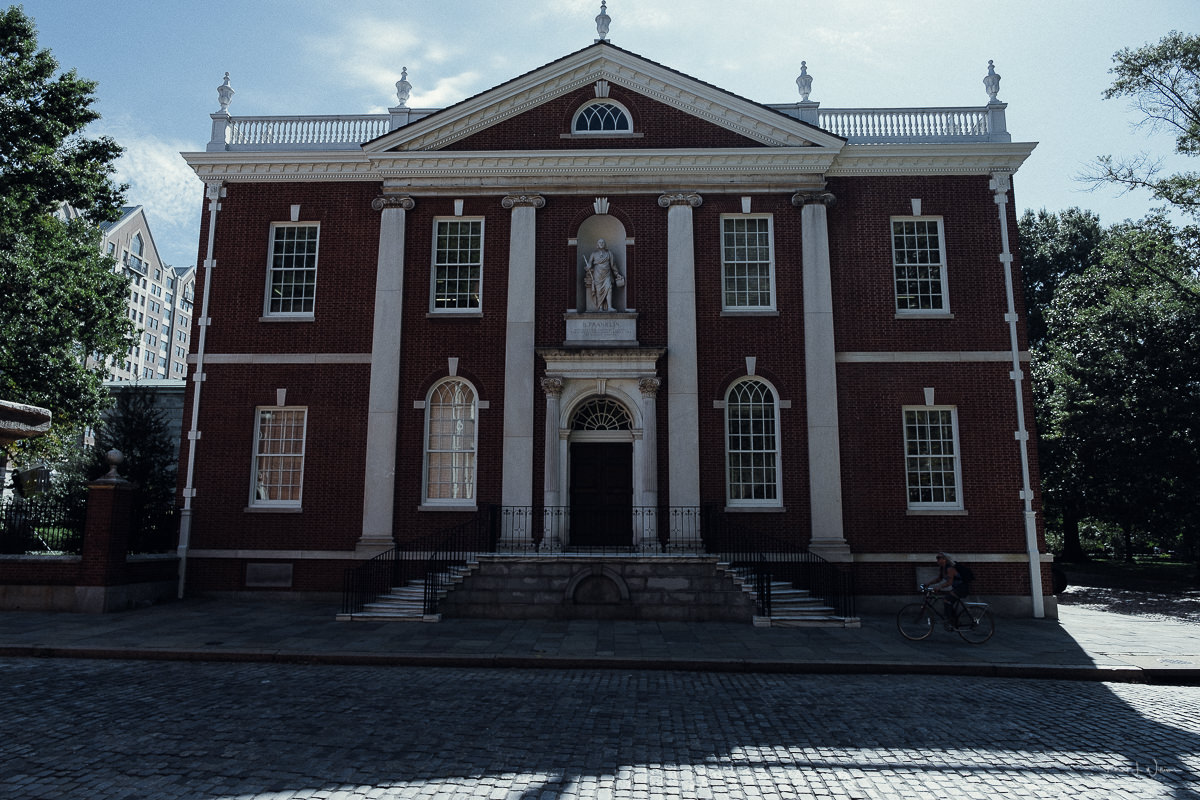
Early in my photography journey, shooting in 35mm B&W film was easier. I thought 35mm colour film was too distracting and did not have the pretension “art” look I was into at the time. But a few years later, I found myself experimenting with 35mm colour film including a lot of crap films. But I also tried out now famous 35mm films such as Kodachrome. I don't know if I ever exposed Kodachrome 25 or Kodachrome 200 but I found a set of slides of Kodachrome 64 among my things in the basement.

According to the B&H website which list this as Kodak KR 135-36 Kodachrome 64 Color Slide Film (ISO-64):

Kodachrome 64 is an extremely fine grain film demonstrating very high sharpness. It is an excellent choices for a wide variety of applications. The history and reputation of Kodachrome films is legendary. They possess a "look" that is hard to reproduce in more contemporary films.

Kodachrome 64 is a member of the "Select Series" of Kodak films. The Select Series offers serious snapshooters and photo enthusiasts the widest selection of high-performance films. Choose from Kodachrome or Kodak Elite Chrome films for slides, or Royal Gold films for prints.

The date on the box containing the slides is 26 July 1989. I scanned the slides with my Epson Perfection V600. Some of the exposure appears to be test shots take in the camera store. Looking at the images of the stores accross the street taken from inside the camera store, I see an address that apepars to be 7008 Third Avenue. I would love to find out what was at 7008 Third Avenye in New York City circa 1989. I do not remember why I chose to expose this roll at my cousin's wedding.

Type: 35mm color slide film
Speed: ISO 64
Applications: General photographic outdoor use
Process: Process K-14
Color Saturation: Produces rich, vibrant colors with a strong pallette
Grain: Fine
Sharpness: Very high
Exposure Latitude: Narrow

Cousins Tony and Colin Cozier | 26 July, 1989 | Pentax P3 | SMC Pentax-A 50mm f/2
Beverly and Karen | 26 July, 1989 | Pentax P3 | SMC Pentax-A 50mm f/2
David Jackson | 26 July, 1989 | Pentax P3 | SMC Pentax-A 50mm f/2
Grand Dad Edmund Williams and Samantha Williams | 26 July, 1989 | Pentax P3 | SMC Pentax-A 50mm f/2
Beverly | 26 July, 1989 | Pentax P3 | SMC Pentax-A 50mm f/2
David Jackson and Roseanne Pompey | 26 July, 1989 | Pentax P3 | SMC Pentax-A 50mm f/2

Classic K14 Adobe Lightroom Preset compared with Kodachrome II Film Simulation Recipe

The real Kodachrome film is dead but lives on as Fujifilm X camera film simulation recipes or as Adobe Lightroom Classic presets.

Ritchie Roesch has done a fine job of creating Film Simulation Recipes for Fujifilm cameras. Two of my favourites are his Kodachrome 64, Vintage Kodachrome, and Kodachrome II recipes for the Fujifilm X-Trans III or IV sensor cameras. These recipes create excellent straight-out-of-camera (SOOC) JPEG images, which I often use for social media. I recommend clicking the links to Ritchie's website and reviewing his recipes.

One of the downsides of SOOC JPEG images is that they are well, straight-out-of-camera. Sometimes I want to correct for perspective, vertical or horizontal alignment, a crop to remove distractions, etc. I can do this in Adobe Lightroom Classic, but of course, I lose the look from the film simulation recipe. I could edit the SOOC JPEGs, but I prefer to retain as much image quality as possible. With the Classic K14 Lightroom Presets, I get the best of both.

For most SOOC JPEGs, I have used Ritchie’s Kodachrome II film simulation recipe. I used these JPEGs when I am out in the field, and I want an image for direct upload to my blog or for use in social media and when I am sure the as-is image suits my purpose. More often, I prefer to post-process the Fujifilm RAW image files (RAF) in Adobe Lightroom Classic before uploading them to my website for a blog post. Sometimes I want to remove a distracting object from the frame, something that I could not remove by re-framing or change the shadow or highlights in a particular section of an image frame, etc. JEPGS are not the best option for doing that. Often, after making my edits, I will apply an Adobe Lightroom Classic preset before uploading. Several months ago, I purchased the Classic K14 Lightroom Presets package from The Classics Presets.

The Classic K14 Lightroom Presets are an easy way for me to create the fashionable Kodachrome film look in Adobe Lightroom Classic and Photoshop Camera RAW. With this Adobe Lightroom Classic preset the camera profile is included to ensure the preset will perform uniquely for each camera model. The Classic K14 bundle includes additional tools to adjust the contrast, white balance, grain, and correct for orange skin. For images processed with the Classic K14 Lightroom Preset, I typically adjust only the exposure or white balance.

What do you think? Which image do you prefer?

I can apply this preset in Adobe Lightroom Classic during import or later using the develop module. Examples are given below for some of the images I took on my Nikon D5100, a rented Sony α7 and my Fujifilm X-T2.

I can also apply the Kodachrome II film simulation recipe to an un-edited RAF file using the Fujifilm X RAW Studio app. I applied the K14 Kodachrome inspired presets from The Classics Presets to the images below.

Jul 1, 2015 | Classic K14 | Sony α7M2 | Sony FE 24-70mm F4 ZA OSS
Aug 26, 2019 | Classic K14 | FujiFilm X-T2 | Asahi Optical Co. SMC Takumar 28mm f/3.5

For comparison, I have included an image shot on my Fujifilm with the SOOC JPEG using Ritchie’s Kodachrome II film simulation recipe, and the Classic K14 Lightroom Preset applied to the Fujifilm RAF.

Street, Building, Colonial, Brick
Aug 30, 2019 | Kodachrome II Film Simulation Recipe | FujiFilm X-T2 | Fujinon XF16-55mmF2.8 R LM WR
Street, Building, Colonial, Brick
Aug 30, 2019 | Classic K14 64 | FujiFilm X-T2 | Fujinon XF16-55mmF2.8 R LM WR