The video shows how to create exciting artistic twirl effects in Adobe Photoshop. For me, the process is a way to explore the features of Photoshop, but I also found it to be a distraction from pandemic social isolation as well as a way to find more creativity in my day. While I was able to learn the process via the video, I did a lot of stopping and rewinding and flipping back and forth from the video to Photoshop. I find all of that annoying. I find any kind of online video learning annoying. It's not my learning style. I wrote down the steps to do it, and I hope this is useful to others. The text-based steps below are how I have created all subsequent twirls. It does, however, require knowledge of and familiarity with the Adobe Photoshop menus. For people who are not familiar with the right-side panel, the video may be a better choice.
Any image will do, but I got the best results from simple images that contain one to three main colours. As the starting point for the twirl created in this blog post, I used one of my recent iPhone photographs of East Pyne Hall on the Princeton University Campus. Once you have selected an image open the image in Adobe Photoshop. NOTE: I am using Adobe Photoshop CC.
If any of this is unclear please let me know. I have screenshots of the menus that I hope to include in an update to this blogs post.
Monday 4 May, 2020 | Apple iPhone 11 Pro | iPhone 11 Pro back camera 1.54mm f/2.4 | ISO 20
In the right-side panel, right-click on the layer and select “Convert to Smart Object”.
From the main menu, choose Filter->Pixelate->Mezzoint.
Select “Medium Strokes” for type.
Click Ok.
From the main menu select Filter->Blur->Radial Blur.
Set Blur Method to “Zoom” and amount to 100%.
Click Ok.
Repeat these steps two more times.
From the main menu, Select Filter->Distort->Twirl.
Set the Angle to -100% and click Ok.
Right-click on the Twirl layer you just created and select "Edit Smart Filter Blending Options"
Set the Blending Mode to Lighten.
Repeat the Twirl from the step above but in the other direction. From the main menu, Select Filter->Distort->Twirl.
Set the Angle to 100% and click Ok.
Right-click on the Twirl layer you just created and select "Edit Smart Filter Blending Options"
Set Blending Mode to Lighten.
Click Ok.
From the right-side at the bottom of the Layers panel click the Adjustment Layer button and select Curves.
Adjust black and whites to create a slight S curve.
From the right-side at the bottom of the Layers panel click the Adjustment Layer button and select Vibrance
Change the Vibrance setting to personal taste.
From the right-side at the bottom of the Layers panel click the Adjustment Layer button and select Color Balance
Play around with the sliders until you get something you like.
Select the original layer and add another Twirl. From the main menu, select Filter->Distort->Twirl.
Set the Angle to -150% and click Ok.
Right-click on the Twirl layer you just created and select "Edit Smart Filter Blending Options"
Set Blending Mode to Lighten.
Click Ok.
Instant Miso Soup Package | Thursday 30 April, 2020 | FujiFilm X-T2 | XF16-55mmF2.8 R LM WR | f/6.4 | ISO 3200Yellow orchid flowers | Wednesday 29 April, 2020 | FujiFilm X-T2 | XF16-55mmF2.8 R LM WR | f/2.8 | ISO 400Pink orchids flowers | Wednesday 29 April, 2020 | FujiFilm X-T2 | XF16-55mmF2.8 R LM WR | f/2.8 | ISO 800Pantry door | Wednesday 29 April, 2020 | FujiFilm X-T2 | XF16-55mmF2.8 R LM WR | f/2.8 | ISO 250Bowl of oranges | Wednesday 29 April, 2020 | FujiFilm X-T2 | XF16-55mmF2.8 R LM WR | f/2.8 | ISO 4000
I’ve known family members and even experienced photographers who have lost the photos on the memory card even before offloading them to a computer and those who have lost their photos from failed computer storage. Take a moment to think about the time invested and the many beautiful memories you could potentially lose if your current photo catalogue were just gone. I feel my anxiety rising just thinking about it. Ugh!
So, if you're curious about it, here's what my backup and recovery plan looks like!
Stuff happens, and if you do not have a coherent strategy for protecting your images from data loss, at some point, you will be the one to utter the phrase, "I lost my photos." Here's the strategy I used to mitigate the risks.
I use the internal macOS hard drive for installing applications only. I wanted a way to restore my applications and settings if the internal hard drive failed. I wanted assurances that the local and remote backups would be in sync. I wanted to import my images from the SD card and have assurance that the copy on the local external hard drive is backed up to another local external disk as soon as possible. I considered fire a threat vector. In case of fire, I wanted assurances that I could create a tertiary remote back as quickly as possible. I wanted to manage my local backups and remote backups with one tool.
Backup While Shooting
My risk mitigation strategy starts before I click the shutter release for the first image. I use two similarly sized SD cards in my Fuji X-T2, configuring my camera to store full-sized RAF (Fuji's RAW image format) on both cards. If one card entirely craps out on me or if I accidentally format a card in the camera, I’ve got all the RAW images safely stored on the other card. I never remove the second memory card from my camera.
If your camera has two memory slots, even if each slot is a different storage type, there is no reason not to use this two-card arrangement to reduce the risk of data loss. Memory cards used to be quite expensive. My first digital camera was a Sony DSC-S70, a 3.3-megapixel camera with one storage card slot that used 128 MB Memory Sticks. That 128 MB Memory Stick barely held 36 JPEG-quality images. Today, for the same prices, I fill the card slots on my Fuji X-T2 with 32GB Lexar Professional SDHC UHS-II super fast cards. I can store over 1200 RAW quality 24-megapixel images. If you get a low-speed memory card for the backup card slot, you may experience the slow performance of the camera during burst shooting. I recommend buying two of the same brand and type of card and buying the fastest storage card your camera can support.
Local and Online Backup
Time Machine
Hard drives fail, computers get stolen, and there’s any number of ways a whole bunch of data can get lost.
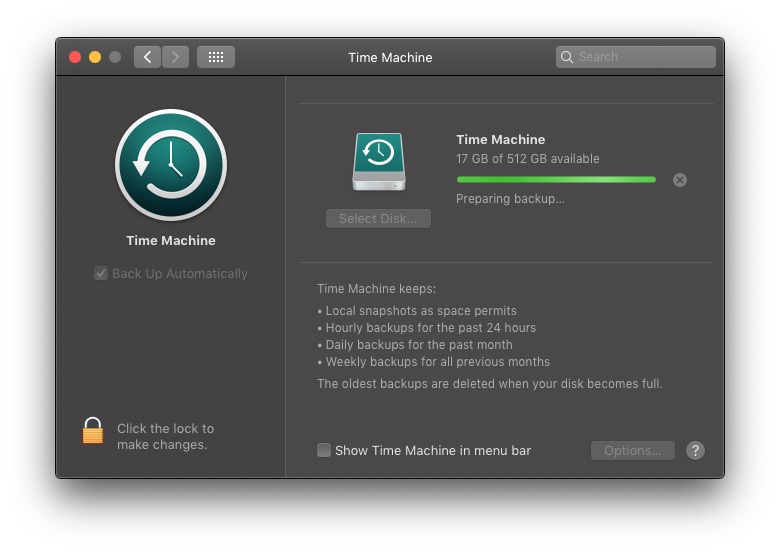
macOS Time Machine
I primarily use the internal macOS hard drive for installing applications. One of my main concerns was having a reliable way to restore my applications and settings in case the internal hard drive decided to call it quits. I’m a Mac, so my backup strategy includes the built-in Time Machine as well as a third-party backup solution, Code42’s CrashPlan Pro for Small Business.
Using Time Machine is simple. Plug in an external drive to the Mac and follow the on-screen wizard. Then forget about it. Time Machine automatically runs in the background doing its thing. Additionally, I used CrashPlan to backup the internal SSD of the Mac to an external USB hard drive.
If the internal SSD fails, I can boot and run from the Time Machine drive until I get a replacement and ca recover from the Time Machine drive. If the Time Machine drive fails, I can recover from the CrashPlan backup. These multiple backups reduce the risk of a single point of failure. Time Machine is only used for data loss prevention on my Mac itself.
CrashPlan
I wanted to import my images from the SD card and be sure that the copy on my local external hard drive got backed up to another local external disk. If I have the computers and the backup in the same place, what happens if they both get destroyed by a fire or another disaster? I wanted a solid plan in case that threat ever became a reality. I wanted to create a tertiary remote backup. Additionally, I wanted to ensure that my local and remote backups were always in sync.
CrashPlan is a cloud-based backup and data protection service that offers several key features for individuals and businesses. Some of its notable features include:
Automated Backup: CrashPlan provides automated and continuous backup for my files and data. It monitors my selected files and folders for changes and ensures they are backed up to the cloud in real-time.
End-to-end Encryption: CrashPlan prioritises security by encrypting my data during transit and storing it encrypted in their cloud servers. This ensures that my files are secure from unauthorised access.
Versioning: The service allows me to store multiple versions of my files. This feature is valuable if I need to restore a previous version of a document or file.
File Restoration: I can easily restore files from my backup, whether a single file or an entire folder. This flexibility is helpful in case of accidental deletions or data loss.
Customizable Backup Sets: I can define which files and folders I want to include in the backup sets, giving me control over what gets backed up.
Alerts and Notifications: The service provides alerts and notifications to keep me informed about the status of my backups, ensuring I am aware of any issues that may arise.
Large Storage Capacity: CrashPlan offers various subscription plans with different storage capacities, allowing me to choose the one that suits my needs.
Support for External Drives: I can back up external hard drives, USB drives, and network-attached storage (NAS) devices, providing comprehensive data protection.
Hybrid and Local Backup: Besides cloud backup, CrashPlan offers the option for hybrid and local backup, which can be useful.
It's important to note that CrashPlan may have different features and plans depending on whether you are using it for personal or business purposes. Before you subscribe, you'll need to review their latest offerings to ensure they align with your specific backup and data protection needs.
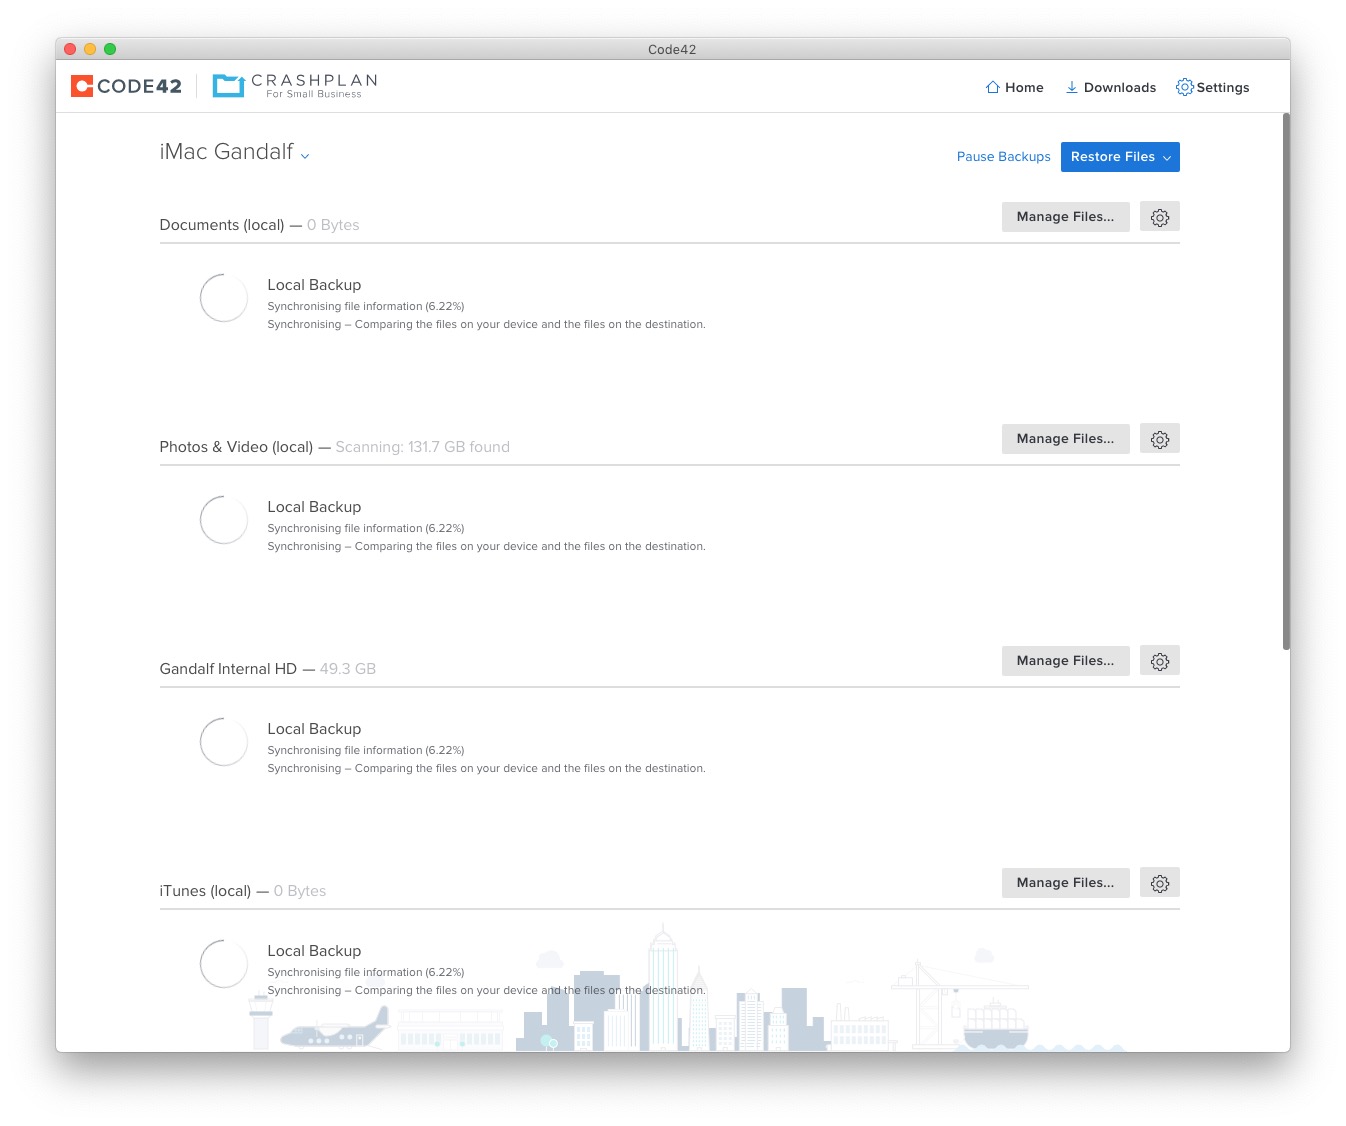
CrashPlan is a backup software that I installed on my Mac. It is highly configurable, lightweight and runs automatically in the background. I configured CrashPlan to back up when my iMac is idle and to use more bandwidth at night when my home network is not being used. The software is set to make local and encrypted cloud backups.
I pay about $10 per month per computer for a subscription to their online backup. My cloud backup is configured to use 256-bit AES data encryption for data at rest has no file size restrictions or additional charge for space. Since I have the encryption keys locally, neither CrashPlan or anyone else can read my files.
I can control what files are protected, when, and how often. CrashPlan backs up my most recent files first, then ensures I have a full backup at one destination as soon as possible before backing up to the other target.
When I run into a problem, CrashPlan’s support staff are available by phone, chat, and email. For recovery, I can restore via CrashPlans’ desktop app or web browser. I have a fast internet connection via Xfinity, so recovery times are not too time-consuming.
In the recent past, CrashPlan offered a disk recovery option whereby they would ship an encrypted disk with a copy of my backup. However, the company recently re-organised to focus on small to medium-size businesses and shuttered the consumer arm of the company.
All of my images are stored in an Adobe Lightroom Catalogue on a 5 TB external hard drive. CrashPlan’s backup software continuously creates copies of my pictures to another local 5TB external hard drive and encrypted copies to CrashPlan’s cloud service. A real-time file watcher checks for new files and file updates and backs up changes every 15 minutes by default.
That means I have three copies (two local and one in the cloud) of my images. The likely data loss is minimal. If one of the local drives fails, I can work off the other drive. I can replace the defective drive with a quick trip to Best Buy or an Amazon.com Prime delivery.
If both local drives fail (unlikely) or my house floods, electrical surge, or burns down in a fire, I can rest easy knowing that I can restore from cloud storage. No technology is zero risks, but it is highly unlikely that I would lose both drives and cloud backup. These multiple backups reduce the risk of a single point of failure.
Using a similar three-copy strategy, I use CrashPlan to back up all of my other files - my iTunes library (a separate hard drive from my Adobe Lightroom Catalog), home movies, financial records, etc.
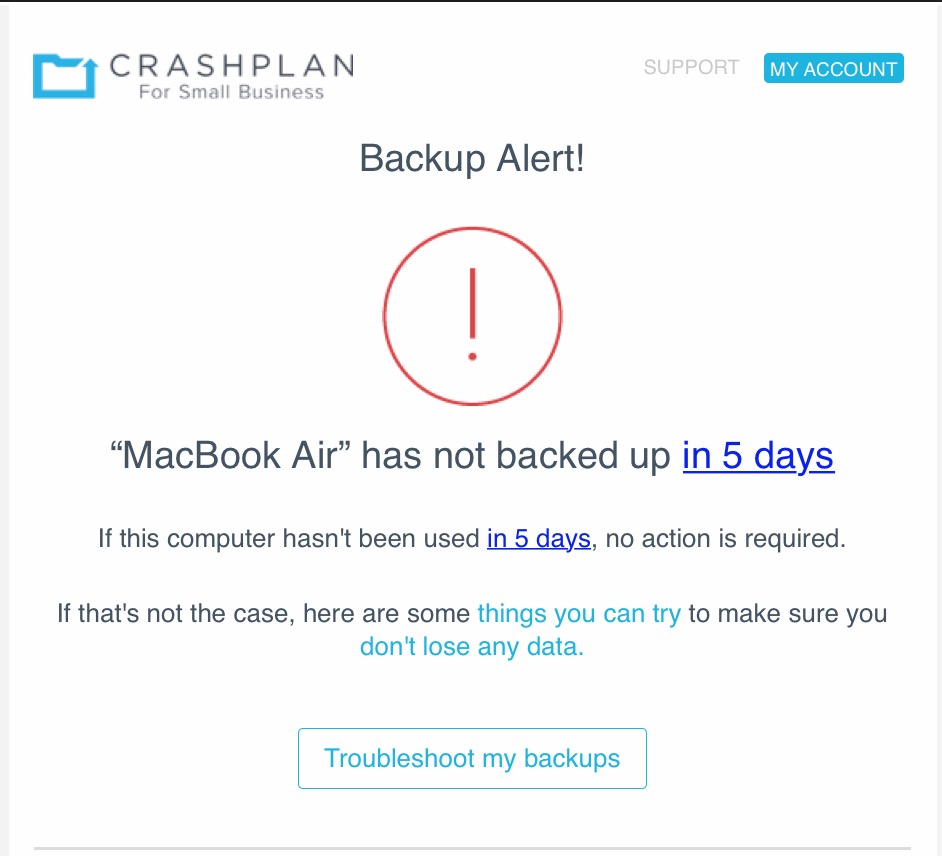
CrashPlan PRO Notification Email
One of the features of CrashPlan that I often need to remember is email notifications. My wife doesn’t use her MacBook Air daily, preferring to use her iPad for most tasks. Sometimes, she can go an entire week without using her MacBook; when she does, she may only use it for a few hours.
That means that often, CrashPlan still needs to back up her MacBook. CrashPlan’s cloud service will send me an email notification.
Bhavna also needs to remember to attach an external backup drive. However, CrashPlan will pick up where it left off the next time I plug in the drive. Compared to other cloud backup options, CrashPlan Pro for Small Business is an excellent value.
I’m happy with CrashPlan for Small Business because it always works.
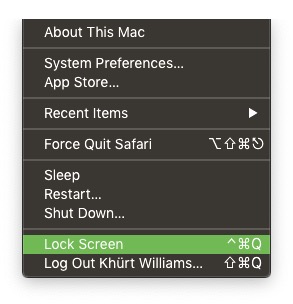
The default keyboard shortcut for locking the screen on macOS Mojave is Command + Control + Q. You can use these keystrokes at any time. Once you hit the command sequence on the keyboard, the current macOS user session screen will instantly lock, requiring a login to regain access to the session.
This is equivalent in functionality to the Command + L key combination in Microsoft Windows. You can also select this key combination from the Apple menu.
We use cookies on our website to give you the most relevant experience by remembering your preferences and repeat visits. By clicking “Accept”, you consent to using ALL the cookies. However, this website has no interest in selling your information. It does not explicitly use social media cookies from Facebook, Google, Twitter, Threads, Instagram etc. Read More
This website uses cookies to improve your experience while you navigate through the website. Out of these, the cookies categorized as necessary are stored on your browser as they are essential for the working of basic functionalities of the website. We also use third-party cookies that help us analyze and understand how you use this website. These cookies will be stored in your browser only with your consent. You also have the option to opt out of these cookies. But opting out of some of these cookies may affect your browsing experience.
Necessary cookies are absolutely essential for the website to function properly. These cookies ensure basic functionalities and security features of the website, anonymously.
Cookie
Duration
Description
cookielawinfo-checkbox-analytics
11 months
This cookie is set by GDPR Cookie Consent plugin. The cookie is used to store the user consent for the cookies in the category "Analytics".
cookielawinfo-checkbox-functional
11 months
The cookie is set by GDPR cookie consent to record the user consent for the cookies in the category "Functional".
cookielawinfo-checkbox-necessary
11 months
This cookie is set by GDPR Cookie Consent plugin. The cookies is used to store the user consent for the cookies in the category "Necessary".
cookielawinfo-checkbox-others
11 months
This cookie is set by GDPR Cookie Consent plugin. The cookie is used to store the user consent for the cookies in the category "Other.
cookielawinfo-checkbox-performance
11 months
This cookie is set by GDPR Cookie Consent plugin. The cookie is used to store the user consent for the cookies in the category "Performance".
viewed_cookie_policy
11 months
The cookie is set by the GDPR Cookie Consent plugin and is used to store whether or not user has consented to the use of cookies. It does not store any personal data.
Functional cookies help to perform certain functionalities like sharing the content of the website on social media platforms, collect feedbacks, and other third-party features.
Performance cookies are used to understand and analyze the key performance indexes of the website which helps in delivering a better user experience for the visitors.
Analytical cookies are used to understand how visitors interact with the website. These cookies help provide information on metrics the number of visitors, bounce rate, traffic source, etc.
Advertisement cookies are used to provide visitors with relevant ads and marketing campaigns. These cookies track visitors across websites and collect information to provide customized ads.


 and select Curves.


 The default keyboard shortcut for locking the screen on macOS Mojave is Command + Control + Q. You can use these keystrokes at any time. Once you hit the command sequence on the keyboard, the current macOS user session screen will instantly lock, requiring a login to regain access to the session.