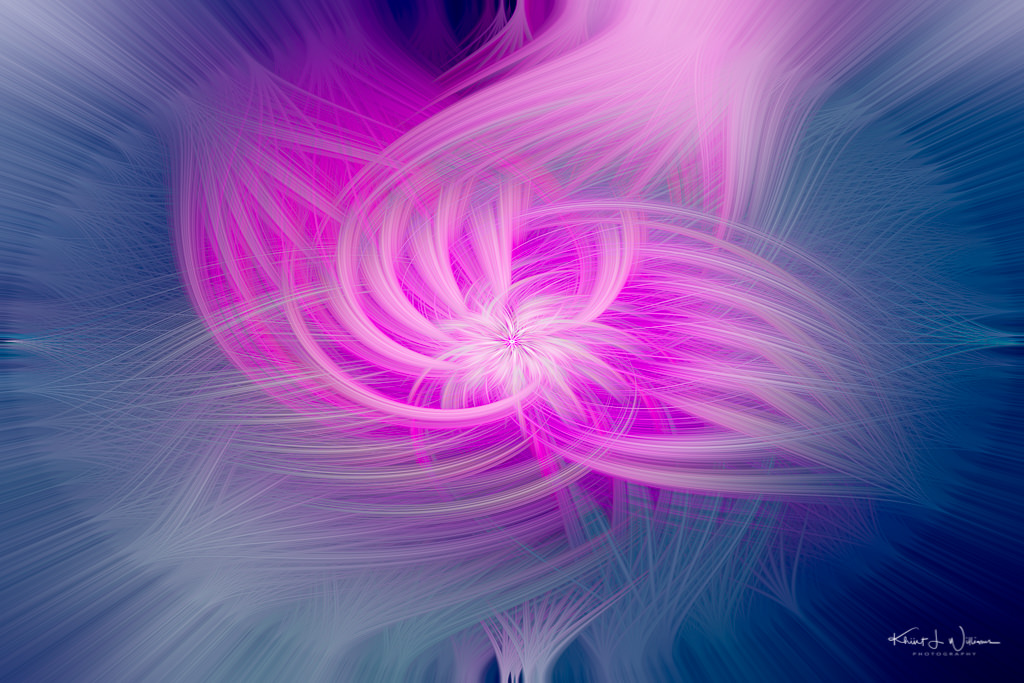
I learned a new technique which I have used to transform a mundane set of images into something I find exciting.
I first read about this twirl technique on Hanne Siebers's blog. Dina learned about the technique from her camera club, The North Norfolk Photographic Society. She has used it to transform a photograph of Klausbernd into a twist. I loved the idea and looked at this video to which Dina provided a link.
The video shows how to create exciting artistic twirl effects in Adobe Photoshop. For me, the process is a way to explore the features of Photoshop, but I also found it to be a distraction from pandemic social isolation as well as a way to find more creativity in my day. While I was able to learn the process via the video, I did a lot of stopping and rewinding and flipping back and forth from the video to Photoshop. I find all of that annoying. I find any kind of online video learning annoying. It's not my learning style. I wrote down the steps to do it, and I hope this is useful to others. The text-based steps below are how I have created all subsequent twirls. It does, however, require knowledge of and familiarity with the Adobe Photoshop menus. For people who are not familiar with the right-side panel, the video may be a better choice.
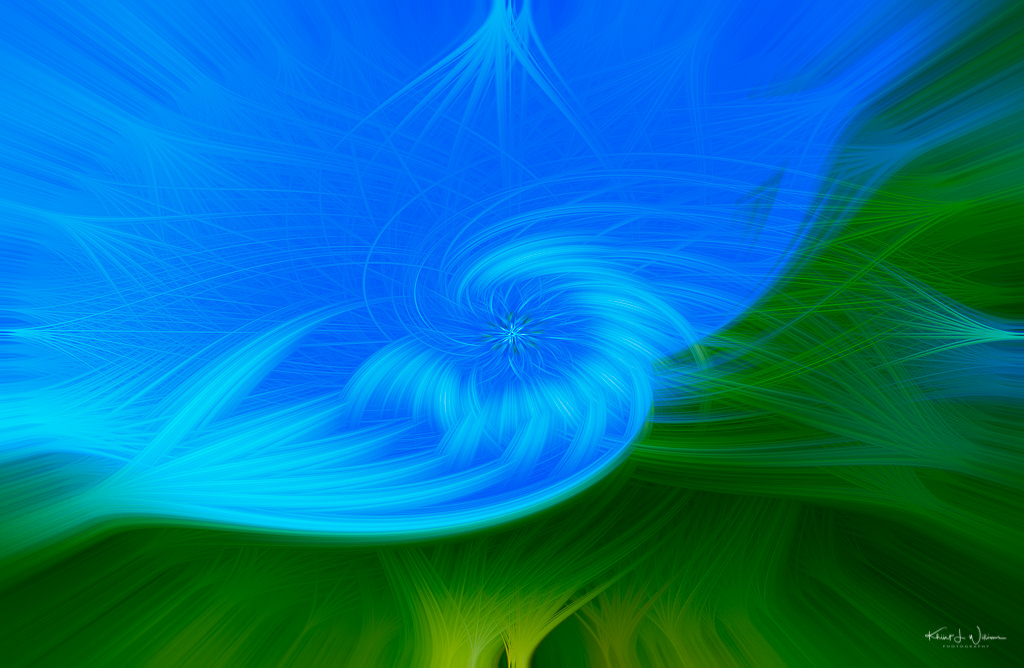
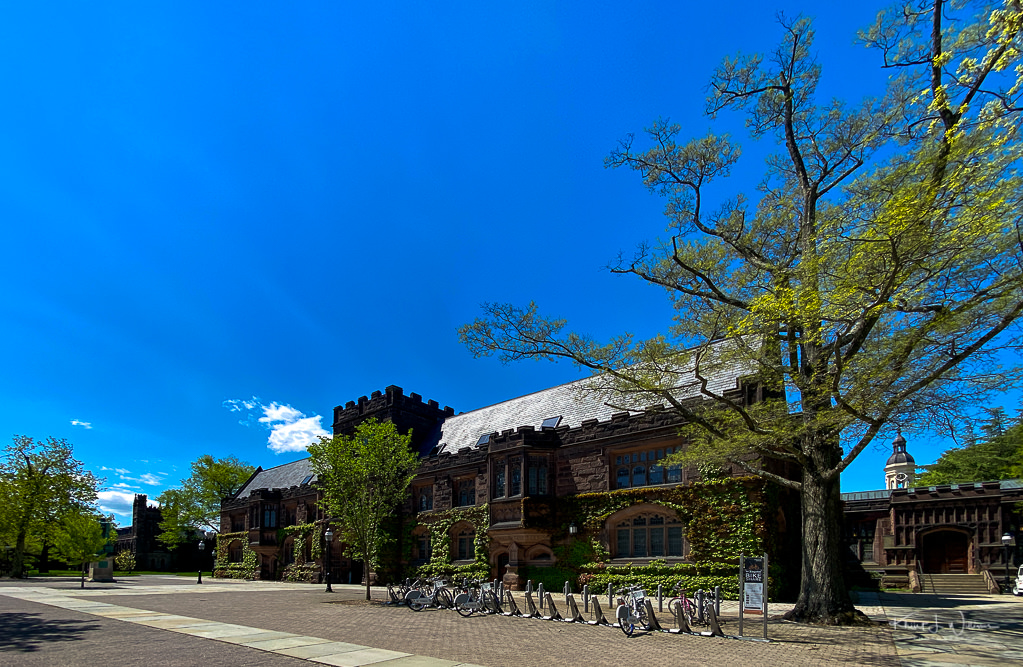
Any image will do, but I got the best results from simple images that contain one to three main colours. As the starting point for the twirl created in this blog post, I used one of my recent iPhone photographs of East Pyne Hall on the Princeton University Campus. Once you have selected an image open the image in Adobe Photoshop. NOTE: I am using Adobe Photoshop CC.
If any of this is unclear please let me know. I have screenshots of the menus that I hope to include in an update to this blogs post.
- In the right-side panel, right-click on the layer and select “Convert to Smart Object”.
- From the main menu, choose Filter->Pixelate->Mezzoint.
- Select “Medium Strokes” for type.
- Click Ok.
- From the main menu select Filter->Blur->Radial Blur.
- Set Blur Method to “Zoom” and amount to 100%.
- Click Ok.
- Repeat these steps two more times.
- From the main menu, Select Filter->Distort->Twirl.
- Set the Angle to -100% and click Ok.
- Right-click on the Twirl layer you just created and select "Edit Smart Filter Blending Options"
- Set the Blending Mode to Lighten.
- Repeat the Twirl from the step above but in the other direction. From the main menu, Select Filter->Distort->Twirl.
- Set the Angle to 100% and click Ok.
- Right-click on the Twirl layer you just created and select "Edit Smart Filter Blending Options"
- Set Blending Mode to Lighten.
- Click Ok.
- From the right-side at the bottom of the Layers panel click the Adjustment Layer button
 and select Curves.
- Adjust black and whites to create a slight S curve.
- From the right-side at the bottom of the Layers panel click the Adjustment Layer button and select Vibrance
- Change the Vibrance setting to personal taste.
- From the right-side at the bottom of the Layers panel click the Adjustment Layer button and select Color Balance
- Play around with the sliders until you get something you like.
- Select the original layer and add another Twirl. From the main menu, select Filter->Distort->Twirl.
- Set the Angle to -150% and click Ok.
- Right-click on the Twirl layer you just created and select "Edit Smart Filter Blending Options"
- Set Blending Mode to Lighten.
- Click Ok.
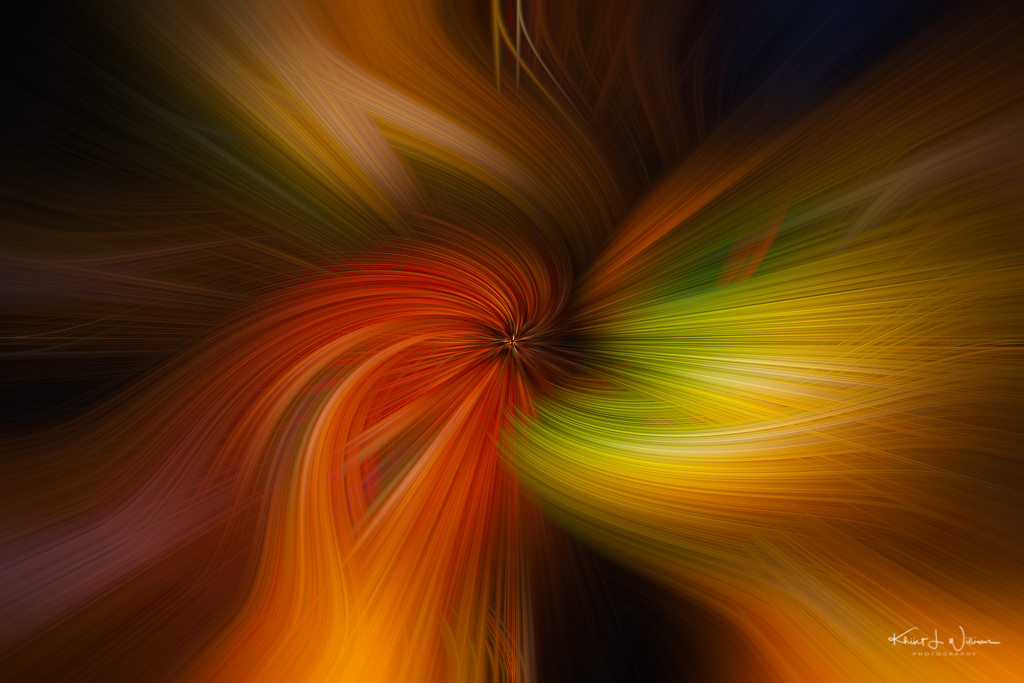
Your swirls are stunning, Khürt! A lovely variety of colours and twirls. Thanks for the tutorial, it’s much easier for many to follow the steps now. ?????
Hi Dina, thank you for the compliment and for bringing this trick to my attention.