Mastering The Tool

Use whatever is best for your photographic editing.

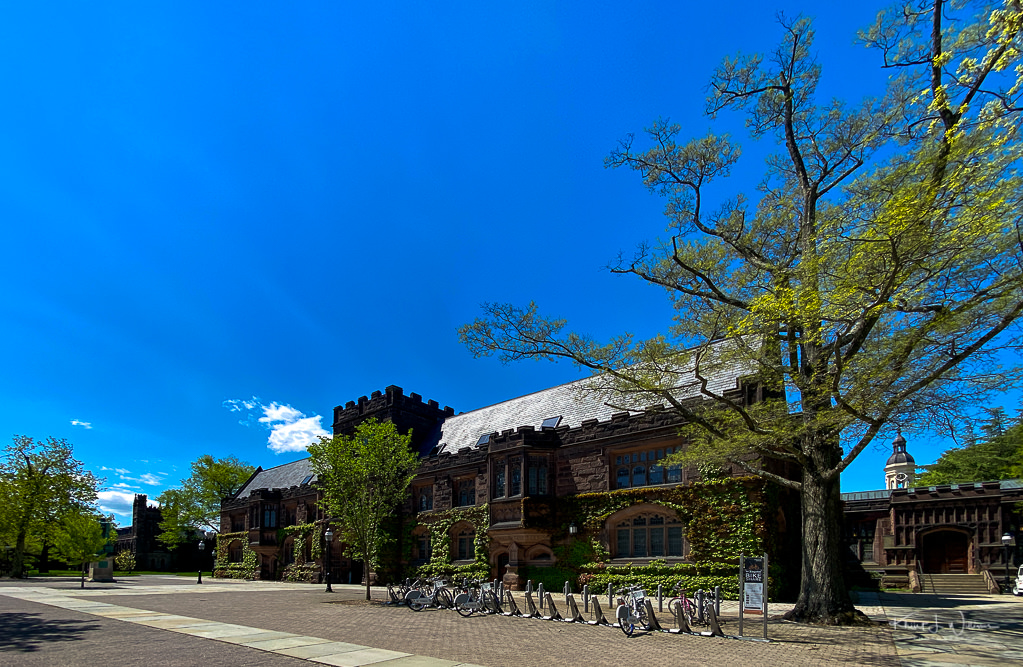
As an amateur photographer, I spend significant time tinkering with my camera gear and editing my photographs. When I started post-processing in 2009, I settled on Adobe Lightroom as my go-to digital editing tool. This decision was based on recommendations from more experienced amateurs and professional photographers.

Over the course of the next fourteen years, I dabbled with various other editing programs like Capture One, Aperture, Luminar, and even the open-source Darktable. But I always found myself circling back to Adobe Lightroom. Not necessarily because it's unequivocally superior, mind you. The truth is, I'm unsure whether it is or isn't, and I'm perfectly okay with that uncertainty. What keeps me anchored to Adobe Lightroom is that I lack concrete reasons to dive into a complete overhaul of my workflows and editing process for shiny new software. The prospect doesn't seem worth the effort.

Could I streamline my workflow with different software? Maybe. Could I achieve more nuanced edits with a more advanced tool? Probably. However, these reasons are not compelling enough to warrant a shift in my current process. My focus is crafting captivating photographs, not on finding dazzle in an ever-evolving landscape of editing software.

Yet, none appear to be the perfect fit if you believe some on social media. This comes from an excess of choices and is likely connected to the concept of Overchoice. One tool might excel in certain aspects, another boasts a particular feature, and another touts a sleeker interface. The outcome? A trifecta of dissatisfaction.

Even if I were to edit my images on a more advanced app, my photographs could still possess imperfections. A fancier app won't magically make me into a better photographer.

So, my advice is simple: use whatever is best for your photographic editing. Master it.

Create this Twirl effect in Adobe Photoshop

I learned a new technique which I have used to transform a mundane set of images into something I find exciting.

I first read about this twirl technique on Hanne Siebers's blog. Dina learned about the technique from her camera club, The North Norfolk Photographic Society. She has used it to transform a photograph of Klausbernd into a twist. I loved the idea and looked at this video to which Dina provided a link.

The video shows how to create exciting artistic twirl effects in Adobe Photoshop. For me, the process is a way to explore the features of Photoshop, but I also found it to be a distraction from pandemic social isolation as well as a way to find more creativity in my day. While I was able to learn the process via the video, I did a lot of stopping and rewinding and flipping back and forth from the video to Photoshop. I find all of that annoying. I find any kind of online video learning annoying. It's not my learning style. I wrote down the steps to do it, and I hope this is useful to others. The text-based steps below are how I have created all subsequent twirls. It does, however, require knowledge of and familiarity with the Adobe Photoshop menus. For people who are not familiar with the right-side panel, the video may be a better choice.

Any image will do, but I got the best results from simple images that contain one to three main colours. As the starting point for the twirl created in this blog post, I used one of my recent iPhone photographs of East Pyne Hall on the Princeton University Campus. Once you have selected an image open the image in Adobe Photoshop. NOTE: I am using Adobe Photoshop CC.

If any of this is unclear please let me know. I have screenshots of the menus that I hope to include in an update to this blogs post.

Monday 4 May, 2020 | Apple iPhone 11 Pro | iPhone 11 Pro back camera 1.54mm f/2.4 | ISO 20
  1. In the right-side panel, right-click on the layer and select “Convert to Smart Object”.
  2. From the main menu, choose Filter->Pixelate->Mezzoint.
    1. Select “Medium Strokes” for type.
    2. Click Ok.
  3. From the main menu select Filter->Blur->Radial Blur.
    1. Set Blur Method to “Zoom” and amount to 100%.
    2. Click Ok.
    3. Repeat these steps two more times.
  4. From the main menu, Select Filter->Distort->Twirl.
    1. Set the Angle to -100% and click Ok.
    2. Right-click on the Twirl layer you just created and select "Edit Smart Filter Blending Options"
    3. Set the Blending Mode to Lighten.
  5. Repeat the Twirl from the step above but in the other direction. From the main menu, Select Filter->Distort->Twirl.
    1. Set the Angle to 100% and click Ok.
    2. Right-click on the Twirl layer you just created and select "Edit Smart Filter Blending Options"
    3. Set Blending Mode to Lighten.
    4. Click Ok.
  6. From the right-side at the bottom of the Layers panel click the Adjustment Layer button adjustment layers button and select Curves.
    1. Adjust black and whites to create a slight S curve.
  7. From the right-side at the bottom of the Layers panel click the Adjustment Layer button adjustment layers button and select Vibrance
    1. Change the Vibrance setting to personal taste.
  8. From the right-side at the bottom of the Layers panel click the Adjustment Layer button adjustment layers button and select Color Balance
    1. Play around with the sliders until you get something you like.
  9. Select the original layer and add another Twirl. From the main menu, select Filter->Distort->Twirl.
    1. Set the Angle to -150% and click Ok.
    2. Right-click on the Twirl layer you just created and select "Edit Smart Filter Blending Options"
    3. Set Blending Mode to Lighten.
    4. Click Ok.
Instant Miso Soup Package | Thursday 30 April, 2020 | FujiFilm X-T2 | XF16-55mmF2.8 R LM WR | f/6.4 | ISO 3200
Yellow orchid flowers | Wednesday 29 April, 2020 | FujiFilm X-T2 | XF16-55mmF2.8 R LM WR | f/2.8 | ISO 400
Pink orchids flowers | Wednesday 29 April, 2020 | FujiFilm X-T2 | XF16-55mmF2.8 R LM WR | f/2.8 | ISO 800
Pantry door | Wednesday 29 April, 2020 | FujiFilm X-T2 | XF16-55mmF2.8 R LM WR | f/2.8 | ISO 250
Bowl of oranges | Wednesday 29 April, 2020 | FujiFilm X-T2 | XF16-55mmF2.8 R LM WR | f/2.8 | ISO 4000

Isolation Photo Project, Day 39

I didn't go outside at all today. The air was damp, and the sky was a dark, moody overcast mess. Right now it's raining hard outside. This evening, Bhavna and Kiran went out for a walk and got caught out in the rain. They arrived home soaking wet.

According to the Zyrtec app, the pollen count was high today. This morning I opened the window near my work desk just a crack to listen to the birds while I read the morning tech news. I completely forgot I had the window open and it wasn't until 6 PM when I complained to my wife that my eyes were itchy that I realised that my allergies were to blame.

I continue to experiment with twirls and radial blur features of Photoshop.

Submitted as part of the 100DaysToOffload project.