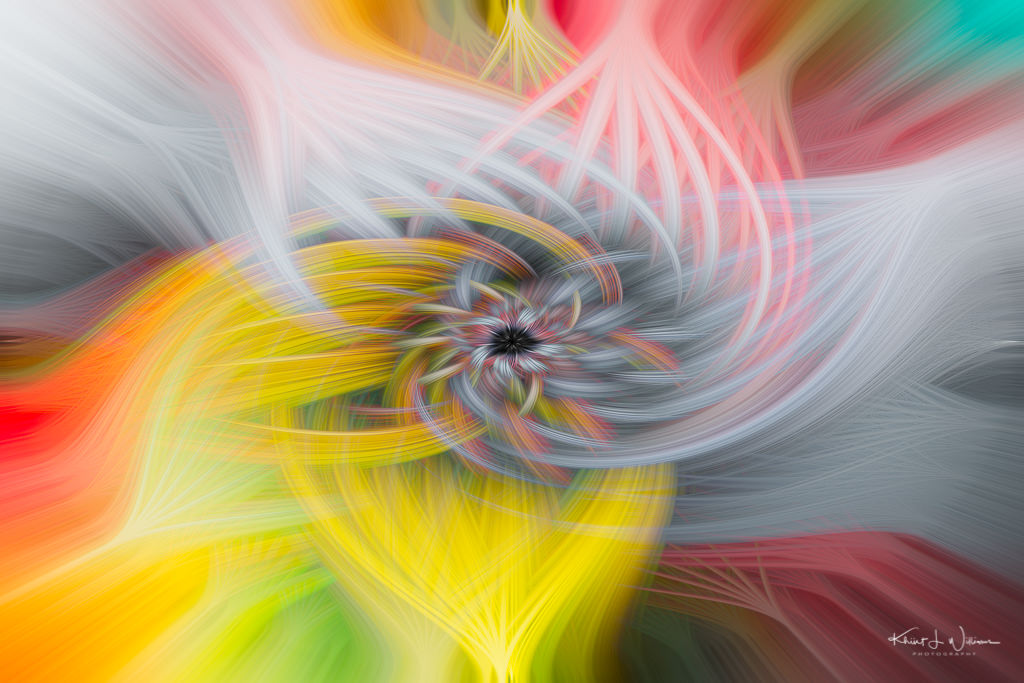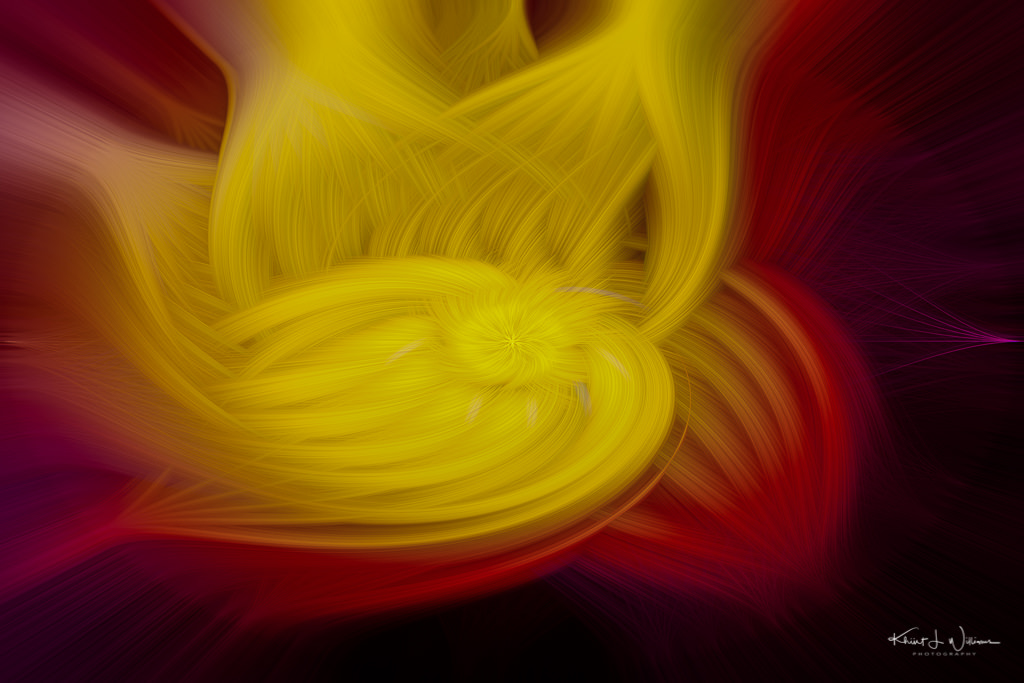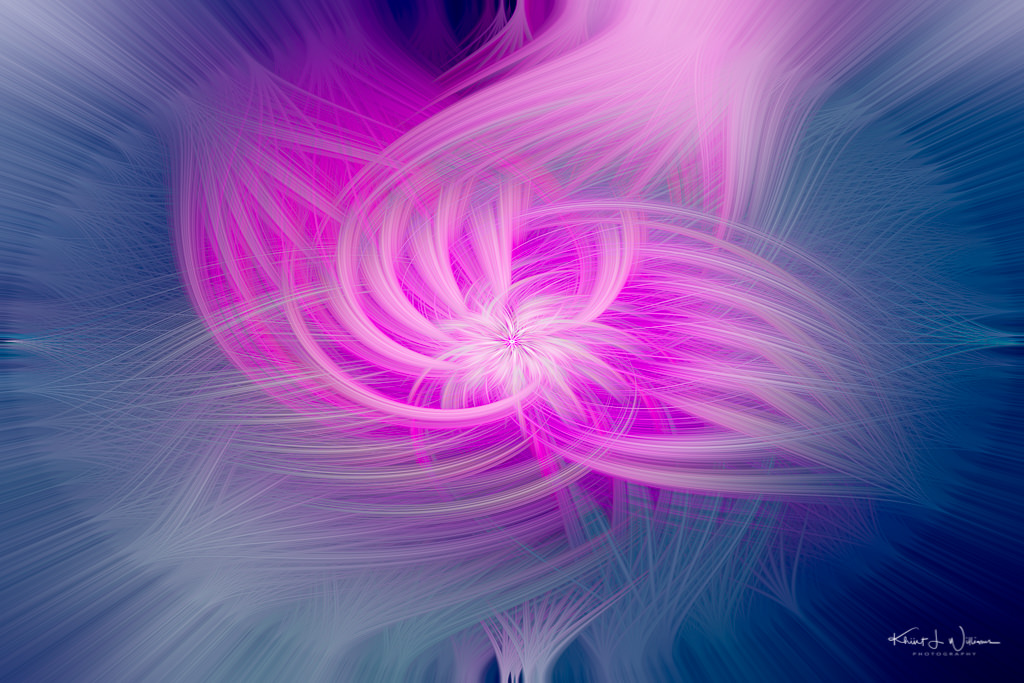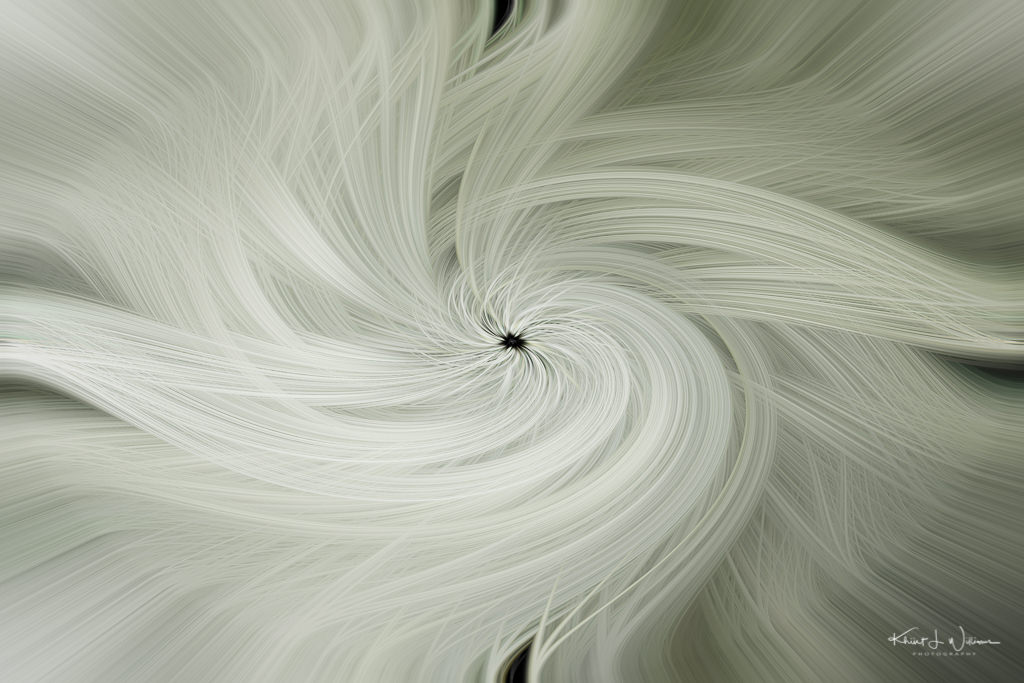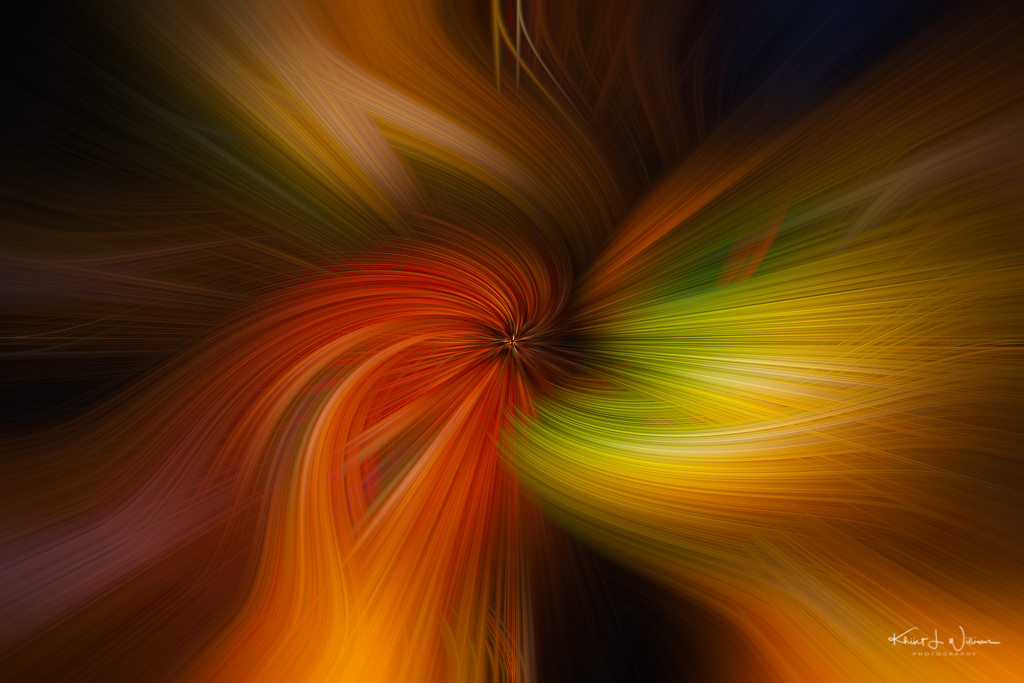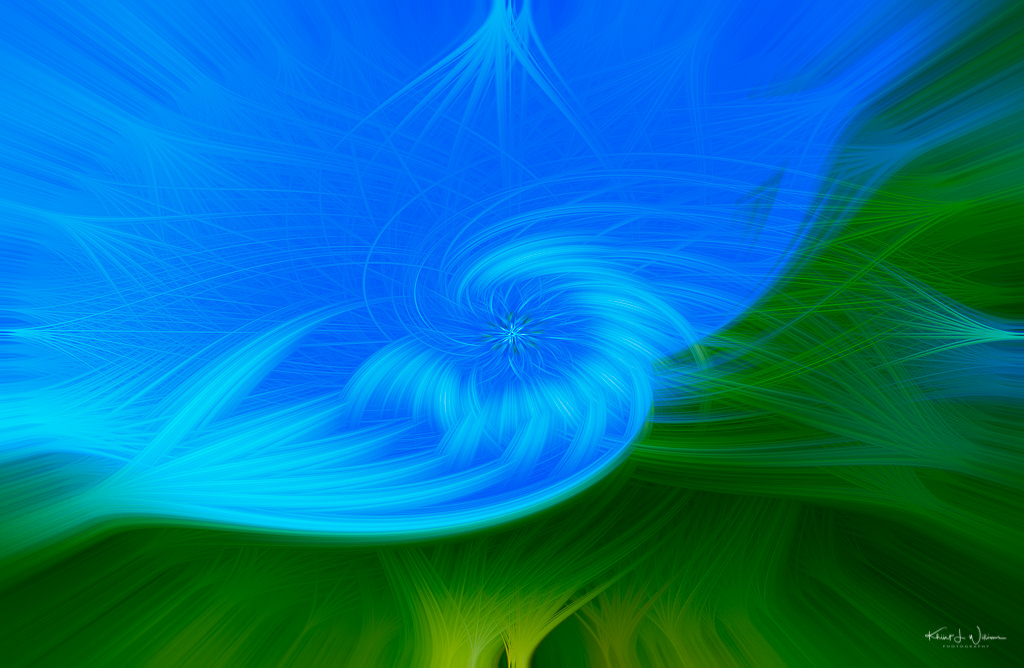
I learned a new technique which I have used to transform a mundane set of images into something I find exciting.
I first read about this twirl technique on Hanne Siebers's blog. Dina learned about the technique from her camera club, The North Norfolk Photographic Society. She has used it to transform a photograph of Klausbernd into a twist. I loved the idea and looked at this video to which Dina provided a link.
The video shows how to create exciting artistic twirl effects in Adobe Photoshop. For me, the process is a way to explore the features of Photoshop, but I also found it to be a distraction from pandemic social isolation as well as a way to find more creativity in my day. While I was able to learn the process via the video, I did a lot of stopping and rewinding and flipping back and forth from the video to Photoshop. I find all of that annoying. I find any kind of online video learning annoying. It's not my learning style. I wrote down the steps to do it, and I hope this is useful to others. The text-based steps below are how I have created all subsequent twirls. It does, however, require knowledge of and familiarity with the Adobe Photoshop menus. For people who are not familiar with the right-side panel, the video may be a better choice.
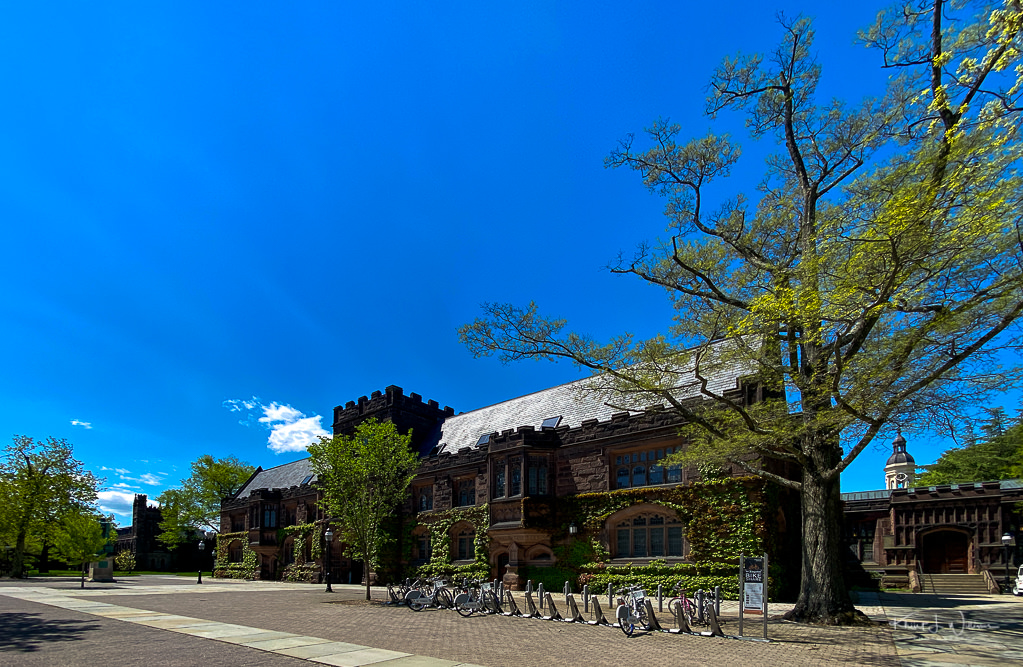
Any image will do, but I got the best results from simple images that contain one to three main colours. As the starting point for the twirl created in this blog post, I used one of my recent iPhone photographs of East Pyne Hall on the Princeton University Campus. Once you have selected an image open the image in Adobe Photoshop. NOTE: I am using Adobe Photoshop CC.
If any of this is unclear please let me know. I have screenshots of the menus that I hope to include in an update to this blogs post.
- In the right-side panel, right-click on the layer and select “Convert to Smart Object”.
- From the main menu, choose Filter->Pixelate->Mezzoint.
- Select “Medium Strokes” for type.
- Click Ok.
- From the main menu select Filter->Blur->Radial Blur.
- Set Blur Method to “Zoom” and amount to 100%.
- Click Ok.
- Repeat these steps two more times.
- From the main menu, Select Filter->Distort->Twirl.
- Set the Angle to -100% and click Ok.
- Right-click on the Twirl layer you just created and select "Edit Smart Filter Blending Options"
- Set the Blending Mode to Lighten.
- Repeat the Twirl from the step above but in the other direction. From the main menu, Select Filter->Distort->Twirl.
- Set the Angle to 100% and click Ok.
- Right-click on the Twirl layer you just created and select "Edit Smart Filter Blending Options"
- Set Blending Mode to Lighten.
- Click Ok.
- From the right-side at the bottom of the Layers panel click the Adjustment Layer button
 and select Curves.
- Adjust black and whites to create a slight S curve.
- From the right-side at the bottom of the Layers panel click the Adjustment Layer button and select Vibrance
- Change the Vibrance setting to personal taste.
- From the right-side at the bottom of the Layers panel click the Adjustment Layer button and select Color Balance
- Play around with the sliders until you get something you like.
- Select the original layer and add another Twirl. From the main menu, select Filter->Distort->Twirl.
- Set the Angle to -150% and click Ok.
- Right-click on the Twirl layer you just created and select "Edit Smart Filter Blending Options"
- Set Blending Mode to Lighten.
- Click Ok.