It's been a few hours since version 2.0 of John Saddington's photo publishing application, Pressgram, debuted on the iOS App Store. You can tell that John has put a lot of effort -- some heart and soul -- into improving and simplifying the Pressgram user experience. Some old features have been removed and some new and exciting ones have been added.
No more socializing
Pressgram 1.0 was released with both a publishing component and a social networking component. While the publishing component has been retained and expanded, the social network has been "deprecated". Pressgram no longer feels like an Instagram clone with the ability to publish to WordPress. Users will no longer be able to follow each other or "heart" photos. That part is gone. I'm sure it was a tough decision for John, and he probably received a lot of flack for it, but I think removing the social layer was a sound decision.
More social sharing
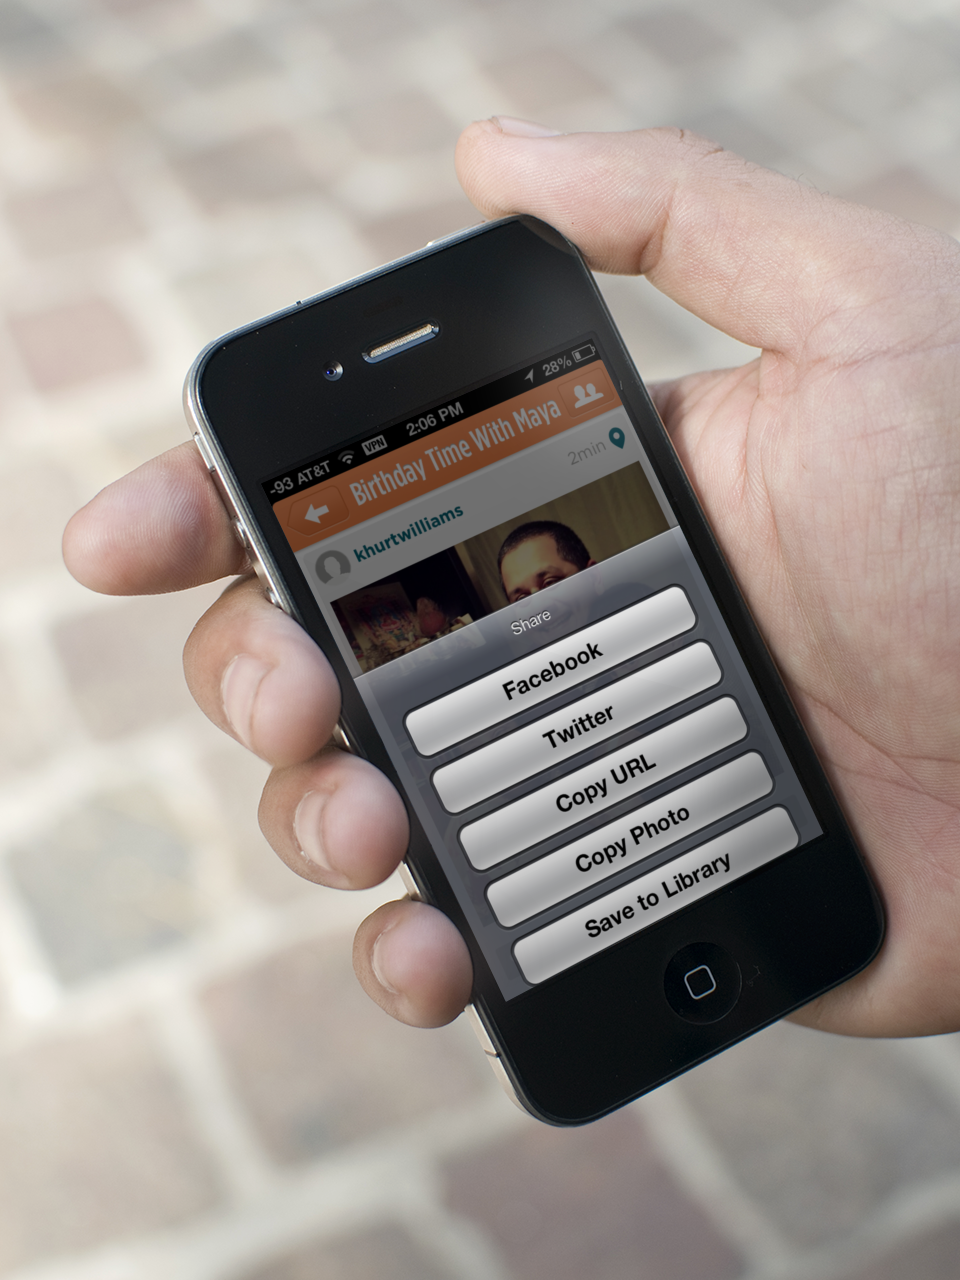
Although, Pressgram the Social Network is in the bit bucket, Pressgram the app has added more social sharing options. Pressgram 1.0 had options to share a photo post to Twitter, and Facebook while simultaneously publishing to a WordPress blog. Version 2.0 adds the option to share to Google+ and publish to Tumblr, Blogger, Squarespace, Moveable Type, and TypePad. Wow! I think that covers all the major self publishing platforms. The fact that Pressgram can now post to Google+ gives it a leg up on any other photo publishing app on the market.
Simplified workflow
This slideshow requires JavaScript.
Upon first launching Pressgram 2.0 I was presented with a screen with two large buttons and three smaller boxes. First and foremost are the icons for snapping a photo and one for choosing a photo from the iOS photo library. But first I wanted to set up the app so I tapped on Settings.
Once in settings I could setup my publishing options. I tapped Accounts and connected my self hosted WordPress account and my Google+, Twitter and Facebook accounts. I am not restricted to one account per platform. I can create connections to multiple accounts. If I have separate twitter accounts for personal and business use I can create an entry for each.
John leveraged the built-in iOS account settings for Twitter and Facebook. Setting these up was a quick two-tap process. Setting up WordPress was a bit more involved but still simple. Just be sure to enter a category and tag for the WordPress account.
If you have multiple blogs, regardless of platform, you can choose which blog is your default for image posts. If you have one main blog where you post most of your images this will save some steps in your publishing workflow.
Another workflow feature is that the user can specify that the camera is the first thing the user sees when launching the app.
Image settings
The Global Settings section of Pressgram Settings has options for adding a watermark, saving the original photo to the iOS photo library, and adding a link to each post to help promote Pressgram. But, the settings I am most excited about are the ones allowing me specify the image resolution and the retention of EXIF data.
I use a WordPress plugin that adds a caption with EXIF data to my posted images. For my purpose and for the curious photographer I want the EXIF data to be shown. I think keeping the EXIF data was a feature requested soon after Pressgram 1.0 was release. John listened and delivered.
The Pressgram Store
Pressgram 2.0 ships with a some nifty Premium features which can be enabled with an in-app purchase. I bought them all (a total of $15). Yes, it was a bit indulgent but if you are serious about your iPhone photography you'll get them all as well. You don't have to buy them all at once. You can buy them one at a time ($0.99 each) as your needs and budget allow. Tap each premium feature to get a description of what each does. I think I'll be spending a lot of time messing around with the vignette and clarity adjustments in the refinement pack. The photography graphics in this part of the apps are very well done.
Snap & Publish
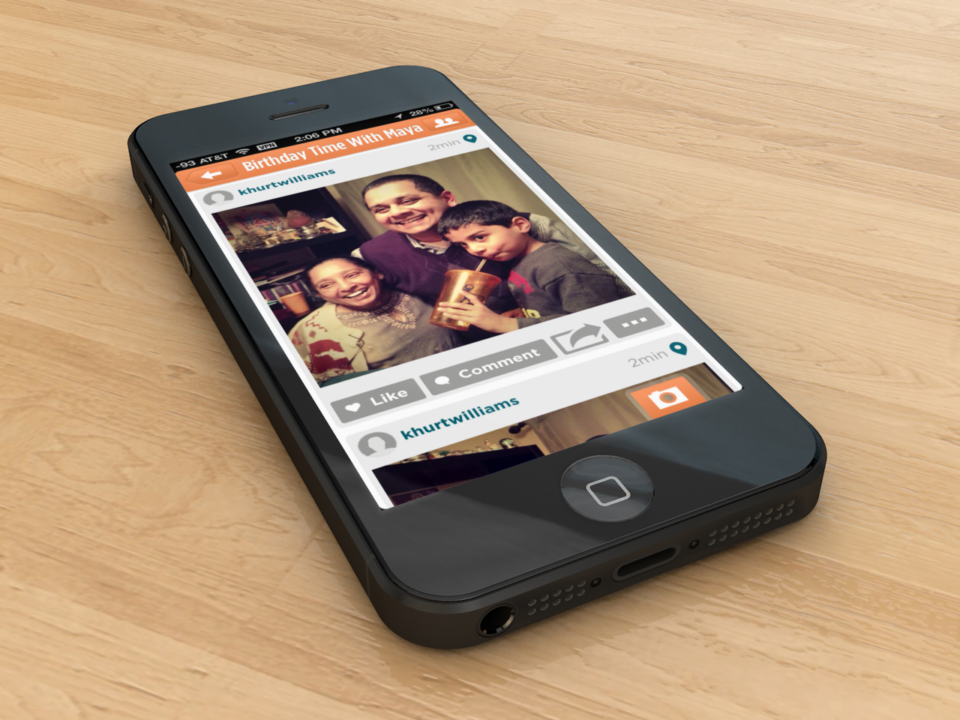
So now I had everything all setup. Time to publish. My office is not in an attractive neighbourhood so for my first post I used a photo I took earlier in the day. The Pressgram photo editor gave me options to crop my image, apply a filter, adjust exposure, clarity, texture etc. All of these adjustments can be layered. Once you have the photo just the way you want, you can add a border or layer text on top. There is something here for everyone.
After editing the image, you can tap the check mark and Pressgram takes you to the next stage of the workflow; publishing. Here the user can set a title for the post, add some text for the body of the post or go back to editing.
One added feature that I almost missed is that from the publishing page I can add another photo. This is something the original version of Pressgram did not have. In the original the user is restricted to publishing a single square image. With Pressgram 2.0, the user can publishing multiple and various sized images in the same post. Oh yeah!
Once the user completes entering the post information, a single tap of the check mark takes the user to the last stage. Select the one or more publishing options from the ones you've setup and tap the check mark. Boom! Done!
But wait. I forgot something. Back on the startup page there was a button titled Drafts. What's that about? Well, if for some reason you change your mind about posting in that moment or your iPhone battery craps out before you hit publish, don't worry. You can save or recover your post as a draft for posting later. In fact you can have multiple draft posts waiting. This allows for non-instant posting. Capture a photo now, add some text with your first initial thoughts, then edit later and post when you're ready for the world to see your creation. Brilliant!
Wrap Up
In some ways Pressgram 2.0 is the app that I think John originally set out to build. Snap, filter, publish an image to any platform of the users choosing. I don't miss the social network part of Pressgram. I can use the social networks I already have. Now off to snap photos.