Project Overview
Last August, I initiated a project aimed at using a Raspberry Pi for bracketed image capture, intended for High Dynamic Range (HDR) photography with my Nikon D40. The initial version had limitations: it necessitated manually connecting the Raspberry Pi and waiting for the script execution to complete.
After rigorous testing, I have developed a more refined, Perl-based solution. This work is an amalgamation of several other projects and contributions, including those mentioned in the comments of my previous post.
Acknowledgements
I gained valuable insights from Zach Dwiel's gphoto2-timelapse project, which is written in Python. I adopted the startup script and usbreset methodologies from his work.
For understanding Raspberry Pi's GPIO functionalities, WiringPi was instrumental. Additional help came from this diagram and code on the TNET Raspberry Pi site, as well as information found on the RPi low-level peripherals page.
Technical Details
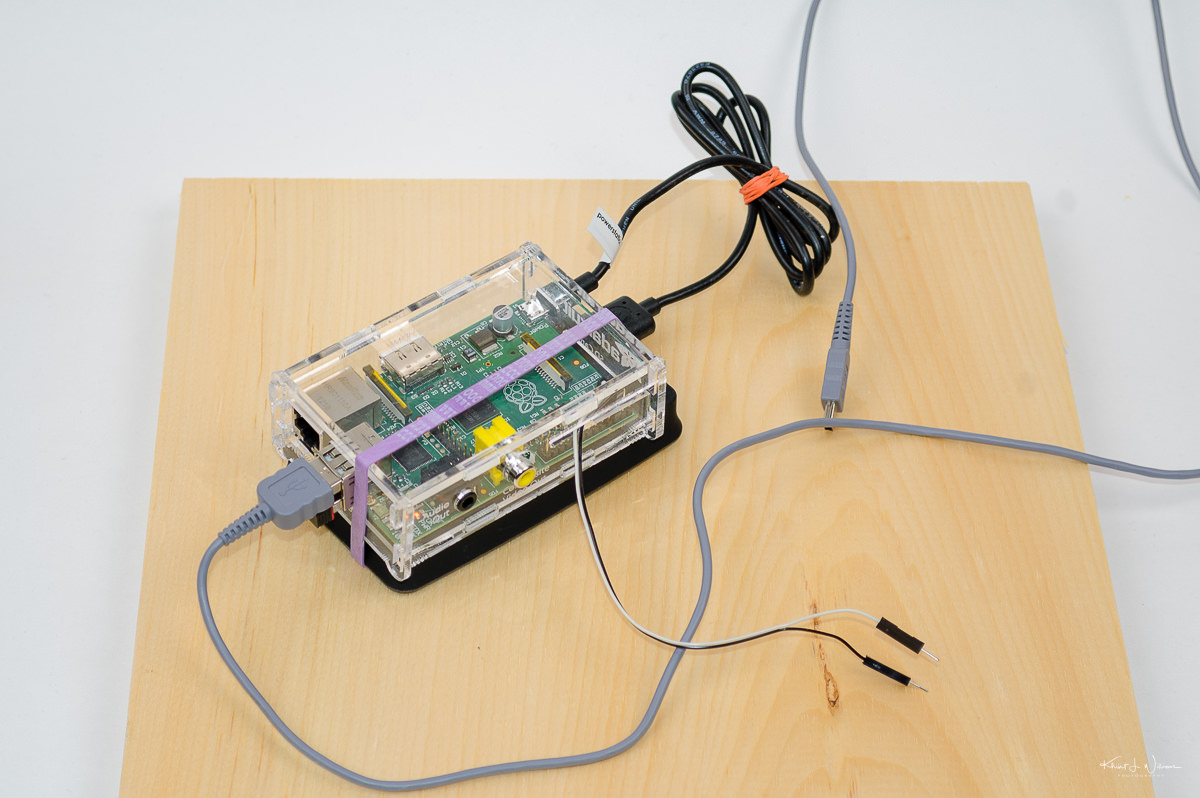
The project uses a Raspberry Pi, a supported DSLR camera, and the gphoto2 software. My Perl script refines an earlier BASH version to simplify the process.
Requirements
- Compile WiringPi to control the GPIO pins.
- Install
usbutilsto getlsusb, a utility for monitoring USB connections. - Compile
usbresetto manage the camera's USB interface effectively.
Running the Script
After fulfilling the requirements, you'll need to adjust the script for your camera specifics. Use lsusb to identify the USB ID for your camera and locate appropriate gphoto2 parameters. Then, initiate the Perl script using perl hdr.pl.
There's also an rc script for auto-starting the HDR script when the Raspberry Pi is powered on.
Final Thoughts
The script comprises one main loop and four functions. While the system is operational, there are still some inefficiencies; notably, gphoto2 takes about 5 seconds to initialise. Potential improvements could involve creating Perl bindings for the gphoto2 library or rewriting the program in C, although I generally avoid strongly typed languages.
By sharing this project, I hope to contribute to the broader discourse on Raspberry Pi and HDR photography, while also opening the door for collaborative problem-solving and further refinements.
You can find all the code on GitHub.
Comments are closed.