When Apple released the new iPad, they also released iPhoto to compete with the iLife1 suite for iOS. On my tech blog, I wrote an overview of some of the basic features that excited me, but with this post2, I want to show some of the basic steps to processing photos in iPhoto for iOS. The following was done on an iPad, but iPhoto on the iPhone works similarly.
We've had warmer weather in early Spring, and most trees are in full bloom. While not great for my allergies, it has been great for photography. For this demo, I'll use a photo of some blossoms I shot3 while visiting the home of my wife's sister.

#Setting up#
Using the iPad camera connection kit, I imported the RAW image from the SD card. I could have just as well shot the picture on my iPhone and used the iPad Camera Connection Kit or the beam feature of iPhoto to import.
After launching iPhoto, select the Camera Roll or the Photos tab to get a listing of photos. iPhoto works in either portrait or landscape orientation. Use whichever orientation provides the most visibility for editing your image. I'm using landscape mode for this edit.

Before editing, you'll want to familiarize yourself with the environment. If you touch the question mark icon, tooltips will be overplayed on your screen to explain the various icons. You'll also want to adjust the size of the film strip to maximize your workspace. You can touch and move the grey bar above the film strip.

Once your environment is set up, select a photo from the film strip and click "Edit".

#Editing#
Once in edit mode, you'll be presented with a new set of icons. Again, it's a good idea to click the question mark icon to familiarize yourself with the working environment.

##Crop##
The first thing I wanted to do was crop the photo. I wanted the flowers to be the photo's focus, but I thought they were too centred. I selected the Crop & Straighten tool and then selected the edge of the picture and dragged the box around. I used the rule of thirds to place the flowers within the grid marks on the right third of my image.

iPhoto edits are cumulative and non-destructive. Your original photo is not touched, and you can undo all your changes. You can save the result to the Camera Roll or share it via the options provided.
##Exposure & Color##
The next thing I wanted to do was adjust the exposure and white balance of the image. The Exposure tool provides a single slider I can move back and forth to get things right.

While the Color tool provides several sliders for manual adjustments, I used one of the white balance presets.

##Brushes##
There are so many ways these can be used, but I wanted to sharpen the main object of my photo for displaying on the web. I used the pinch and zoom gesture to zoom in on the area I wanted to work on. I chose the Sharpen brush and, using my finger, "painted" over the areas I wanted to sharpen.

##Effects##
If you are familiar with Instagram, you already have experience applying filters and textures to your iPhone photos. Effects are similar. There is no right or wrong here. Choose a filter effect that appeals to you. I chose one that added more pop to the orange in the flower stamens.

##Finishing up##
Now that I've completed my edits — after tapping the Edit button to exit that mode — I can save them back to the Camera Roll4 or choose one of the many built-in sharing options. Although I've just made a bunch of edits to my photo, I need to save the image back to the Camera Roll if I want the edited photo to be available for use by other apps or to sync back to iPhoto on my Mac using iCloud.

I hope I've given you an excellent intro to editing photos on the iPad using Apple's iPhoto app. Although I prefer using Adobe Lightroom 4 for OS X to edit my photos, the iPhoto app complements those who use iPhoto or Aperture in combination with iCloud on the Mac.
- Although they are purchased separately, I'm referring to the combination of iMovie, Garage Band, and iPhoto, and this is how Apple refers to them on their website. This also aligns with how Apple refers to iLife for OS X on their website, although the component apps are sold separately in the Mac App Store. ↩
- This entire article was written on my iPad using the Byword app for iOS. Minor edits were completed in Byword for OS X using iCloud to sync changes. ↩
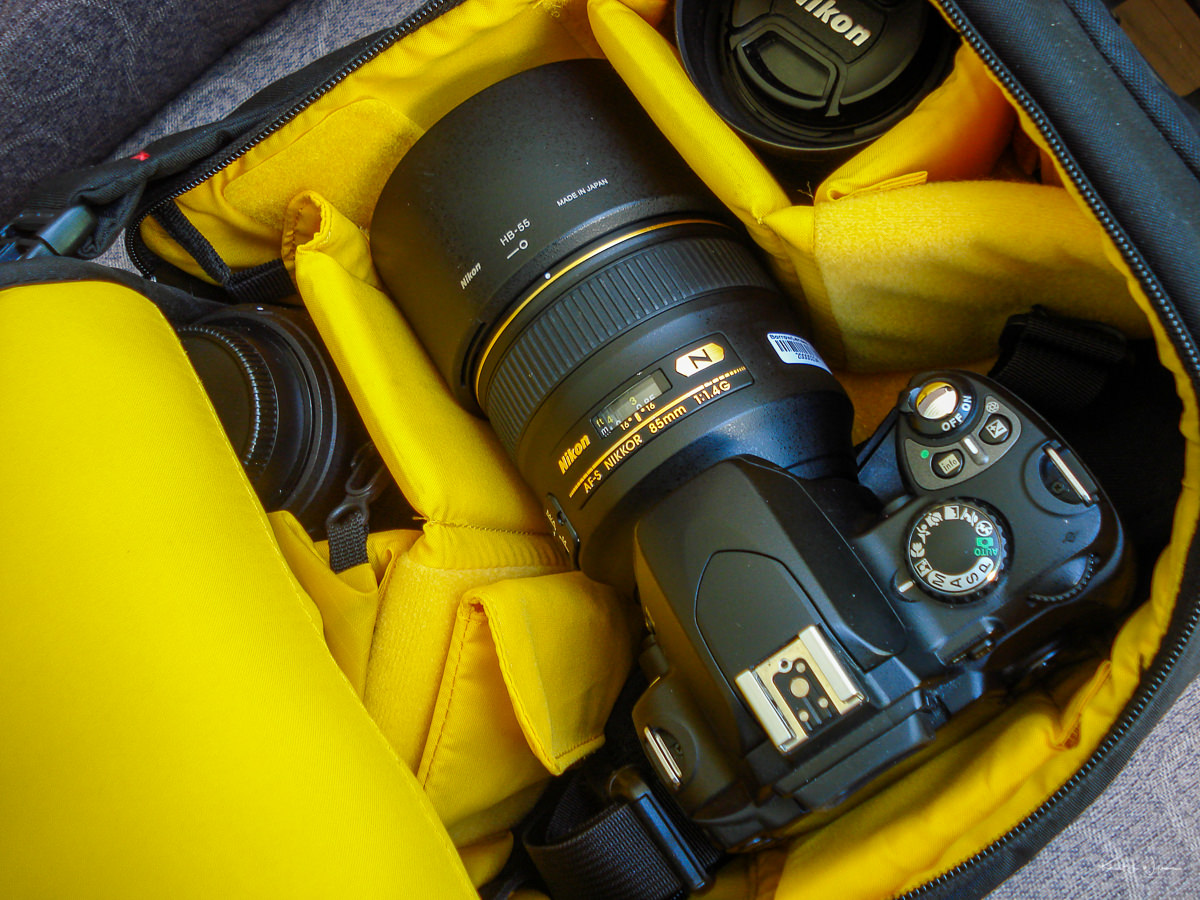
- I have a basic camera kit. I used my Nikon D40, which I purchased six years ago and my Nikkor AF-S 35mm f/1.8 prime lens, which I bought a few years ago. ↩
- IPhoto uses the concept of a Lightbox. In digital photography, a Lightbox is a term used to describe an area within an application where users can create and store a list of images they want to reference or use later. ↩