Kentmere Pan 400 at Palmer Square

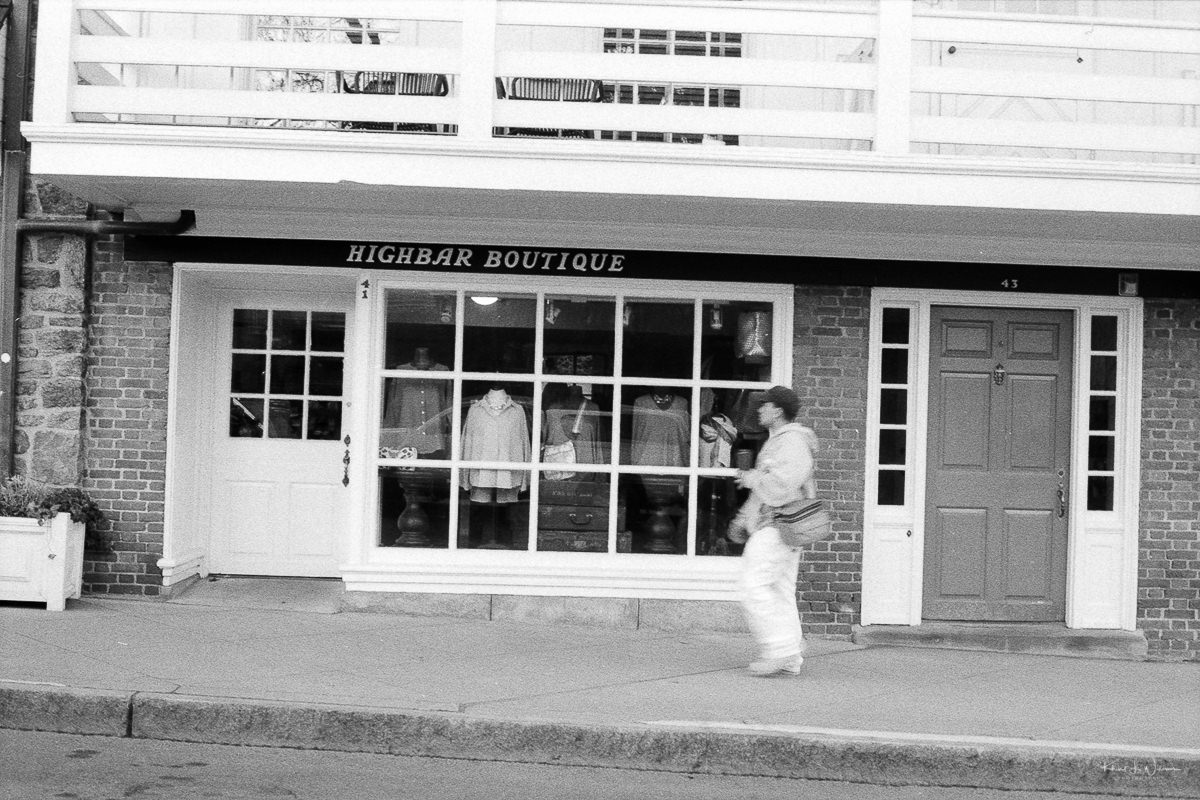
Last month, I grabbed my Minolta XD-11 and Minolta MD Rokkor-X 45mm f/2 lens and drove to Palmer Square in downtown Princeton. Palmer Square is a public square and planned development across from Nassau Street and Princeton University that forms a collection of shops, restaurants, offices and (expensive) residential spaces. It's a mall.

Palmer Square is named for the original builder, Edgar Palmer, heir to the New Jersey Zinc fortune. Constructed between 1936 to 1939, the Square was created by architect Thomas Stapleton in the Colonial Revival style as the town's complement to Princeton University, which sits directly across Nassau Street from the Square. The construction of the mall was not without controversy. In 1929, the houses on Baker Street, which was the centre of the original African-American neighbourhood of Princeton, were moved to Birch Avenue; however, the financial challenges of the depression delayed construction of the Square until 1936. Plans to extend the Square past Hullfish Street were put on hold after the initial construction phase was completed and were not realised until the 1980s.

Saturday 26 March 2022 • Minolta XD-11 • MD ROKKOR-X 45mm F2

The original architect, Thomas Stapleton, used a variety of architectural styles borrowed from old Newport, Philadelphia, Annapolis and Williamstown. However, the plan of the Square is a mini-version of Rockefeller Center in New York City.

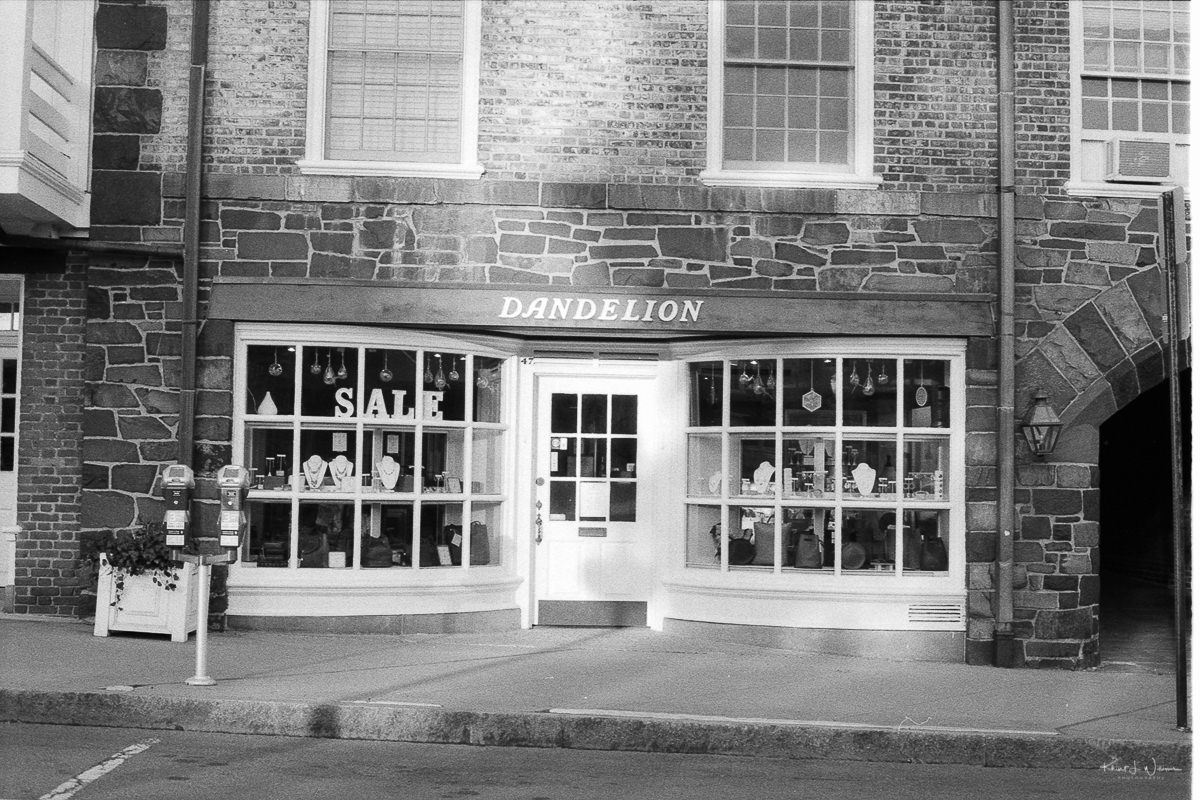
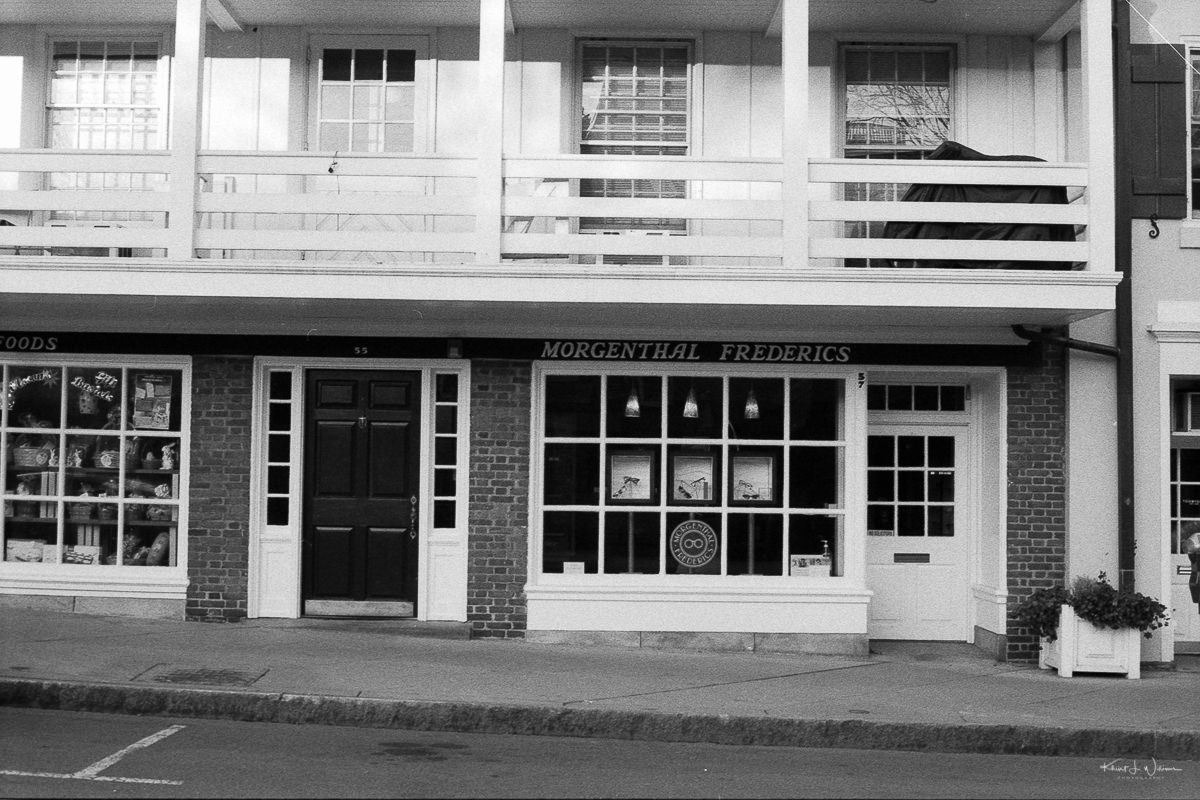
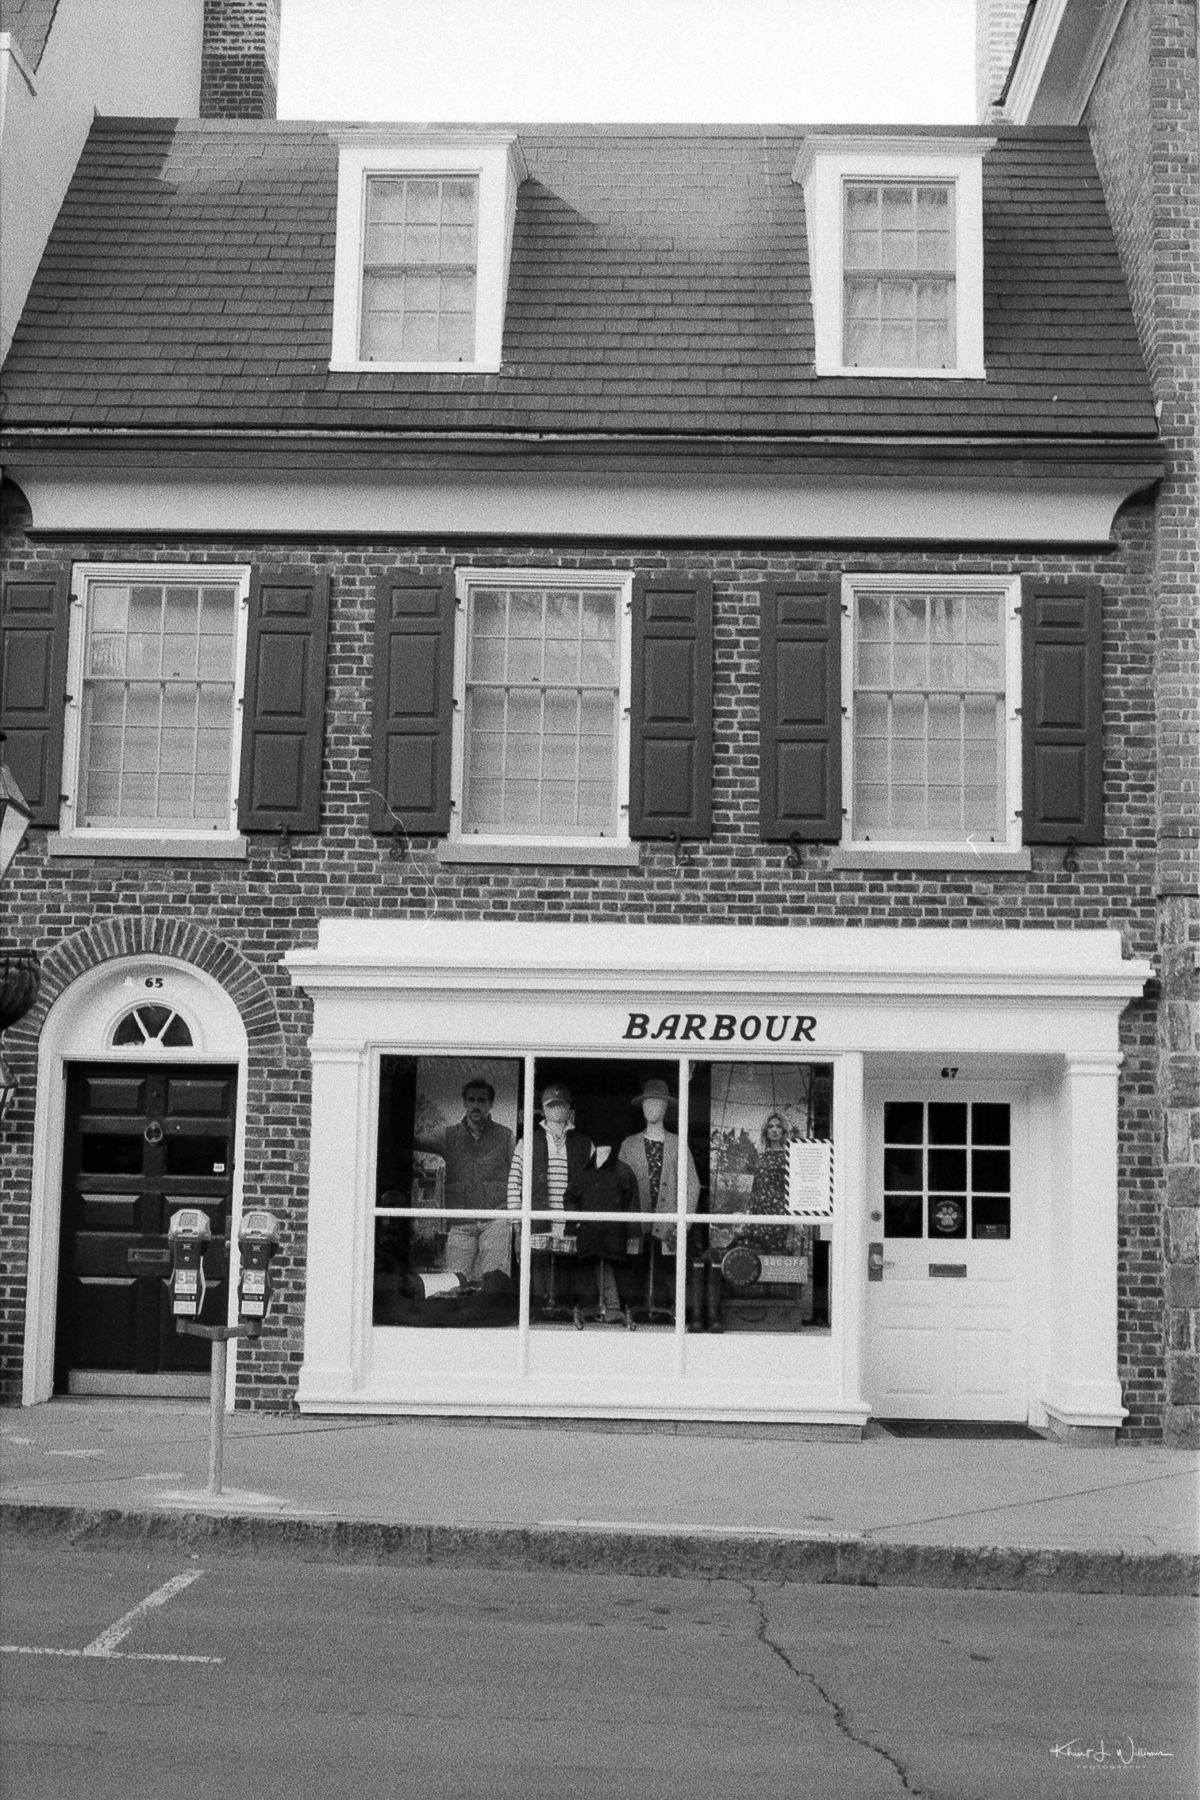
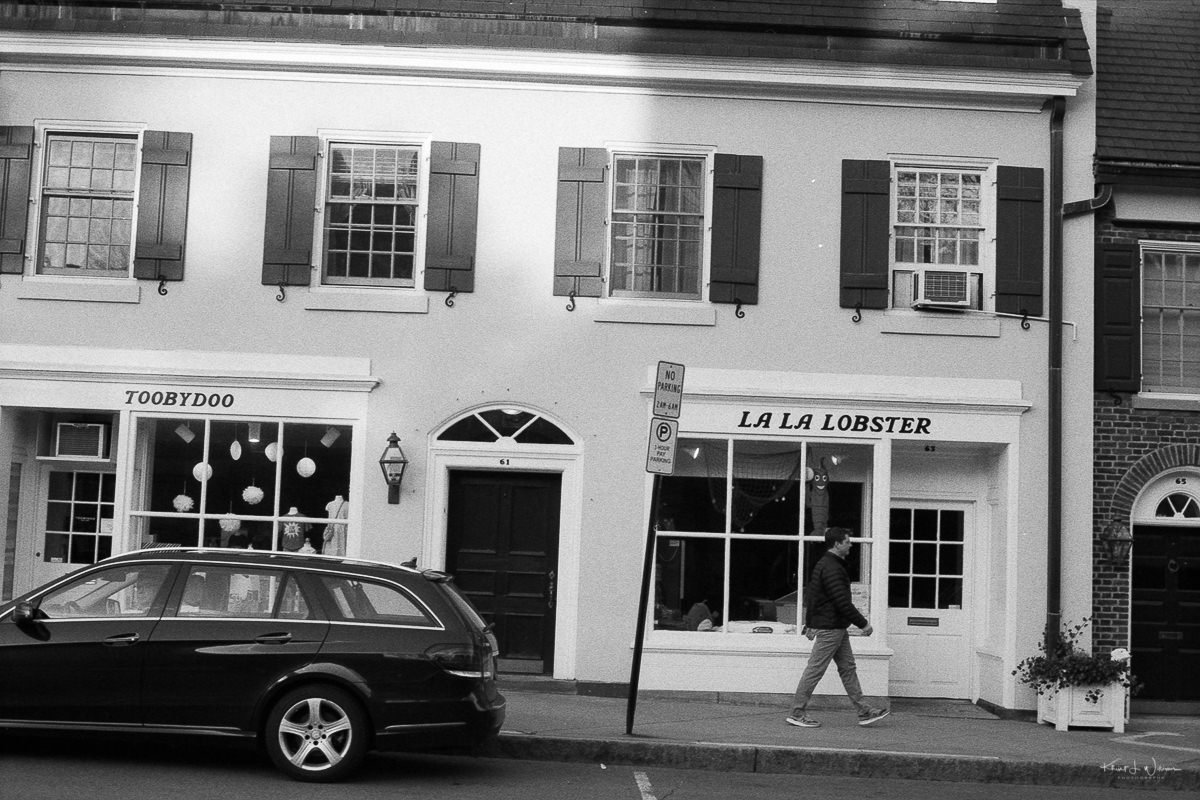
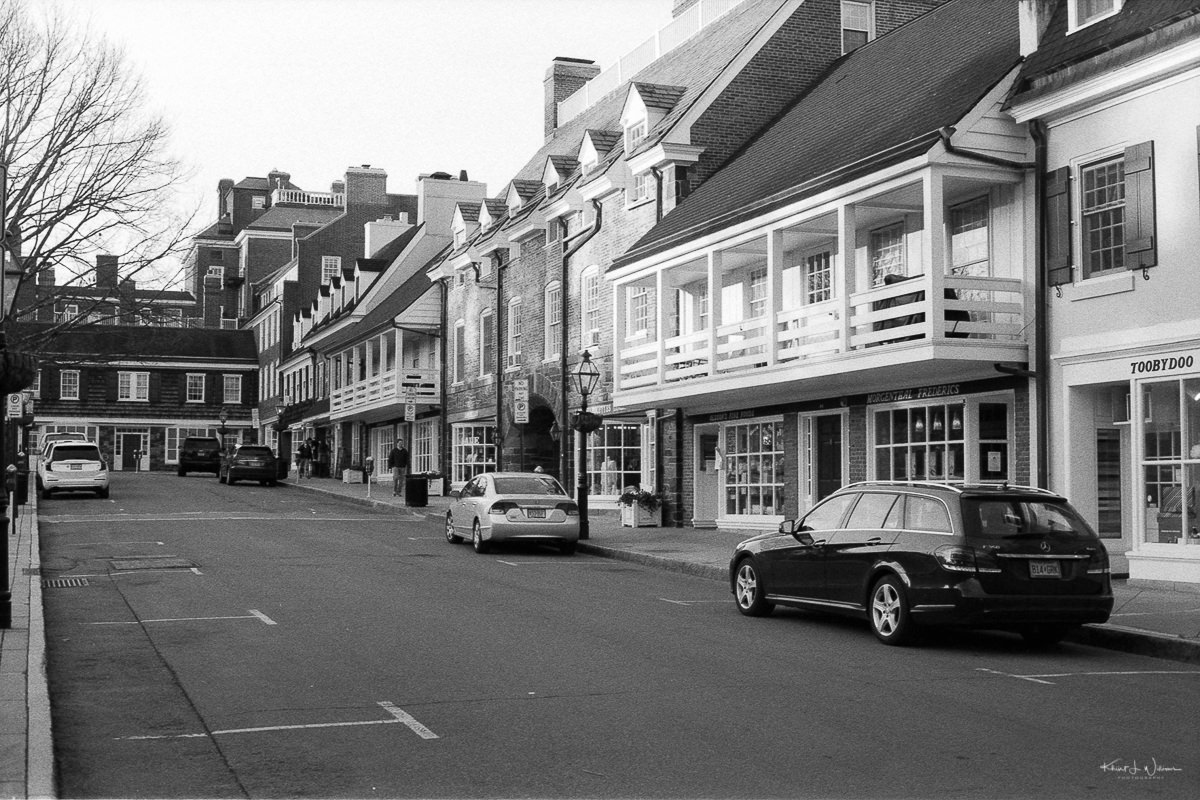
Nassau Street, the main road through the middle of Princeton, borders the southern part of Palmer Square. Hullfish Street connects the northern part of Palmer Square. Palmer Square East and Palmer Square West are the streets around and through the middle of the mall. There was a lot of construction on Palmer Square East, so I exposed a few frames on Palmer Square West.

Saturday 26 March 2022 • Minolta XD-11 • MD ROKKOR-X 45mm F2

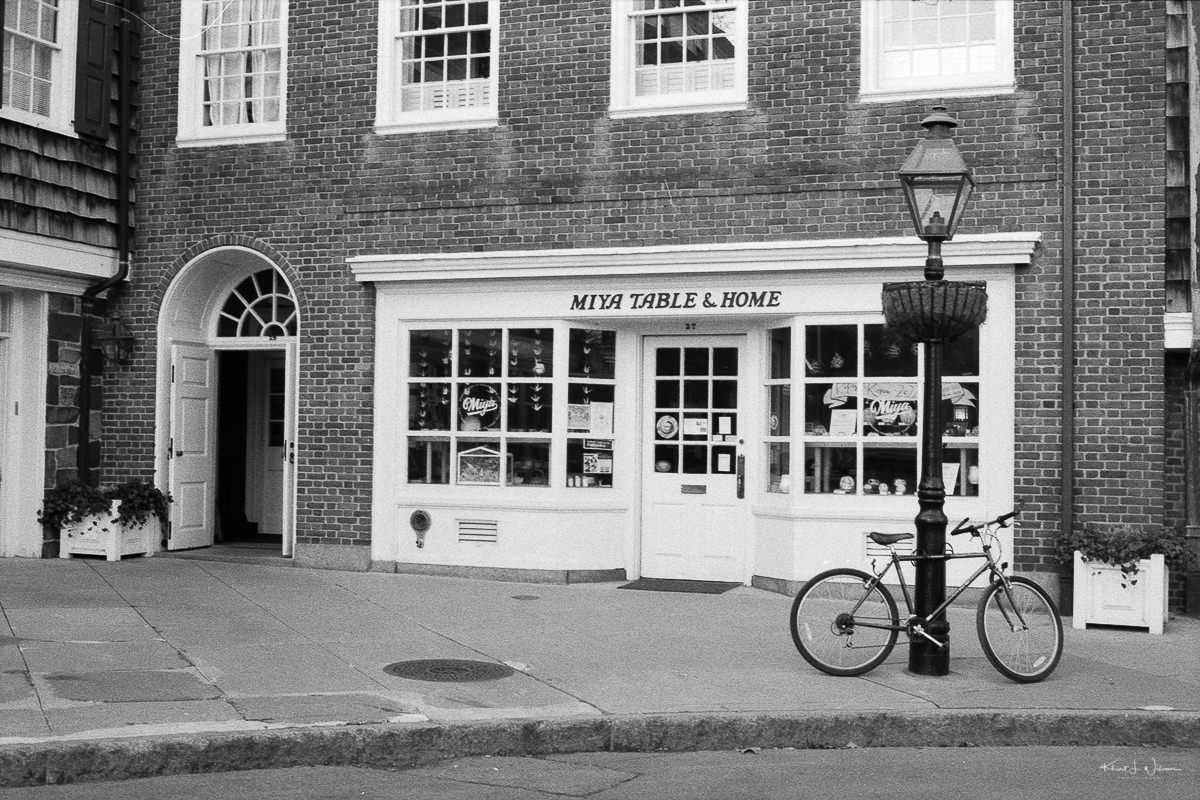
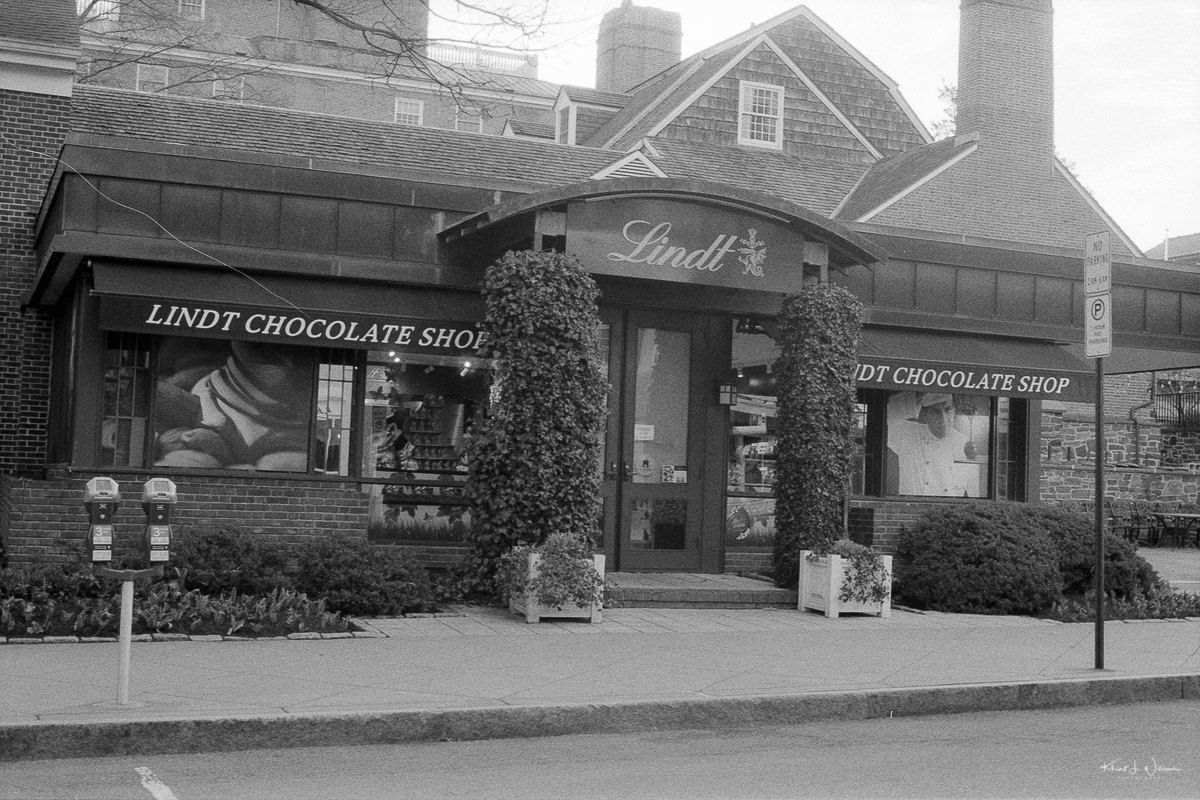
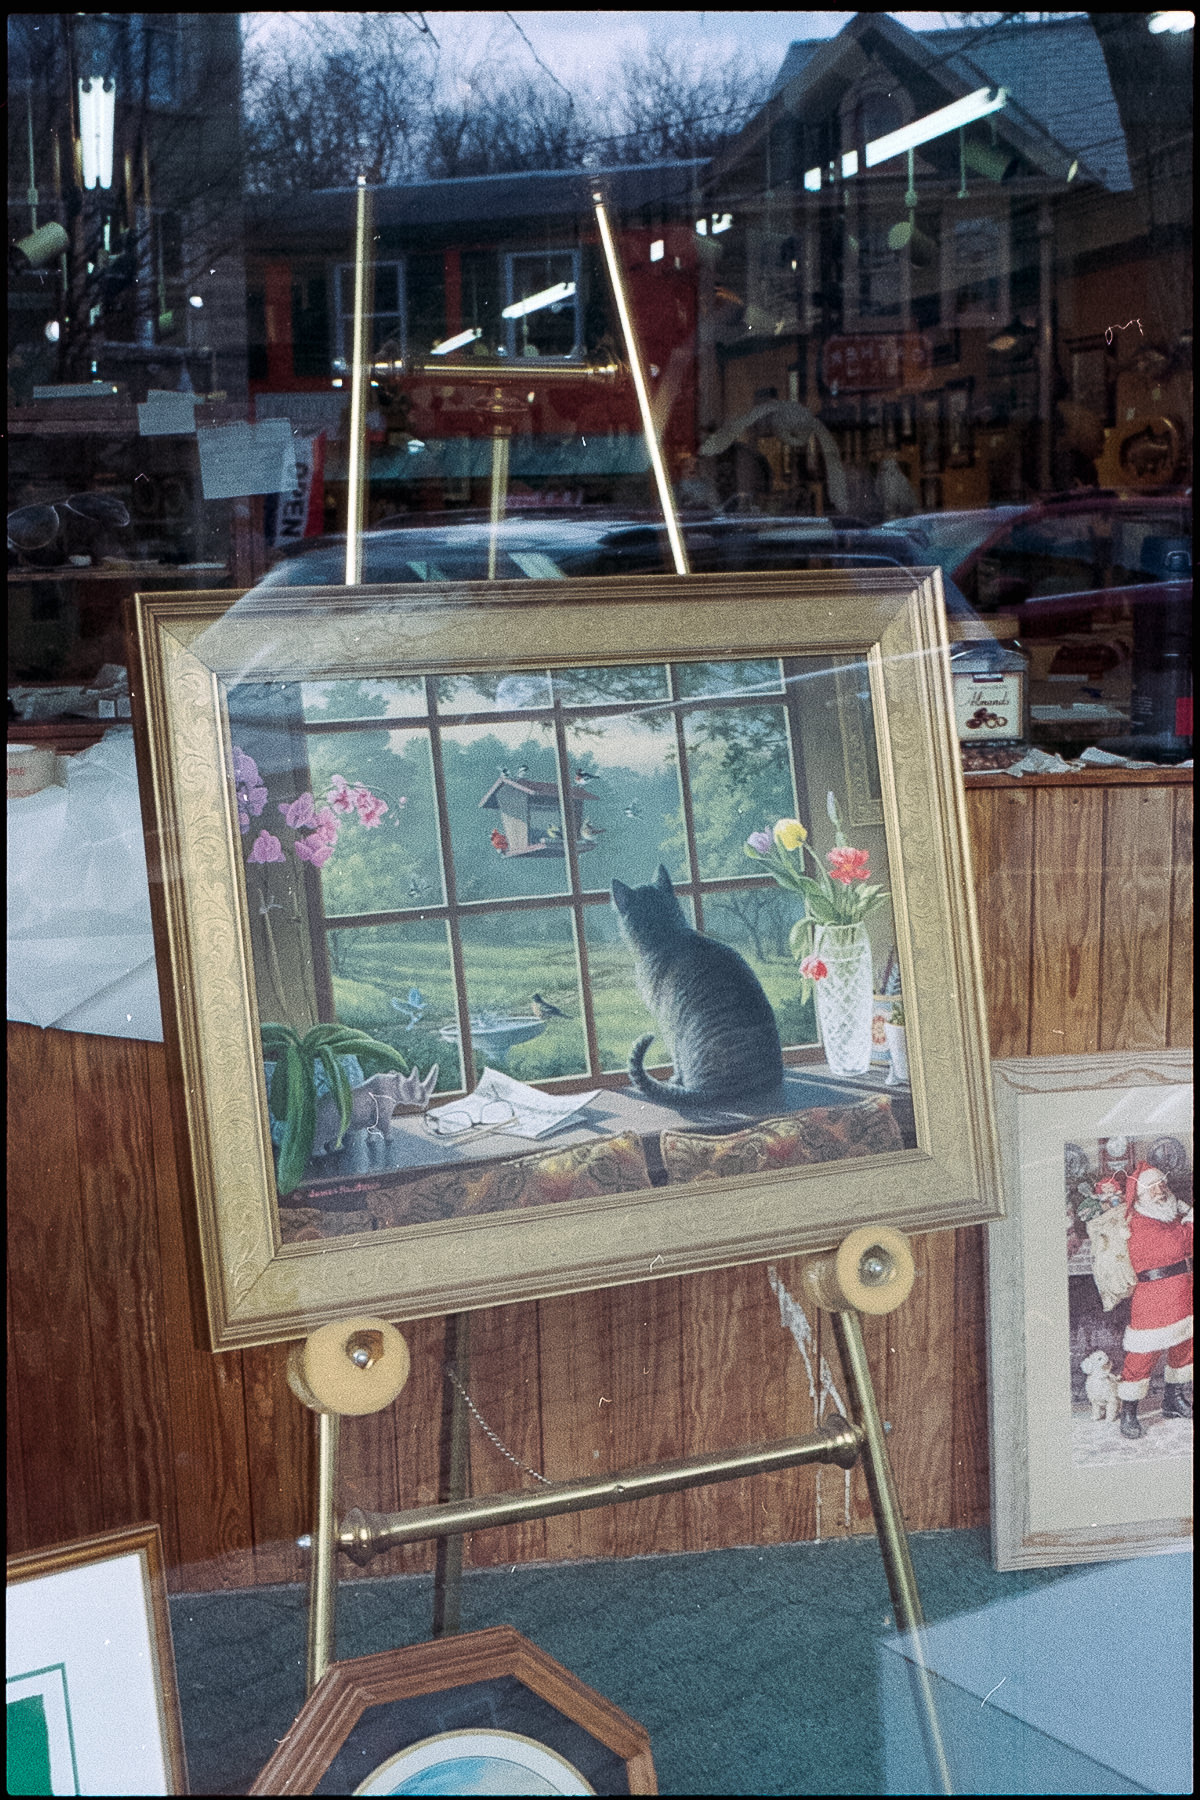
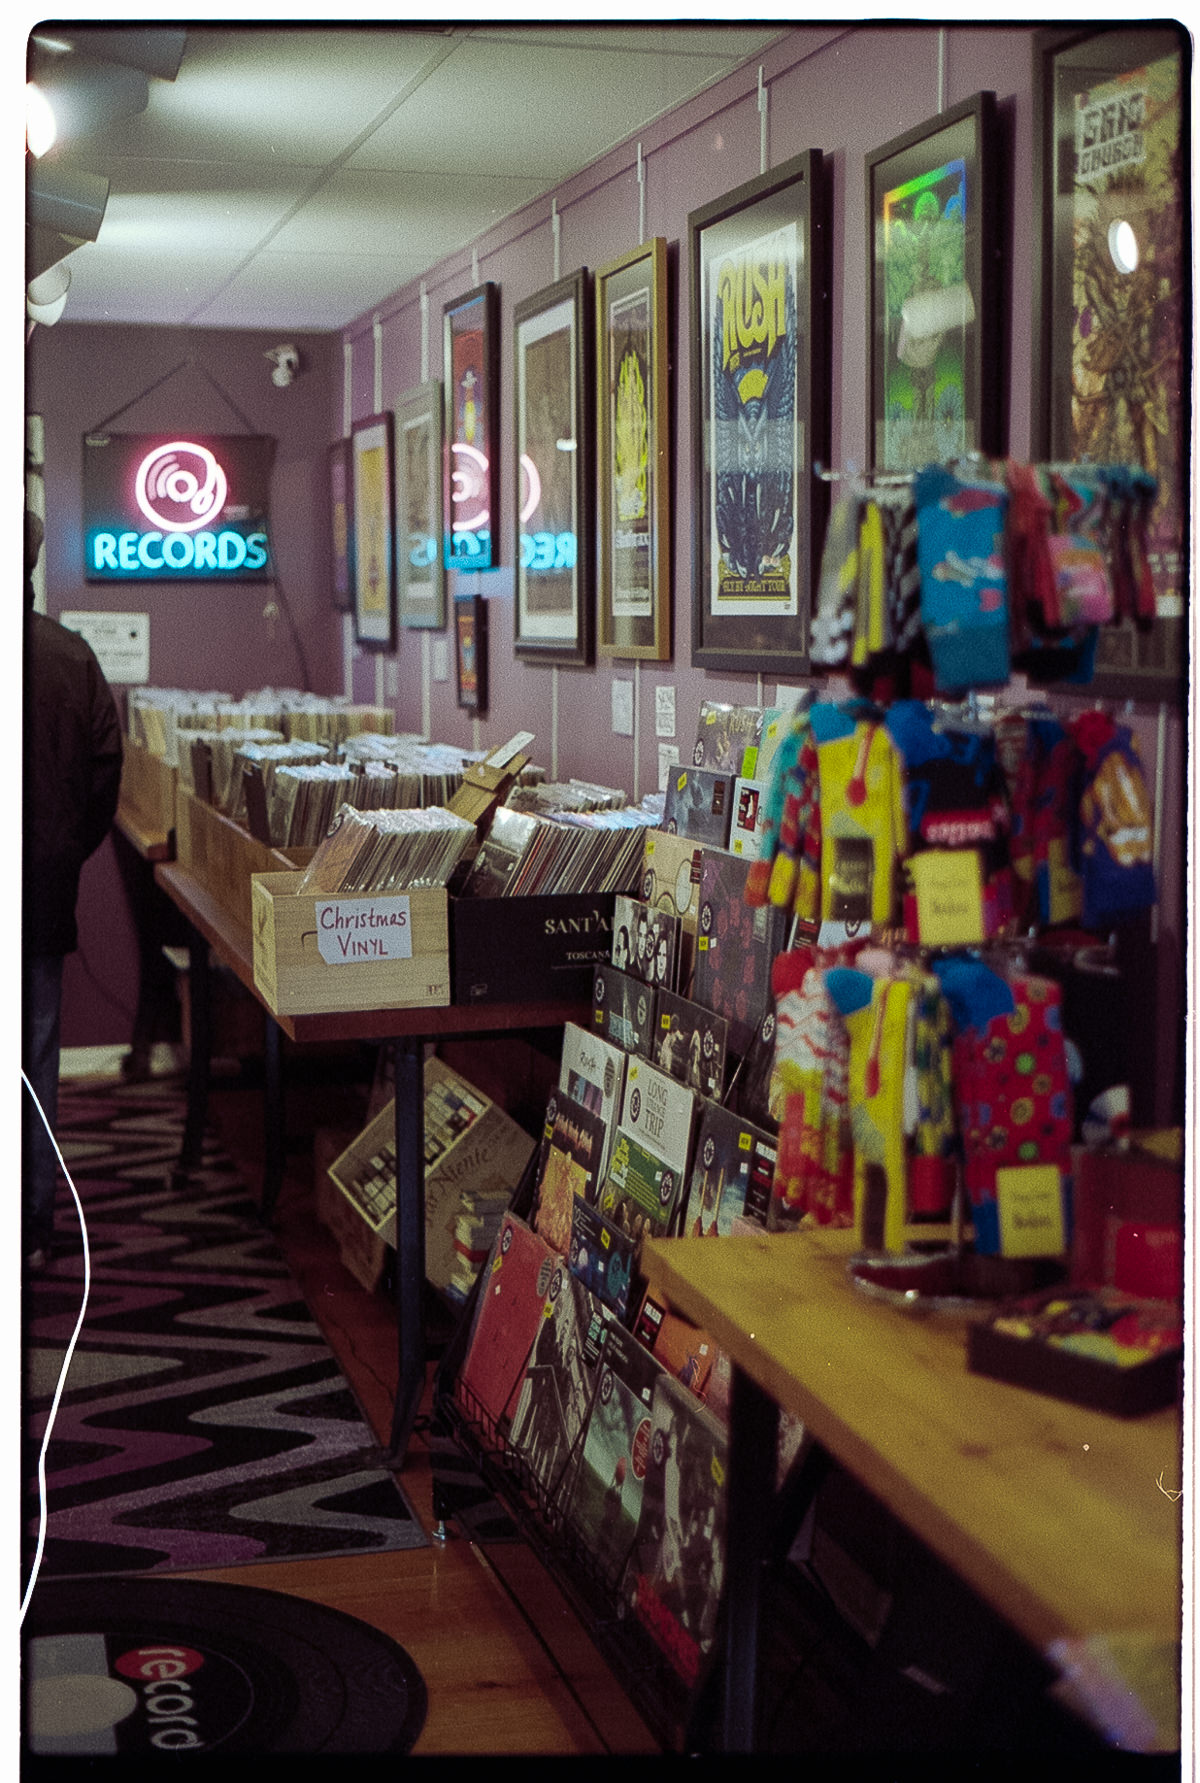
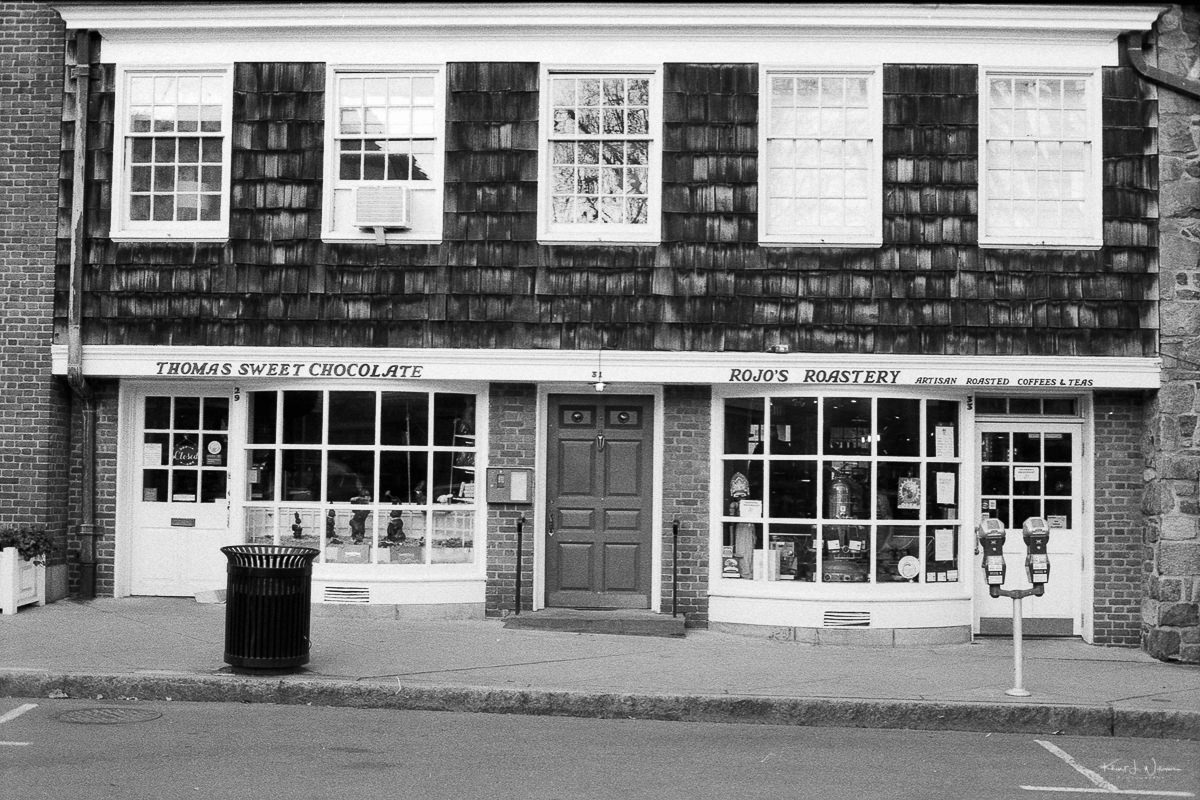
Palmer Square has become the primary dining and shopping destination in downtown Princeton. One of my favourite coffee shops is Rojo's Roastery on Palmer Square West. Before the pandemic, the Winberie's Bar on Palmer Square Est was a favourite after meeting hangout for the Princeton Tech Meetup. Palmer Square has been one of my frequent subjects for photography throughout the 21 years I have lived in the area. When all the shops were closed during the global pandemic, it was effortless to photograph the shops and streets in and around Palmer Square. This has become challenging again as activities on the Square have returned to their pre-pandemic hustle and bustle.

Palmer Square (and surrounding streets) is host to many popular local events such as Jazz Feast and Communiversity.


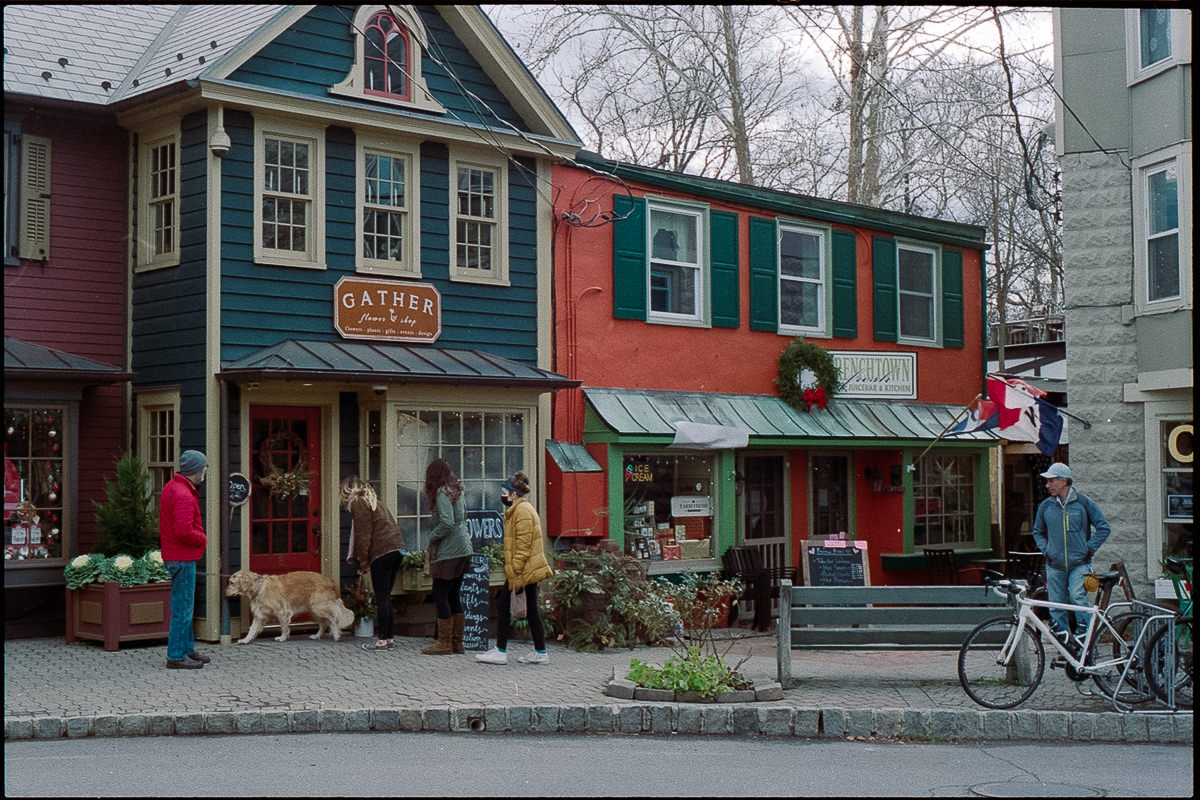
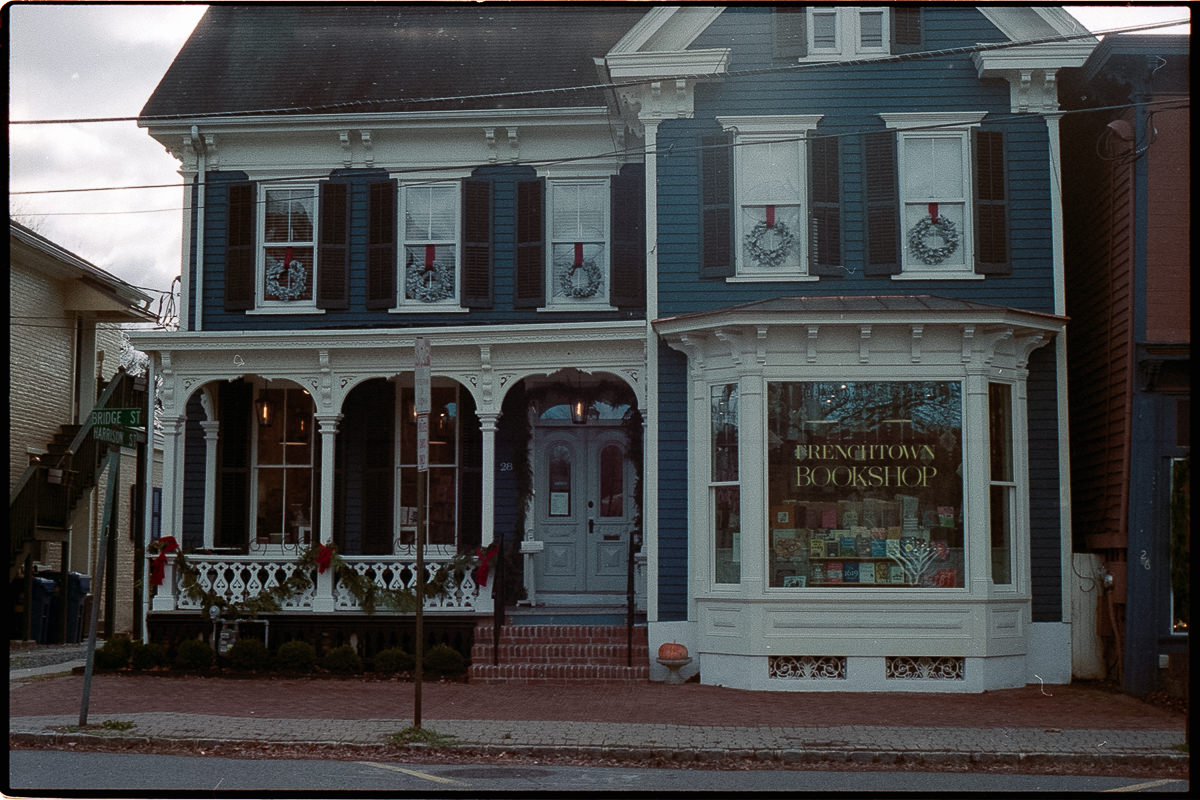
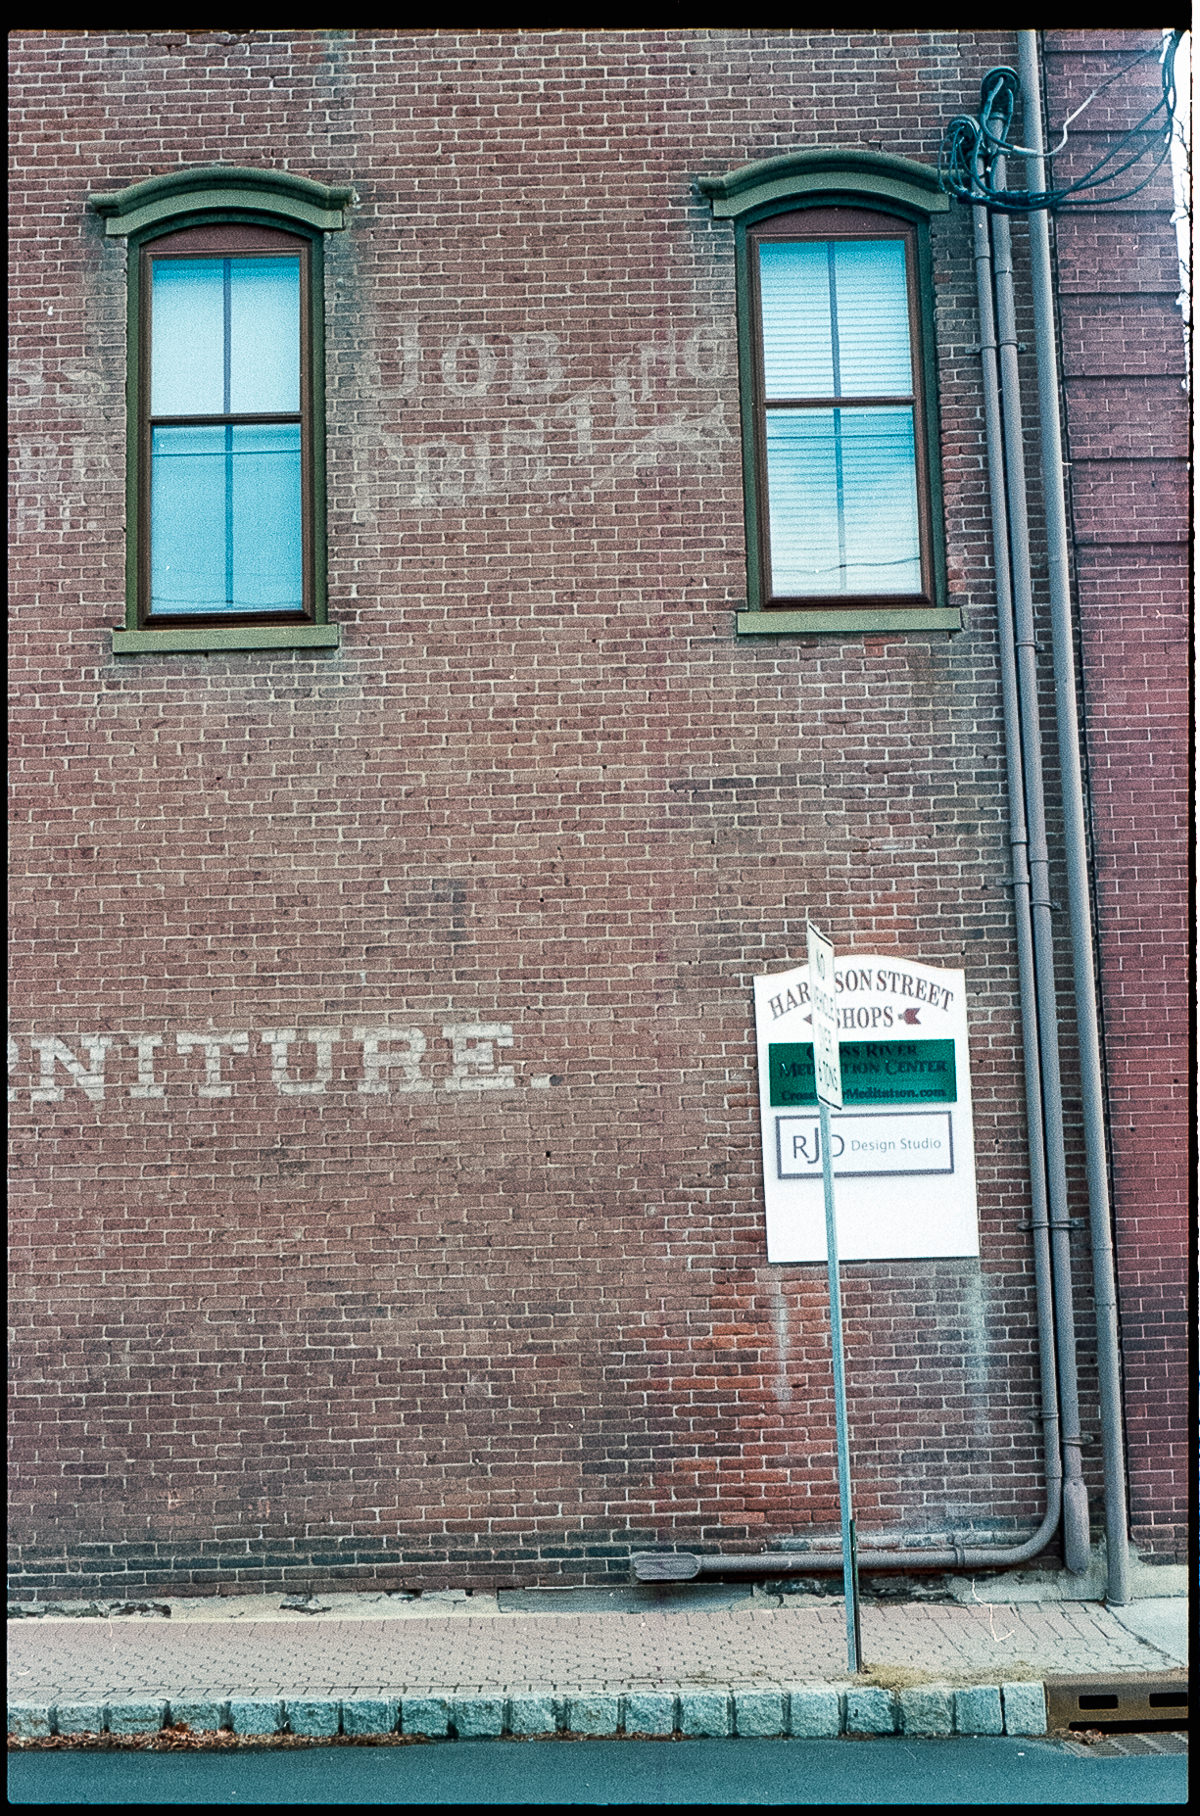
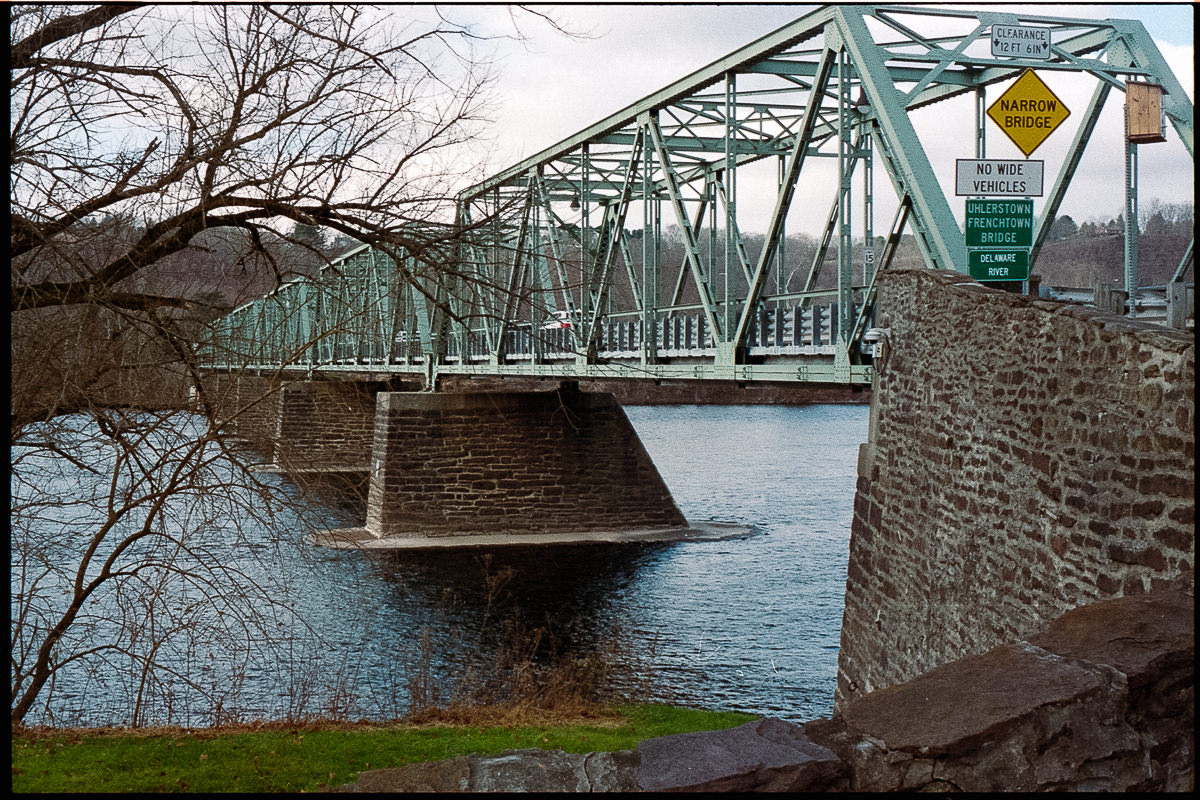
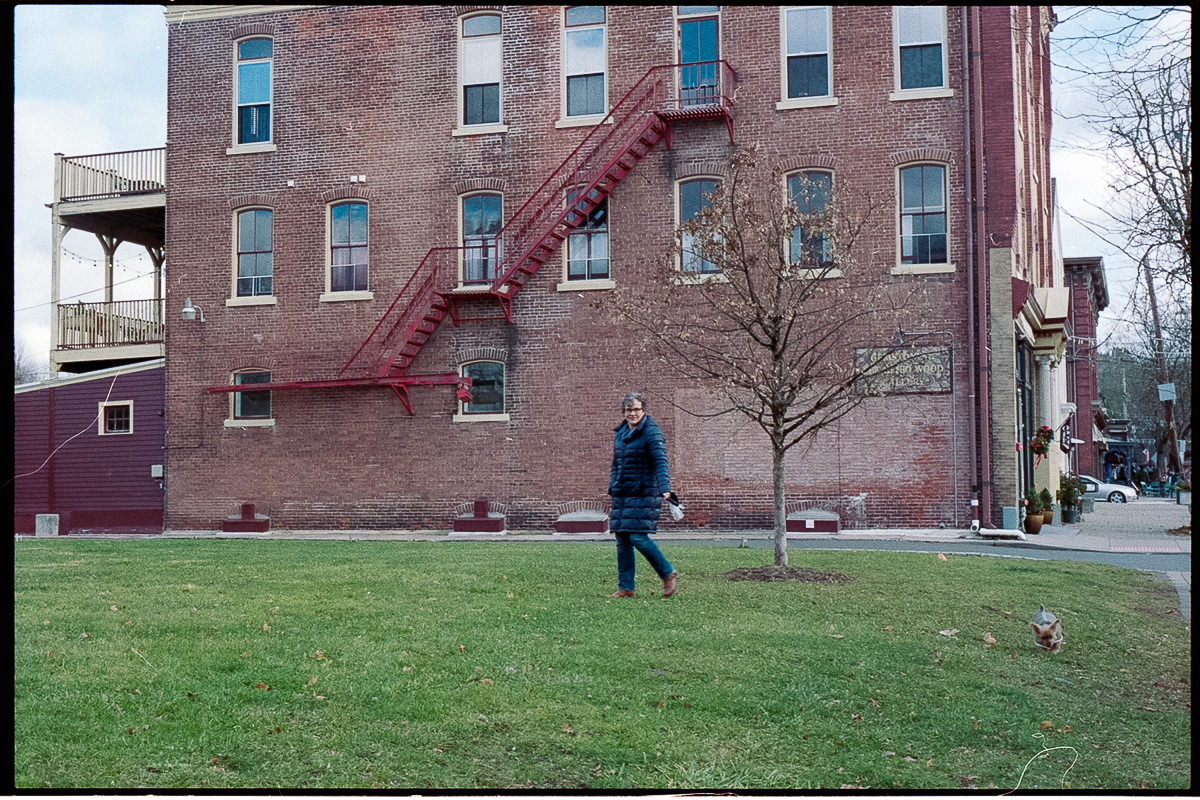
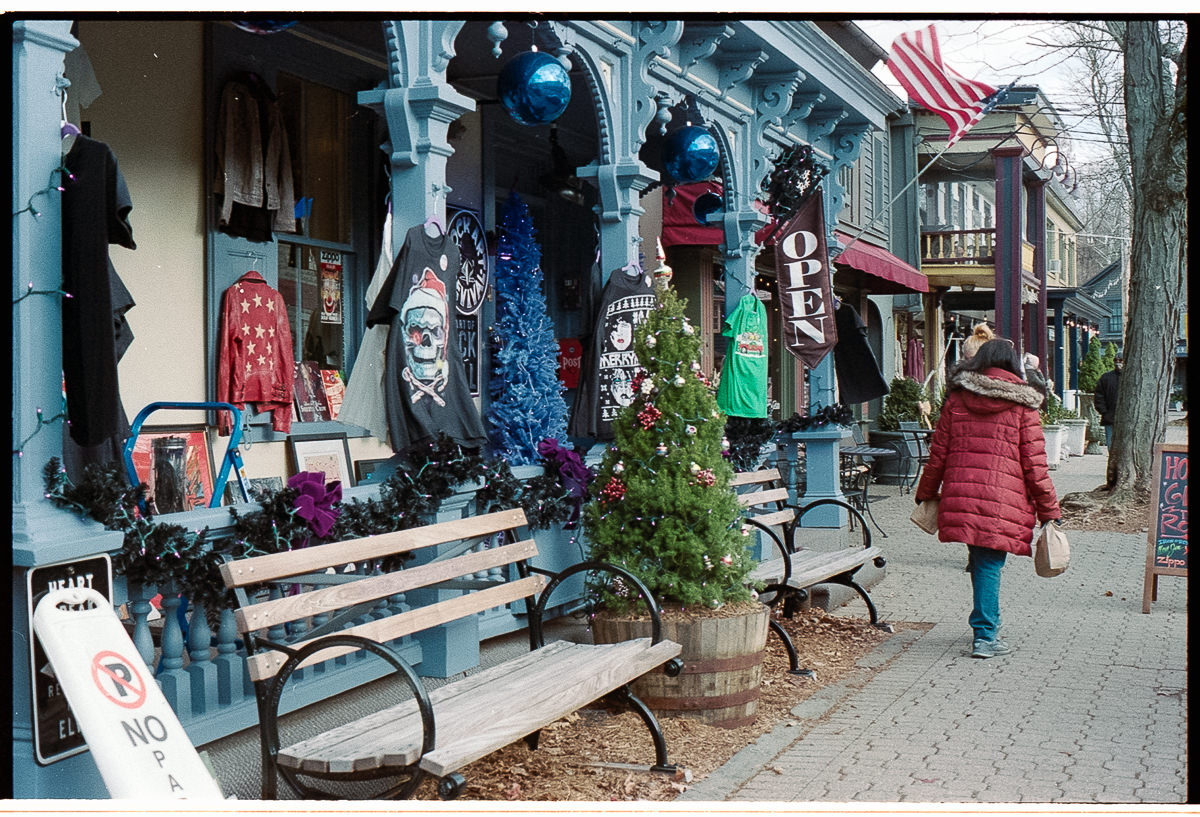
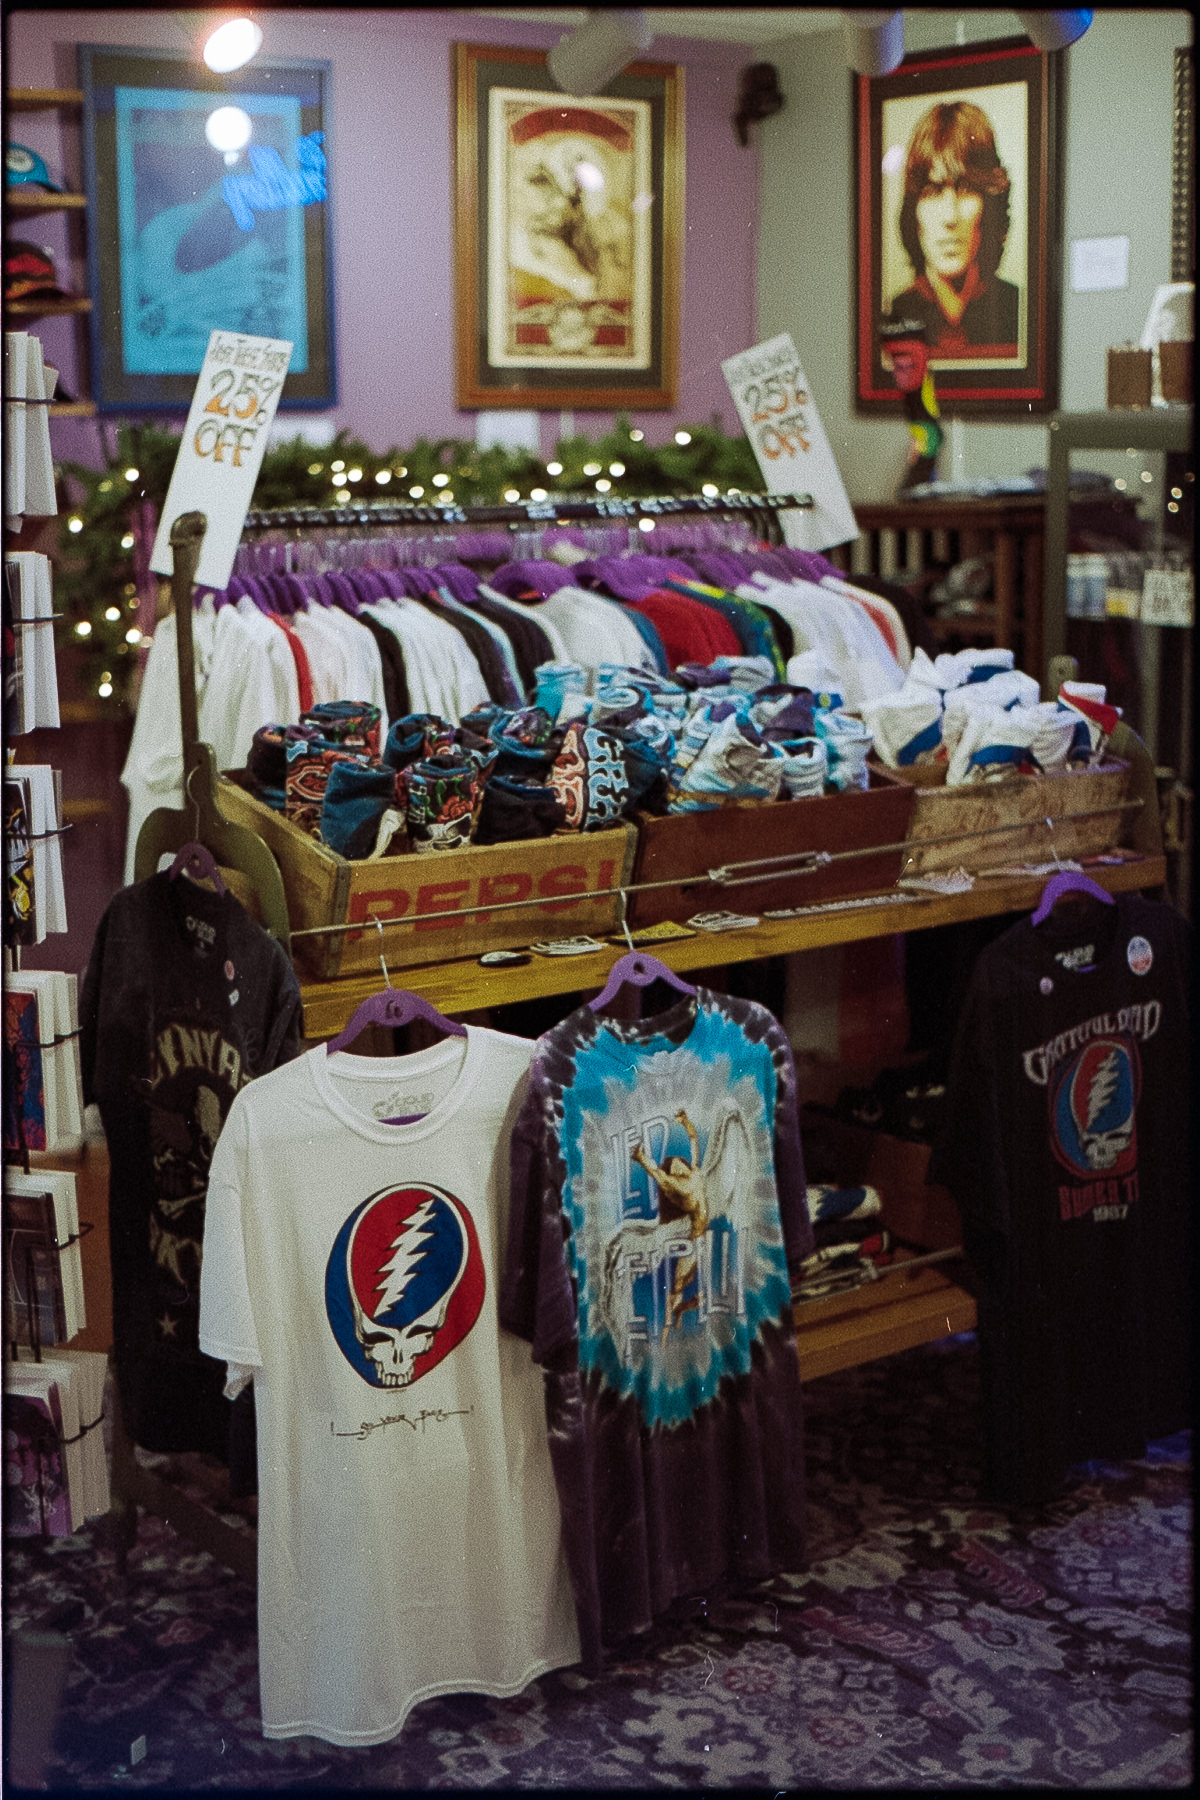
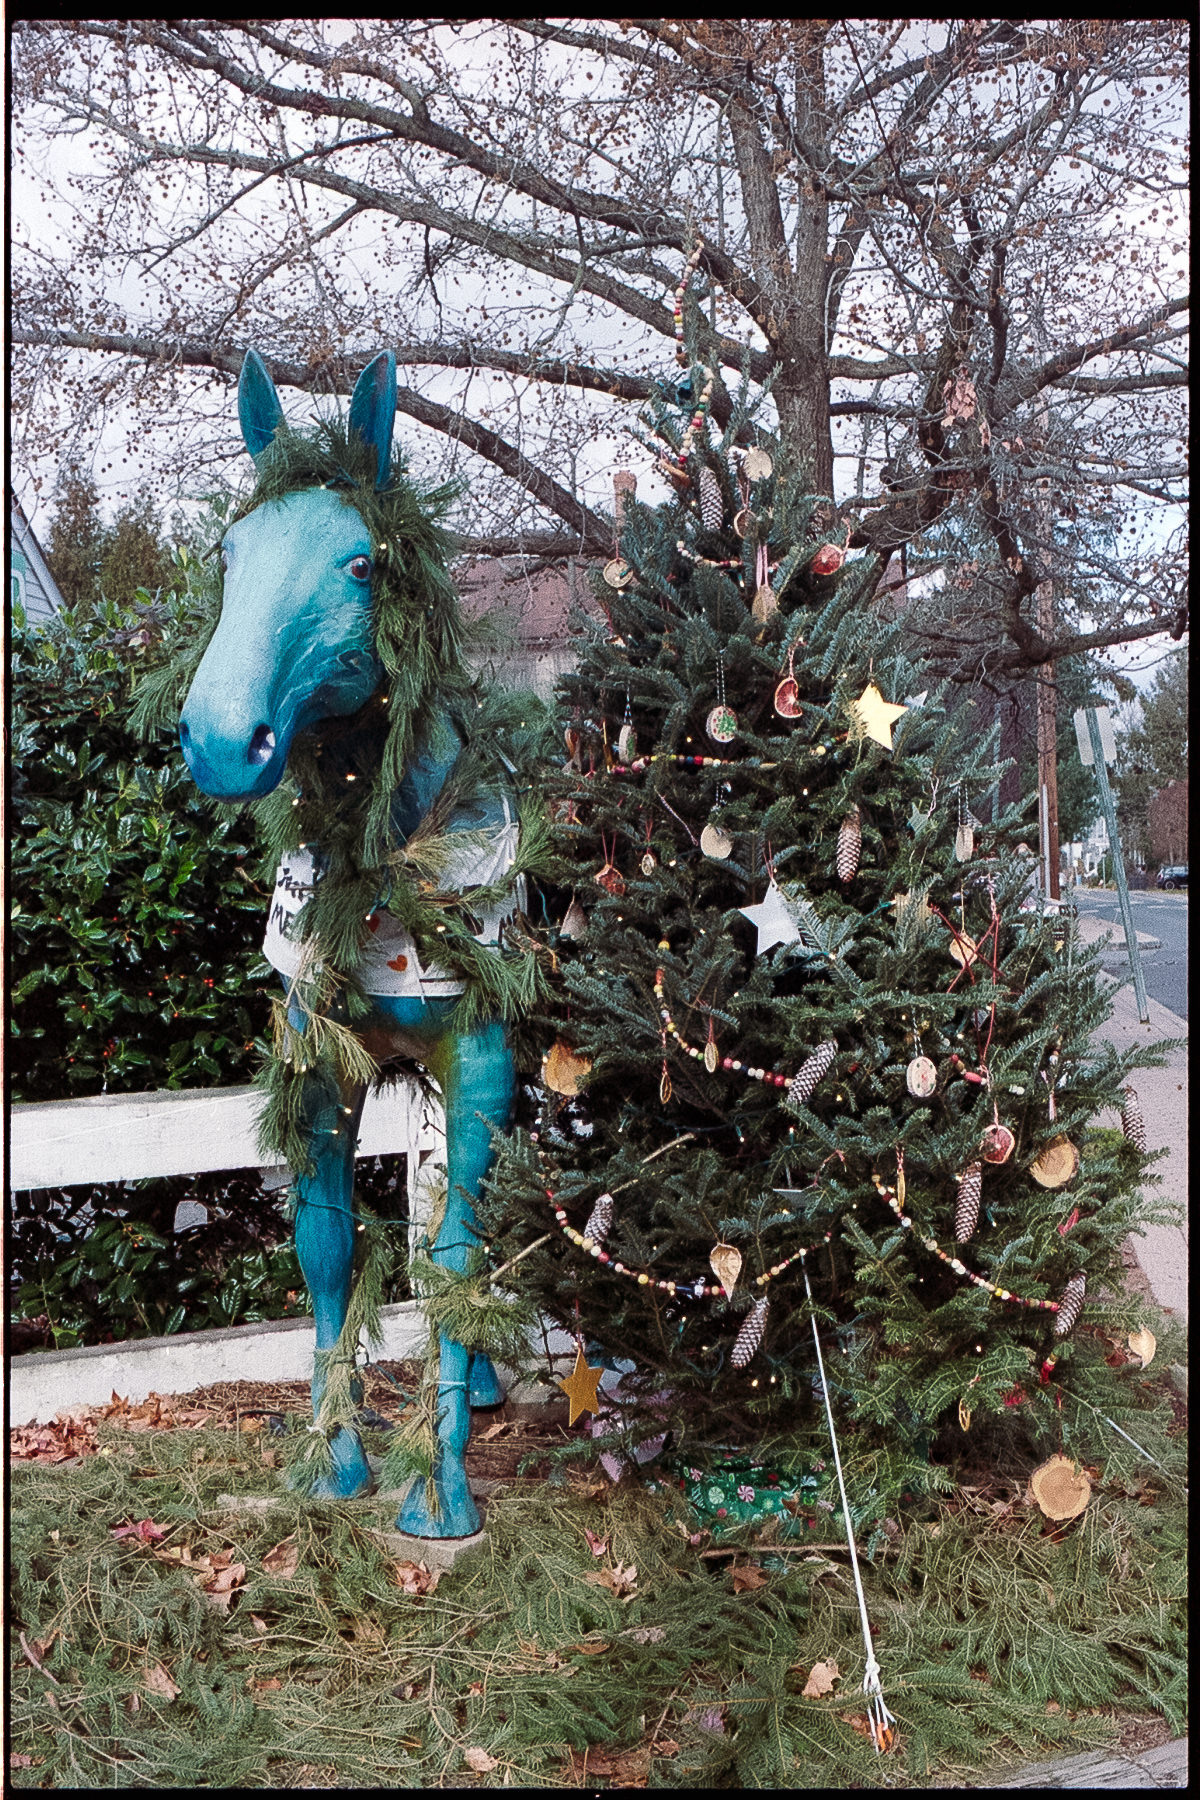
This set of images is from a roll I exposed last month. The sky was overcast, but it was a bright morning. I wanted to finish the 36-exposure roll of Kentmere Pan 400 black and white 35mm film. This was my first time using this film stock. Each frame was exposed at box speed using my Minolta XD-11, set in aperture priority mode. After the negatives were returned from The Boutique Film lab, I scanned them using my Epson Perfection V600. I would typically have used VueScan, but there is some incompatibility between the VueScan software and the macOS Monterrey version of the scanner driver. The negatives were scanned using SilverFast SE Plus and the scanning workflow I learned from Matt Wright. I don't know the film resolution specifications for Kentmere Pan 400, but based on my study of other ISO 400 black and white 35mm film and what I learned from a blog post by [Jim Grey], I assumed it was around 60 lines/mm. I set my scanner to scan at 1600 pixels per inch resulting in 20MB files.

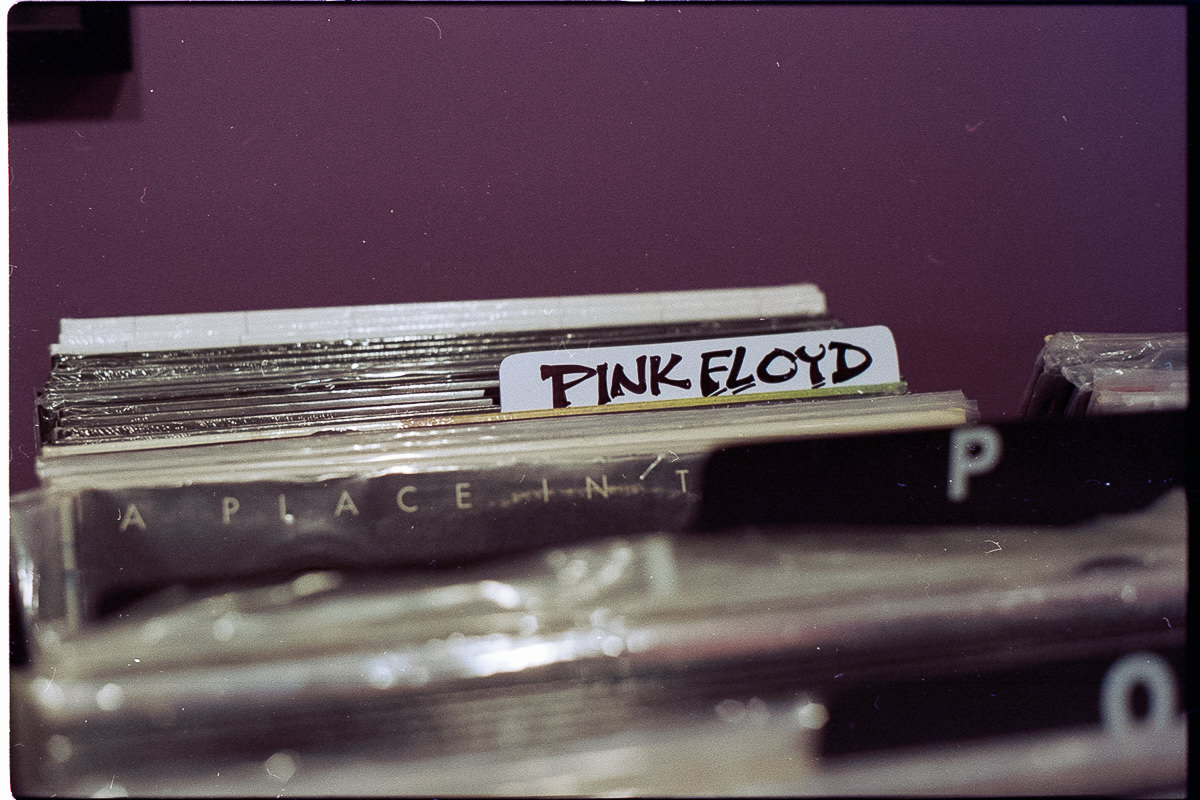
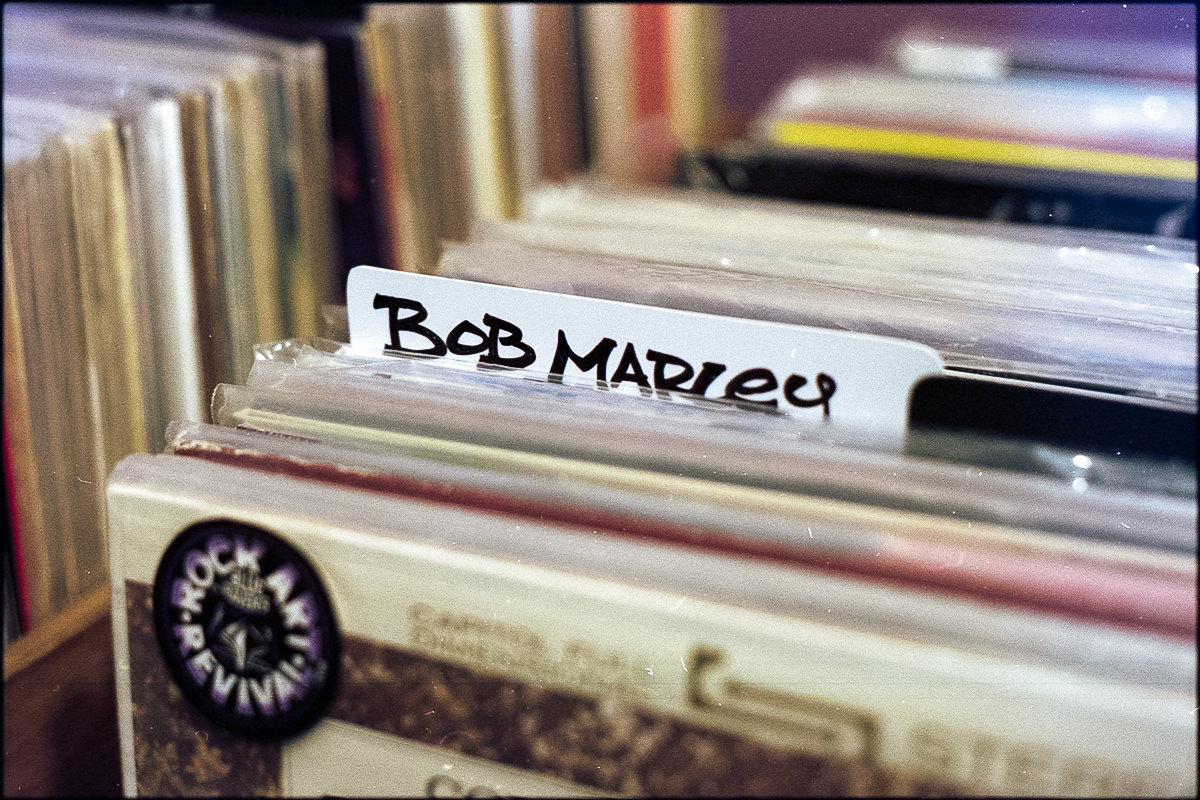
The scans have more grain than I expected from this 35mm film stock. Some photographers would be ok with this level of grain, but I'm not too fond of grain. I have become spoiled by how clean a high ISO image looks from a modern digital camera sensor. I think part of my disappointment is due to operator error. I am still struggling with properly exposing 35mm film. Some of the frames are overexposed in the highlights, and the shadows that attracted me are barely noticeable. I want to change my technique.

What technique do you use for exposing high ISO 35mm film?

Saturday 26 March 2022 • Minolta XD-11 • MD ROKKOR-X 45mm F2
23 March, 2022 • Minolta XD-11 • MD ROKKOR-X 45mm F2
Saturday 26 March 2022 • Minolta XD-11 • MD ROKKOR-X 45mm F2

35mm film negative scanning workflow

What scanner settings work best?

I have sat at my iMac for weeks, scanning old "found" negatives. I adopted a scanning workflow starting with scanning 35mm film negatives using my Epson Perfection V600, SilverFast 9 Plus, and the Negative Lab Pro plugin for Adobe Lightroom Classic. This workflow is adapted from Matt Wright's illuminating article in 35mmc. While scanning my 35mm film negatives myself saves me some money (about $5/roll), my recent focus has been on digitising decades-old photographs in an attempt to preserve memories.

For my most recent 35mm film captures, I have scanned the negatives to 1800x1200 DNG files at 300 pixels per inch (PPI). I have kept the PPI low to keep the image file sizes small when I export them on my blog or for sharing on social media. Most people have switched to using smartphones to share and view images. On such tiny screens, anything beyond 1000 pixels is mostly a waste of bandwidth. I am uploading 1800x1200 images to my blog for those who prefer to use a computer or tablet screen to view photographs.

But prompted by a recent blog post by Jim Grey, I have been thinking quite a bit about what resolution to use for archiving of older 35mm film negatives. I searched the web for information about the resolution of 35mm film but found mostly articles debating the benefits of film versus digital. But from websites like dppreviw and others, I eventfully put together what I think is a correct answer.

A 35mm film negative frame is 24mm (height) by 36mm (length). Most full-frame digital sensors are approximately the same size. Film resolution is based on the ability of film to resolve "line pairs per mm" (lp/mm). I then took a look at the resolution specifications for some modern films. I did not consider the resolving capability of lenses. Some 35m films were rated at nearly 200 lines/mm, but most were less. According to the specification notes, Fujichrome Provia 100F film has about 140 lines per mm (l/mm) and Superia X-TRA 400 has a resolution of 125 lines/mm. There is a tradeoff between sensitivity (aka ISO) and grain size. The higher the ISO, the larger the grain size. Grain size increases noise and lowers the spatial resolution of more sensitive films. This assumes the frame is exposed at the optimum f-stop, and the camera is mounted on a tripod to minimise the camera shake.

To be clear, I am not comparing 35mm film to digital; I am comparing scans of 35mm film to digital.

While photographic film grains are randomly distributed and have size variations, digital image photocells on a specific sensor will be the same size and arranged in a grid. Direct comparison of film and digital resolutions is not straightforward. The ISO setting on a digital camera controls the gain of the electronic amplifier on the circuitry of the chip sensor. High ISO settings on a digital camera operating in low light conditions result in a noisy image, but the visual appearance differs from traditional photographic film grain.

To better compare these values with digital photography, we must transform this information into DPI (dots per inch) or pixels per inch. Doing some quick math, I calculated a frame of Fujichrome Provia 100F 35mm film has a maximum resolution of 5040 x 3500 lines or 16 megapixels when exposed at box speed. In comparison, a Sony α7 full-frame (35.8 mm x 23.9 mm) sensor has a maximum resolution of 6000 x 4000 pixels (24 megapixels) and a native ISO range of 50 - 25600. The modern digital full-frame sensor has better resolution. But this didn't answer my question. What scan settings do I want to use to extract the "best" archive scans from my Epson Perfection V600.

The dimension of a single frame of 35m film is 36mm x 25mm or approximately 1.42 inches x 09.98 inches. So it seems that to make archival scans of a negative of a single frame of Fujichrome Provia 100F 35mm film, I need to set my Epson Perfection V600 to scan at about 3571 PPI. If I scan lower-resolution 35mm film negatives, such Superia X-TRA 400, scanning at 3189 PPI is more appropriate.

The table below lists popular 35mm film stock and my approximate recommended scan resolution for each film stock (MTF in lines/mm at 1000:1 contrast) in pixels per inch (PPI). These calculations are for a 1000:1 contrast ratio. Fujifilm’s website was full of helpful information, but Kodak Alaris was less forthcoming. While For example, while KODAK PROFESSIONAL PORTRA 160 datasheet mentions that the film is "ideal for scanning", the document provides no suggestions. However, Kodak Alaris did include a Modulation Transfer Function graph that shows the cycles per millimetre. According to Ken Rockwell, "Cycles per millimeter is also called lines per millimeter". Assuming that is true, I have included the data for some popular 35mm film stock in the table below.1 NOTE: Some of these film stocks are discontinued.

Manufacturer Film Stock Film Resolution Recomeded Scan Resolution
Fujifilm FUJICOLOR 200 125 3188
Fujifilm SUPERIA X-TRA 400 125 3188
Fujifilm FUJICHROME Velvia 50 160 4082
Fujifilm FUJICHROME Velvia 100 160 4082
Fujifilm FUJICHROME Provia 100F 140 3571
Fujifilm FUJICOLOR PRO 400H 125 3188
Fujifilm NEOPAN 100 ACROS II 200 5102
Kodak KODAK PROFESSIONAL PORTRA 160 80 2041
Kodak KODAK PROFESSIONAL PORTRA 400 80 2041
Kodak KODAK PROFESSIONAL EKTAR 100 80 2041
Kodak KODAK PROFESSIONAL T-MAX 400 200 5102
Kodak KODAK PROFESSIONAL T-MAX 100 200 5102
Kodak KODAK PROFESSIONAL TRI-X 400 60 1530
Kodak KODAK PROFESSIONAL EKTAR 100 90 2296
Kodak KODAK PROFESSIONAL EKTACHROME E100 90 2296
FPP X2 100 2551
Rollei RPX 25 260 6633
Rollei RPX 100 160 4082
Rollei RPX 100 100 2041

I don't know much about other devices, but modern Macs, iPads and iPhones displays have a resolution between 220 (macOS) and 480 (iOS) pixels per inch. I think scanning negatives at very high resolutions (anything beyond 300 PPI) to downsample those scans to 1800x1200 or 960x640 for display on a website or mobile device screen is a wasted effort. However, scanning at higher resolutions seems wise when I scan images for archive when the original film negative is damaged (like so many of my wife's college travel photographs are).

For comparison, I have compiled a table of instant films.

Manufacturer Film Stock Film Resolution Recomeded Scan Resolution
Fujifilm Instax Square 10 320

  1. Of course, Ken Rockwell will also tell you that it's MUCH more complicated

Winter Morning Walk in Frenchtown

Last year, after reading Tobias Mann's review of Kodak Portra 800, I bought a roll to expose it as soon as possible. But I set aside the roll in a cool box and forgot about it until December. I had promised Bhavna a trip into Frenchtown to see how the shopkeepers and restauranteurs had decorated the downtown area. The sky was overcast, creating an excellent opportunity to expose a few frames of Kodak Professional Portra 800.

Kodak Professional Portra 800 is a high-speed daylight-balanced colour-negative film optimised for challenging lighting conditions. It has a nominal sensitivity of ISO 800 and a notable underexposure latitude for effectively pushing to ISO 1600 with maintained quality and extended highlight and shadow detail. As we walked around Frenchtown, I exposed the roll at boxpseed in a wide variety of natural lighting conditions, including broad daylight, open shade, and of course, window light. Although I have several Minolta flash units, I did not expose any frames under artificial light.

The film was developed at Boutique Film Lab and scanned using my Silver Fast 9 and Epson Perfection V600. I used Negative Lab Pro to convert the scans. No corrections to exposure, colour temperature and composition were made.

Kodak Professional Portra 800 35mm film delivers all the advantages of a high-speed film, finer grain, higher sharpness, and more natural skin tones and colour reproduction. Portra 800 film - for perfectly stunning results with less-than-perfect light. The negatives have some warm tones, and while the grain is noticeable, I think it’s still very pleasant looking.

Name Kodak Portra 800
Type Colour (negative)
Native ISO 800
Format 35mm
Process C-41
Features Kodak T-GRAIN emulsions, Fine Grain, High Sharpness & Edge Detail
Lab Boutique Film Labs
Scanner Epson Perfection V600
Software SilverFast 9 SE + Negative Lab Pro
19 December, 2021 | Minolta XD-11 | MD ROKKOR-X 50mm F1.7