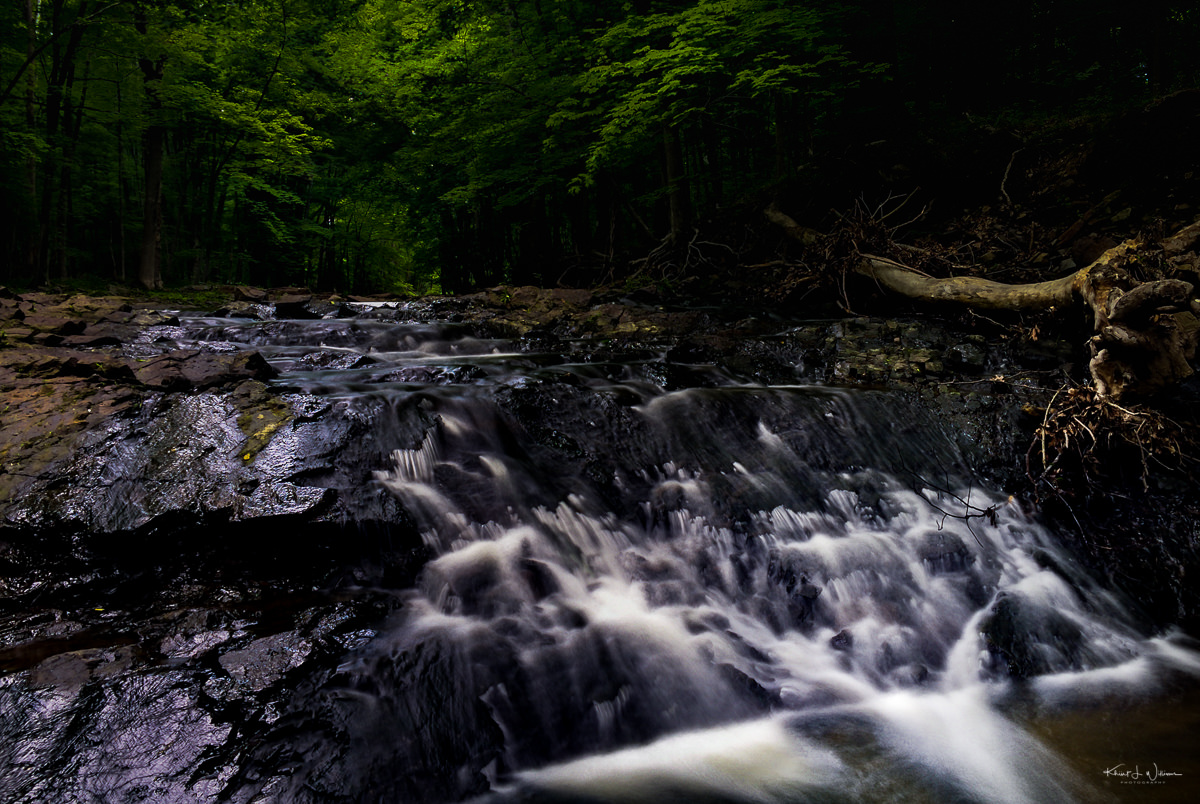
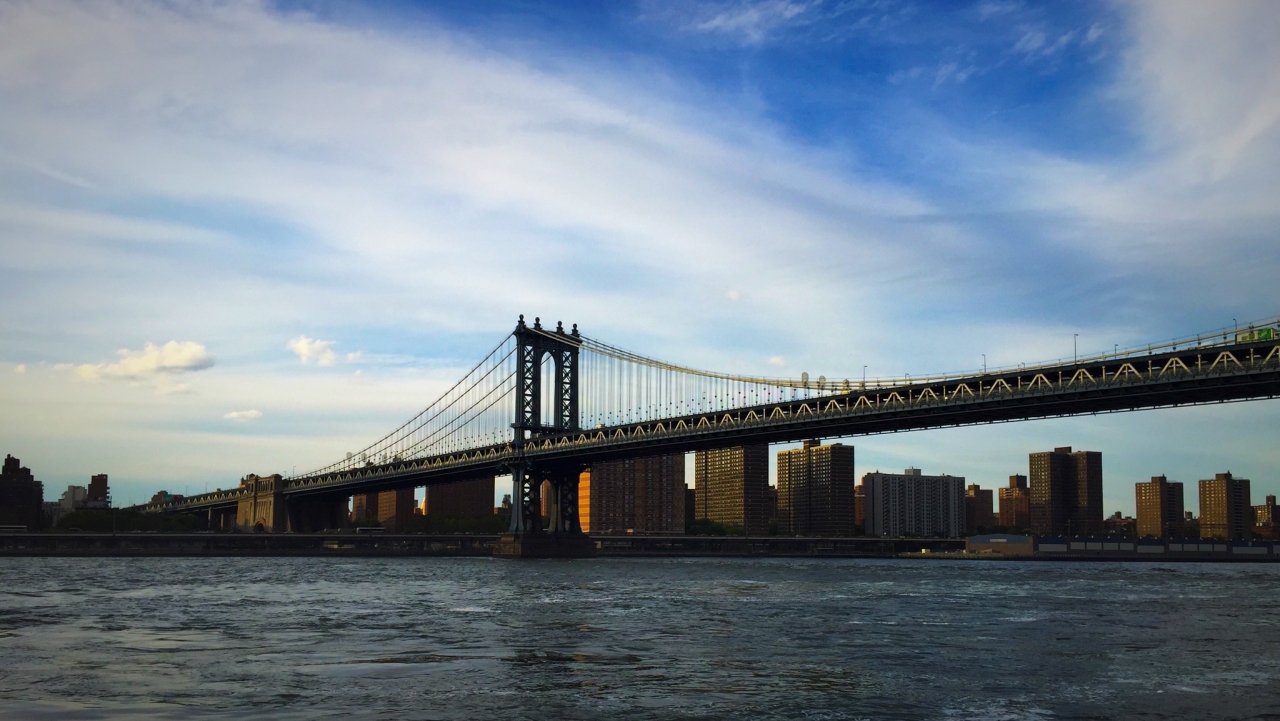
My iPhone Photography Bag

[exif id="19178"]

I almost always have a camera on me. Some time ago, I started keeping a packed camera bag and a tripod in my car. It helped me satisfy my photography urge when inspiration found it’s path to my eyes. With the camera always nearby I could pull over, stop, and capture what I saw. On my lunch break, I could walk around capturing moments throughout my day. The funny thing is, I noticed that I still captured more images with my iPhone than with Nikon.

It’s true; the best camera is the camera you have with you. But what has also become true, at least for me, over the last few years is that the best camera is the one that allows me to process and share my vision at the moment. This article by Daniel Korpai has some great tips that I have incorporated into my instant photography workflow.

With the introduction of iCloud Photo Library, there is a new smart album in the Photos app: Favorites. When you’re browsing through your images, you can find a little heart icon (?) under every single picture. Tap it, and Photos will automatically put that photo in the Favorites album and also make sure not to delete those in case you have the Optimize iPhone Storage turn on under the iCloud Photo Library’s settings. Go through all of your images in the Photos app and tap the little heart icon when you think you might want to process that particular image in the future. In the Favorites album, I then go through for a second time to review my selected images one more time, to make sure I only keep the very best.Daniel Korpai

That's a new tip for me, and I have started using it. It makes cleaning up the mess in my iOS photo library much more manageable.

iOS 8 added the ability to pass images onto a third-party app for editing. The images undergo non-destructive edits which means I can always undo. I mostly use the Afterlight app. It has lots of filters, but I rarely use any of them. But it has a few editing tools that I love. I have a few other apps, but few of them are available as editors from the photos library.

This is why I reverse this process. Instead of opening a third-party app, find the image you want to edit in the Photos app, then pass the photo to the other application with the help of an iOS Extension created by the Workflow app.

I started doing that last week. I created a Workflow to pass images from Adobe Lightroom Mobile to a few of my apps favourite, including Instagram.
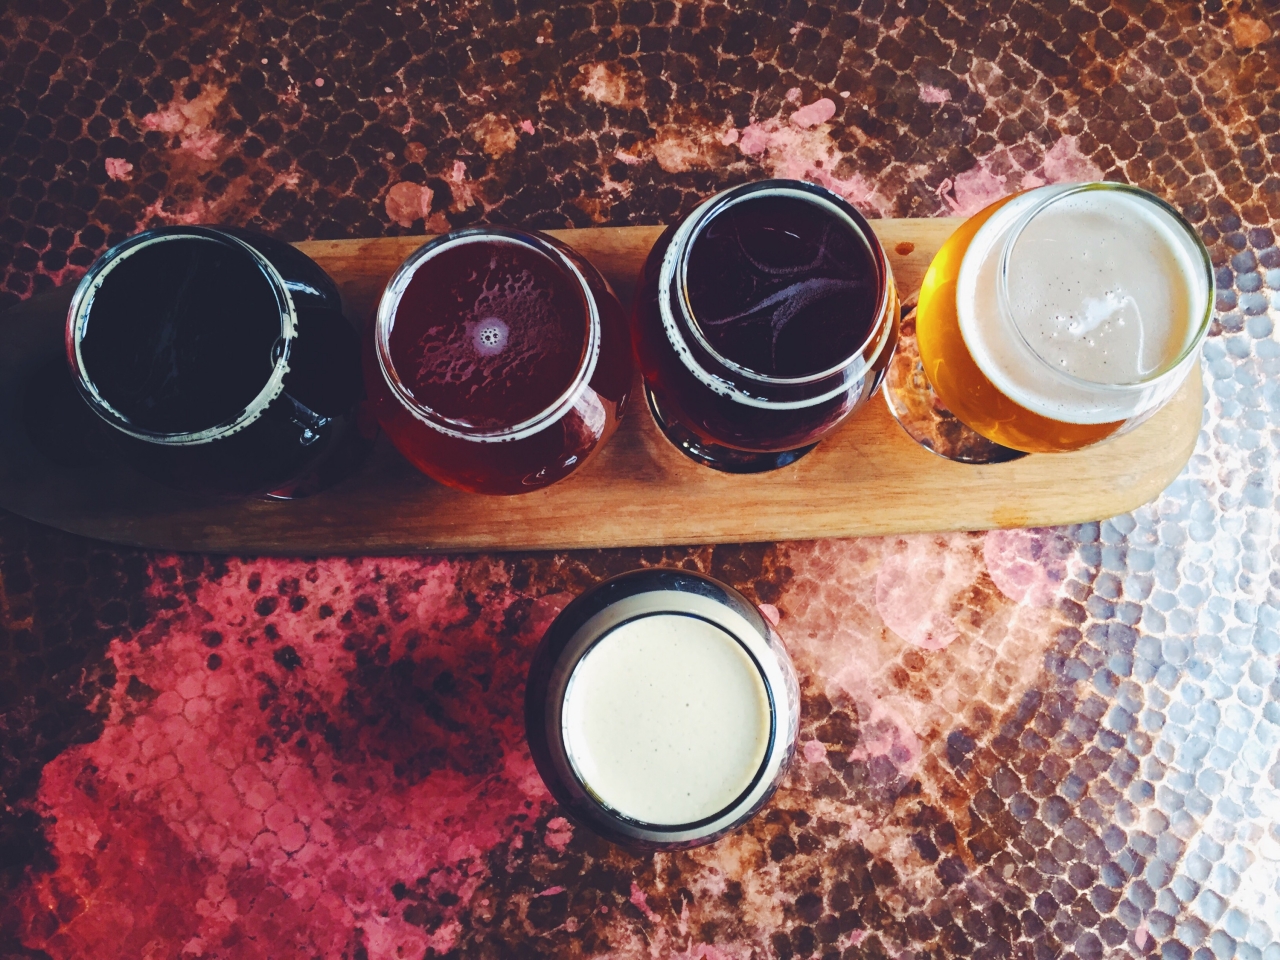
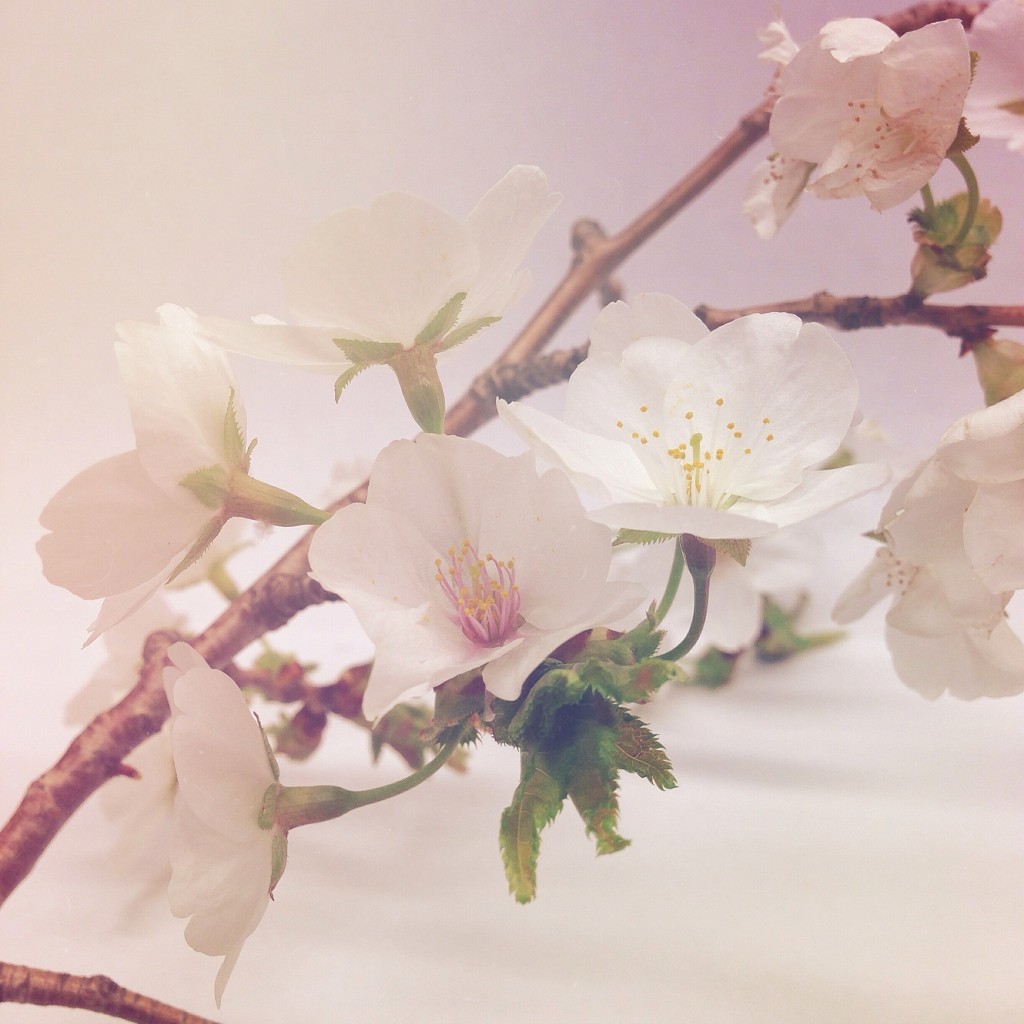
beer, flight

[exif id="19200"]

My workflow is simple. Capture an image with the native camera app and either use share sheets or workflows to pass the image to another app, usually Afterlight, for processing. I use other camera apps for specialised captures. I have a camera app for creating HDR images, long exposures, one for macro photography, and a few that allow for manual control of the camera. These are organised into an iOS folder named simply Cameras.

My most used camera apps are:

  • Native iOS Camera
  • vividHDR
  • Slow Shutter
  • Stay Focused

Apps that I use for post-processing are organised into an iOS folder called Darkroom. This includes, Photogene, an app I consider the Photoshop of iOS, Afterlght, VSCO Cam, Snapseed, Darkroom, and Image Sizer to change images to fit Instagram's square format.

My most used editing apps are:

  • Afterlight
  • VSCO Cam
  • Photogene
  • Image Sizer

Daniel uses VSCO Grid to publish his mobile image, but despite the square format, I prefer Instagram. It's easy to post a picture to Instagram and simultaneously share to Facebook, Twitter, Flickr, Tumblr and Foursquare.

Please read the article. The author mentions a few apps that I may download, try out, and perhaps add to my iPhone photography bag.

Rock Brook iPhone "Long Exposure” (not really)

I took the day off to relax a bit. My son Shaan came home early from school -- he has a study break for exams this week -- so I took him out for lunch at the One53 restaurant in Rocky Hill. We talked about college, school, and world history. I then persuaded him to come with me to the Rock Brook in Skillman. I wanted to test out an iPhone app I recently discovered called Slow Shutter Cam. It's for creating long exposure images.

The app creates these images, not by changing the aperture and exposure, but by cleverly combining multiple exposures using an image algorithm. The effect of long exposure is created by blending each of the captured images.

After capture, I made some quick adjustments in Photogene for iOS. The photo above was edited on my iPhone 6 with some tweaks in Adobe Photoshop Lightroom.

Cherry blossom macro portraits with olloclip and a makeshift desktop studio

Around the last year of graduate school, I came down with the "sniffles". For weeks I had itchy, watery eyes, a stuffy nose, and I sneezed almost incessantly. It impacted my school work, and my friend insisted I take a trip to the school's medical centre. I was shocked, too, when she told me that I had seasonal allergies. I grew up in the British West Indies. I never heard of anyone who had allergies to anything.

Every I get the sneezing, nasal itch and drooling, itchy eye-watering, "sniffly" allergies. I love the Spring but hate my bodies reaction to it. That doesn't stop me from doing what I love—walking outdoors, enjoying nature coming to life after many months of dreary grey. Of course, I pay for it later.

The building grounds crew were clipping off low hanging branches from the trees right outside the entrance. I asked, and they cut off a small bunch for me to take.

By: Khürt Williams - CC BY-NC-SA 2.0

I set up a small "desktop studio" using two sheets of 11x14" paper. One layer was laid flat on the desk, and the other was set against the cubicle's wall. The branch was placed on the paper and illuminated directly above the fluorescent light installed at the desk.

I had a lot of trouble securing the iPhone. I wanted to make sure focusing was as sharp as possible. This was challenging given the shallow depth of field of the macro lenses. I didn't have a tripod, so I improvised. I stuck a bent business card into the slot in my Kenu car iPhone holder. After a great deal of trial and error, I was able to get the setup stabilised. I used the digital zoom feature of Camera+ to check that my focus was as sharp as possible. To be sure, I used the 5-second shutter timer on Camera+ to reduce any potential camera shake when I tapped the on-screen shutter release.

By: Khürt Williams - CC BY-NC-SA 2.0

The following set of images were taken with the Olloclip 10X and 15X macro lens attachments for the iPhone 5. The images were exported to the iOS camera roll1 and then imported into Photogene to remove a scratch on my iPhone lens2. Once the scratch was removed, the images were exported to Flickr. This was to ensure I had a backup of the images before moving on. I then did another export to the iOS camera roll and imported images into Mextures.

By: Khürt Williams - CC BY-NC-SA 2.0

In Mextures, I applied some of the formulas from the Summer Formula's pack to create the final result. What do you think of the results?


  1. I realised later that I could have exported the images directly from Camera+ to Photogene. 
  2. The scratch shows up as a purple dot in every photo. Quite annoying but easy to remove with the "Heal" tool in Photogene.