The Orton Effect

I recently learned about a landscape photography technique called the "Orton Effect". The Orton Effect is a post-processing technique has been around for about thirty years that has become a trend. The technique is used to add a subtle (and sometimes not too subtle) glow to photographs. The technique creates an image that is simultaneously sharp and out-of-focus. The resulting image can be difficult to analyze or describe.

The Orton Effect is the creation of abstract landscape photographer Michael Orton who used it extensively in his film photography. The effect can be quite easy to reproduce with a DSLR and Adobe Photoshop. Here’s how.

Dirck Gulick House, House, Field
Original Image
[exif id="26648"]
screenshot, photoshop, Orton effect
Open your image in Photoshop and duplicate the layer:
screenshot, photoshop, Orton effect
Select the top layer, and from the Photoshop menu, click Image and then Apply Image.
screenshot, photoshop, Orton effect
For the “Apply Image” blending mode, click “Screen” and then hit enter.
screenshot, photoshop, Orton effect
Duplicate this new layer, then click the “Multiply” blending mode. In the Photoshop menu, click Filter, then Blur, then Gaussian Blur.
screenshot, photoshop, Orton effect
Adjust the blur radius to suit your taste.
screenshot, photoshop, Orton effect
Merge the two top layers (Command+e on macOS or Control+e in Windows) and create a mask to decrease or increase the Orton Effect in different portions of the image.

The Orton Effect darkens the shadows of a photo. You may want to adjust the exposure or shadow slider in Lightroom. The result of applying a heavy Orton effect to the original image.

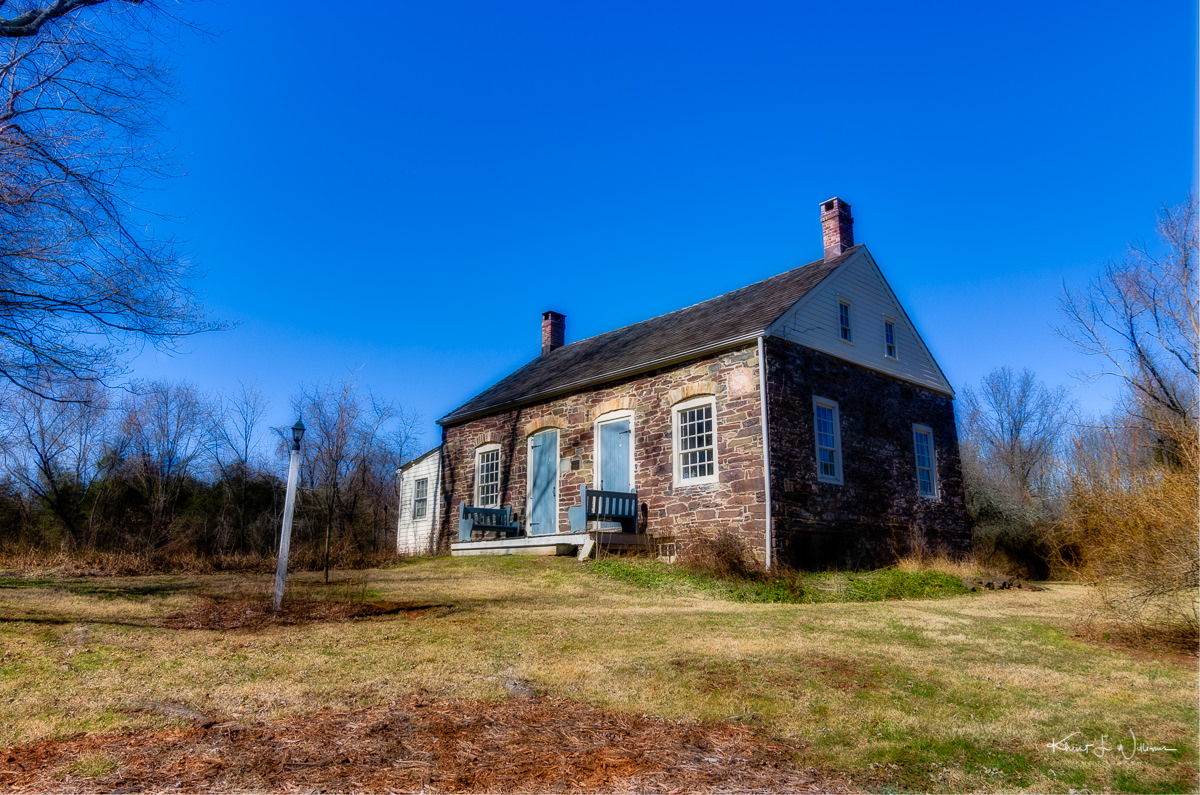
Dirck Gulick House, House, Field
Exaggerated Orton effect.
[exif id="26647"]