Security Lab : Installing Nessus

I created a Ubuntu Server to host a few security-related tools for experimentation and learning. But after installing the firewall I was stuck. I had a very difficult time trying to get the OpenVAS security scanner up and running on Ubuntu 10.04. After many failed attempts I discovered that Ubuntu 10.04 was not my best choice for a host. Ubuntu 10.04 is an older version of the distribution. Most of the security tools I want to use are deprecated on that version. I want to use the newer version of the security tools. So I installed OpenVAS and upgraded to Ubuntu 14.04.2 LTS via the do-release-upgrade command.

After upgrading to the latest release of the Ubuntu I re-installed OpenVAS. But ... I ran into other issues. The OpenVAS client requires X Windows. I had intended running Ubuntu as a headless server so this was disappointing. I did not and do want to install an X client on the server. I have the XQuartz X Windows server software on the iMac so I tried using that to server the display. It didn't work at all.

root@ubuntuserver: export DISPLAY:10.0.1.7:0.0
root@ubuntuserver:~# openvas-client localhost 88

(openvas-client:10152): Gtk-WARNING **: cannot open display: 10.0.1.7:0.0

Aargh! I'm not sure what I'm doing wrong. Perhaps I have ports blocked on my Mac. I spent a few another 30 minutes in a futile attempt to get this work before calling it quits on OpenVAS.

After thinking for a bit and doing some web searching I discovered that Tenable offers a Nessus Home edition of Nessus that I could install on my Ubuntu server. The Nessus Home edition is for private non-commercial use. With Nessus® Home I can scan my personal home network with some limitation. Each scanner will be limited to 16 IP addresses. I have almost 20 devices on my network but at least 8 of those are iOS devices. I'm not sure of the utility of scanning those. Apple doesn't provide any tools for blocking ports, so scanning them is moot.

I used Lynx to download the package to my server and I installed the package and started the daemon.

root@ubuntuserver:~# dpkg -i Nessus-6.3.4-ubuntu1110_amd64.deb
root@ubuntuserver:~# service nessusd start
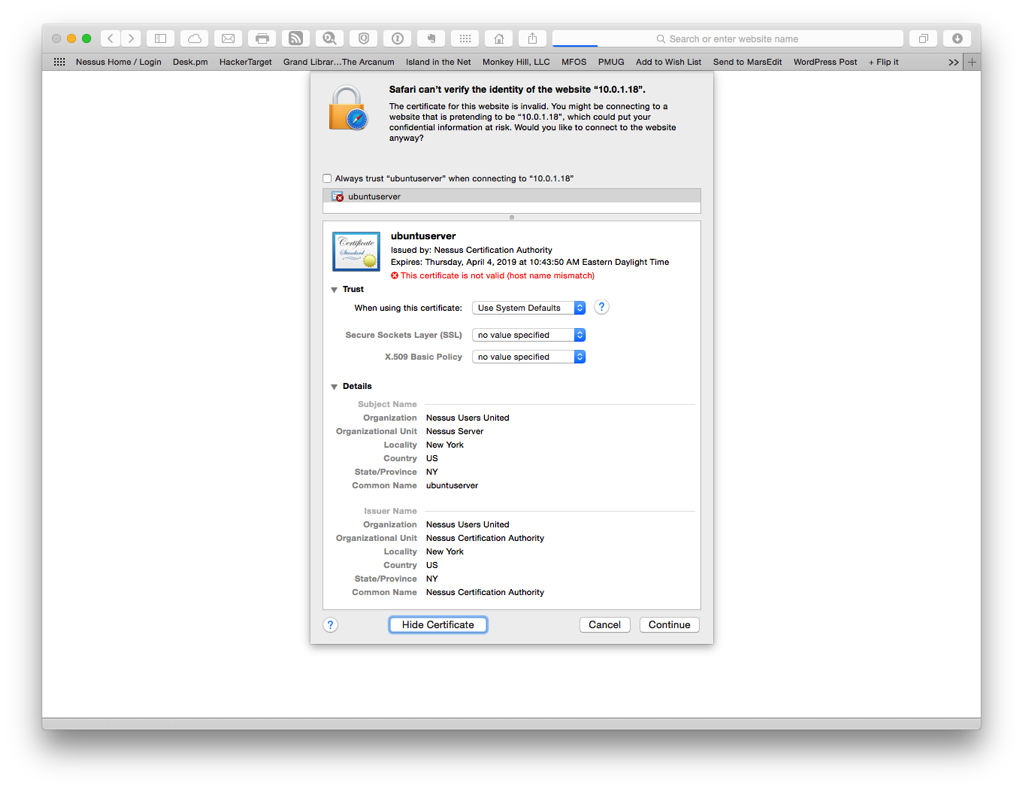
nessus certificate

Before I could complete the setup I made sure to register for an activation code. Once I received my activation code, I opened Safari and entered the following URL: https://10.0.1.18:8834/. The Nessus server is pre-configured to use a self-signed SSL certificate.
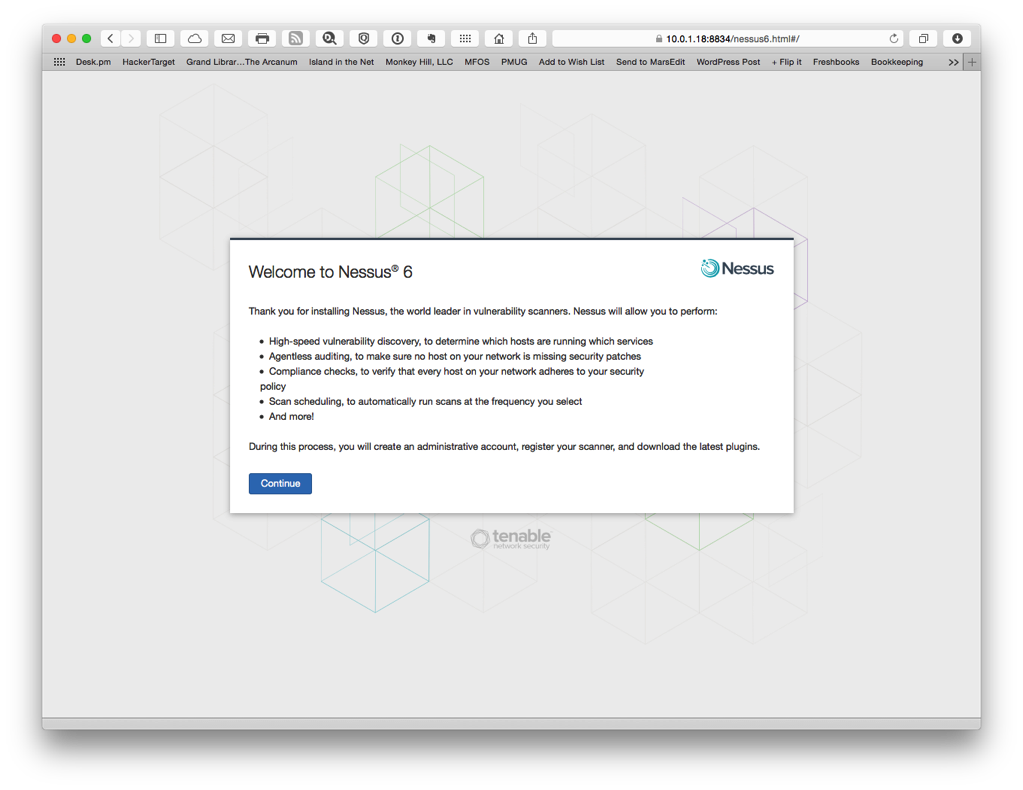
nessus install

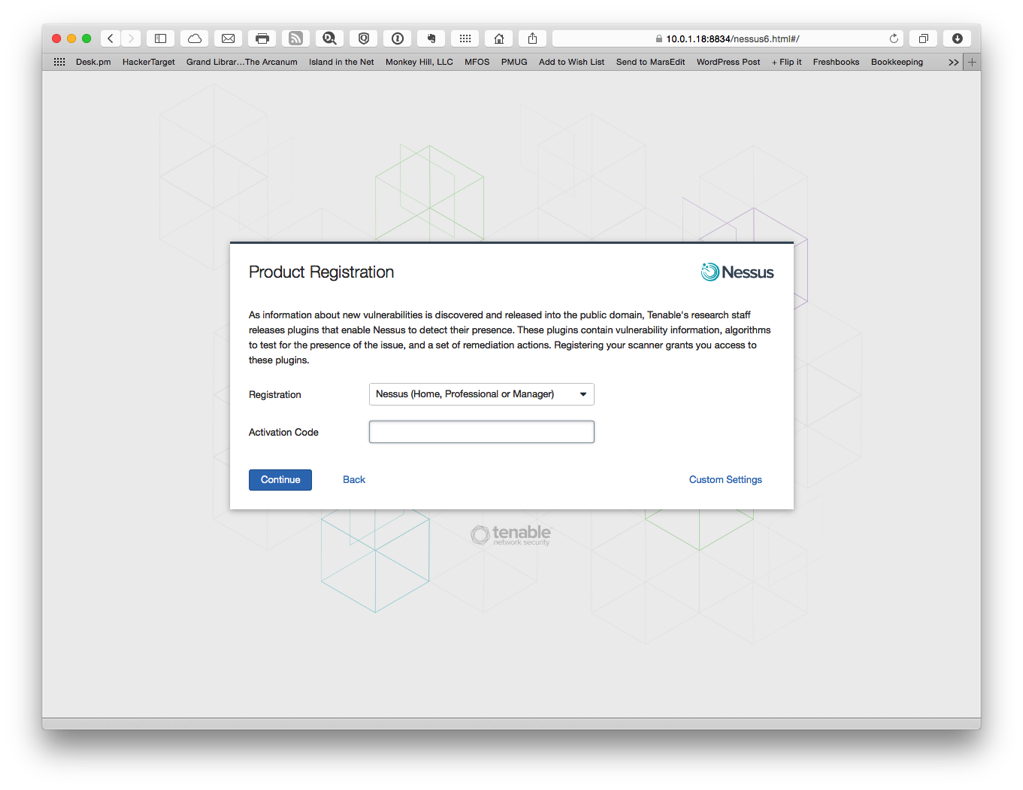
Once I accepted the certificate I created a user account and registered my installation with Nessus. The registration is important if you want to receive updated scan signatures.
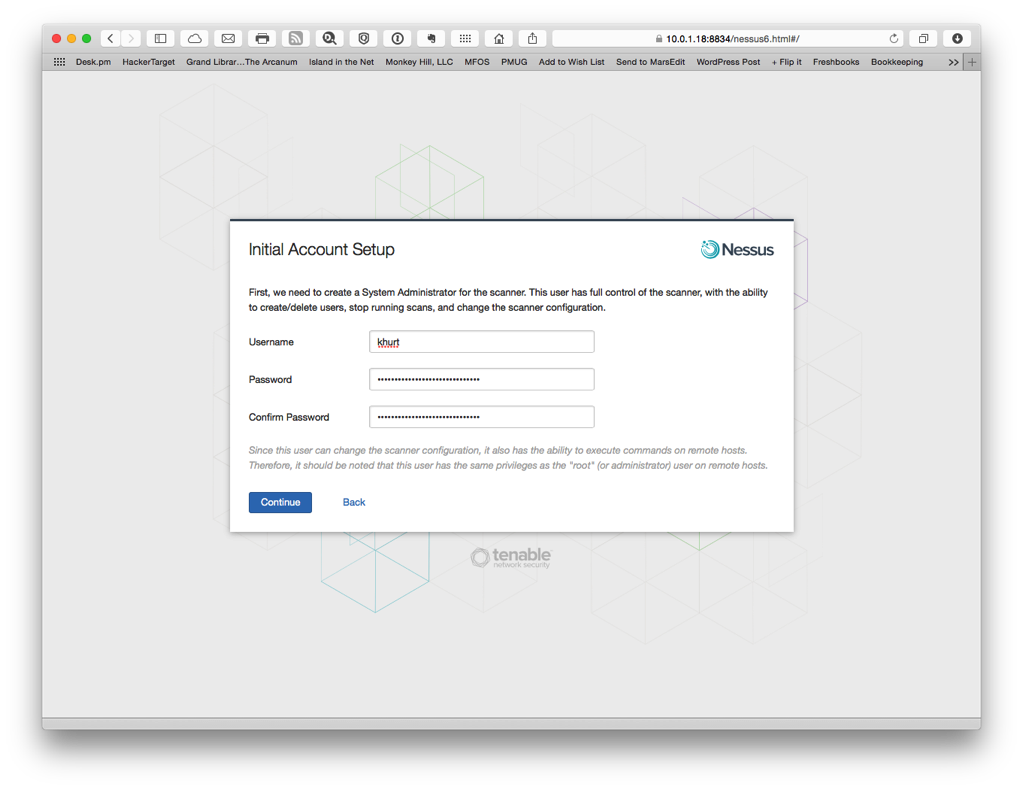
initial account setup

product registration

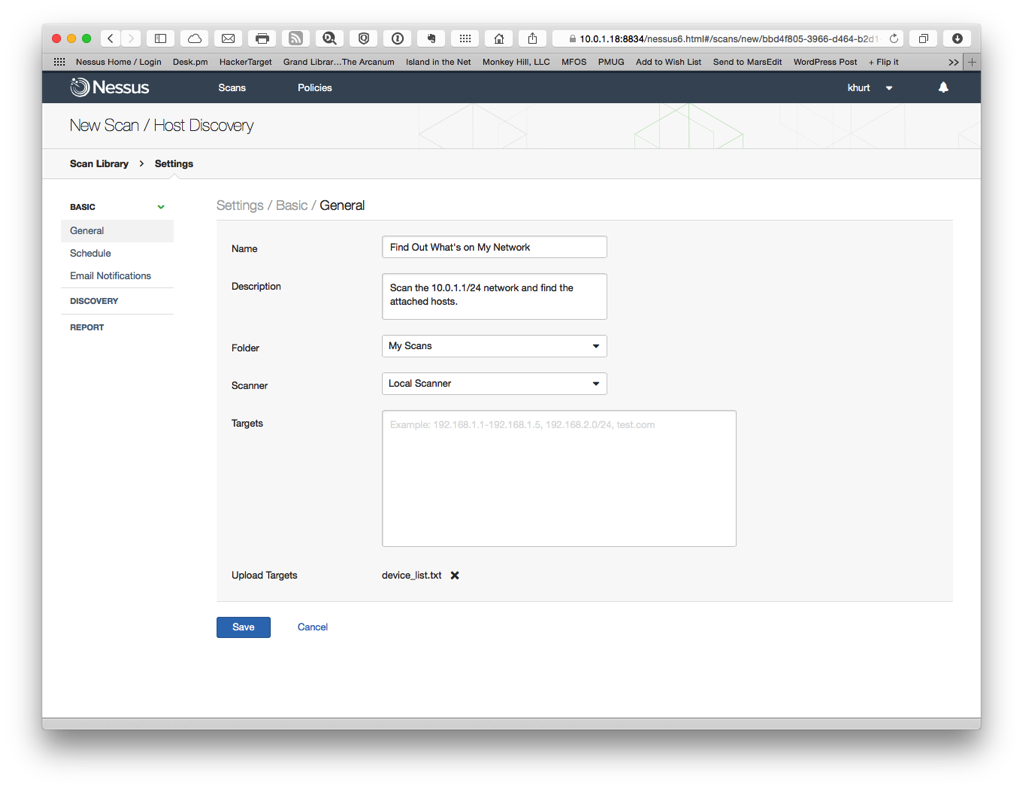
Once setup was complete I started a scan of my network using the default Host Discovery policy. This will allow me to find information about the hosts on my network. I already had a list of hosts so I did not scan the whole network. However, I think it might be useful to know if any unauthorized hosts connect to my network. I have a WPA2 wireless network with a very long randomly generated complex password so it's not likely. Three of my devices are connected to my network via an Ethernet switch. I configured a discovery scan to run once a week and email me the results.
discovery scan

I also scheduled a once monthly vulnerability scan.

I am happy to have a vulnerability scanner working. OpenVAS is the open source version of Nessus but I had some issues getting a working setup. If I can muster the patience I will revisit it. I am sure there is either a web front-end or terminal only client for OpenVAS. I just haven't found it yet. The one downside to using Nessus Home is that my scans are limited to my non-routable addresses. I can scan my home network but if I want to scan my hosts at Digital Ocean I will have to pay Tenable.

NOTE:

Shortly after writing this, I discovered that there is in fact an OpenVAS command line utility. So ... I will revisit using OpenVAS at a later time.
Setting Up an Open Source Security Lab with Ubuntu

It's been a while since I had a dedicated Linux server in my home. In the early days of my career, I maintained a small "data centre" in my basement. It included BSD-based network storage via FreeNAS, a Linux Apache MySQL Perl/PHP (LAMP) stack, a Linux-based firewall and directory server, and a Windows domain controller. I spent much time testing my ideas and tinkering with open-source software. Over time, I replaced these machines with commercial off-the-shelf products or moved services to the cloud. Eventually, everything was replaced. This move coincided with my then employer's network, system administration, and application development outsourcing. In the back of my mind, I thought it was pointless to learn something and develop a skill that I couldn't use. It's like learning to play a sport but never getting on the field. I improved my "soft" skills, even as some of my hard skills atrophied.

I recently started consulting independently (again) and realised my knowledge needed updating. While it's great to have business skills that clients find essential to help bridge the communication gaps between non-technical and technical staff, I wanted to stay sharp. I also missed my early days in information security when I was responsible for vulnerability management. I wanted back in, especially to develop and hone a penetration testing skillset. It was time to rebuild my lab.

I have two Raspberry Pi (RPi) devices on my home network and two Macs. The Macs run OS X Yosemite, and the RPi runs Raspbian. The iMac and MacBook Air are capable workstations but inadequate for a server. The RPi is too underpowered and limited by memory and storage constraints. I installed and configured ownCloud on one of the RPi machines, but the performance was terrible. I spent two days getting ownCloud up and running on the RPi but removed the software and reconfigured the machine after only one day of use. A used server might be a better solution.

Server Hardware

I intended to install open-source security tools, including network and system vulnerability scanning, security and event monitoring, intrusion detection, file integrity monitoring, and configuration management systems. I wanted something powerful enough to handle the software stack with enough storage to install, configure, and test other software. After scouring eBay for a week, I purchased a Dell PowerEdge 1950 server for $160. Information on the Dell PowerEdge:

  • Two Intel Xeon 3.0GHz Dual-Core CPUs
  • 4GB of RAM
  • Two 146GB SAS 15K RPM Hard Drives
  • Dual Power Supplies
  • Dual Gigabit network cards
  • VGA/Serial/USB Ports
  • CD-ROM Drive

When the server arrived -- it was larger and heavier than I expected -- I went to the basement to set up. But... I had no power cords, no keyboard, and no display. Over the years, I was spoiled by Apple products. All Macs ship with a display and a keyboard, except for the Mac mini and Mac Pro. This was a frustrating setback, but a few weeks later, I now have a power cord, keyboard, and display. An office colleague donated the power cord and keyboard from the excess he had sitting in a drawer. The display, a Dell P1913S, was purchased used from eBay. It has a small tear, but the price, $50, was good for my budget. It supports VGA, HDMI, and DisplayPort. Waiting and acquiring the peripherals took some time, but I had everything in place last night when I installed Ubuntu. When I booted the device, I noticed a BIOS error. After poking around in the BIOS, I realised that one of the two 146GB drives had failed. I tried rebuilding the drive but failed, so I pulled the drive from the chassis.

Building the Install Media

I intended to install Ubuntu from a flash drive. The general procedure to install Ubuntu from a USB flash drive is:

  • Acquire the correct Ubuntu installation files ('the ISO')
  • Put Ubuntu onto your USB flash drive
  • Configure your computer to boot from a USB flash drive and boot from it
  • Install Ubuntu to your internal drive (hard disk or solid-state drive).

I could download a supported ISO for the Dell PowerEdge 1950 from Canonical's website and use the OS X Disk Utility (DU) app to create a bootable USB. This didn't work. I am trying to understand why. Some Google searches revealed that I first needed to convert the ISO to an IMG file and then do some other things to create a bootable USB flash install on OS X.

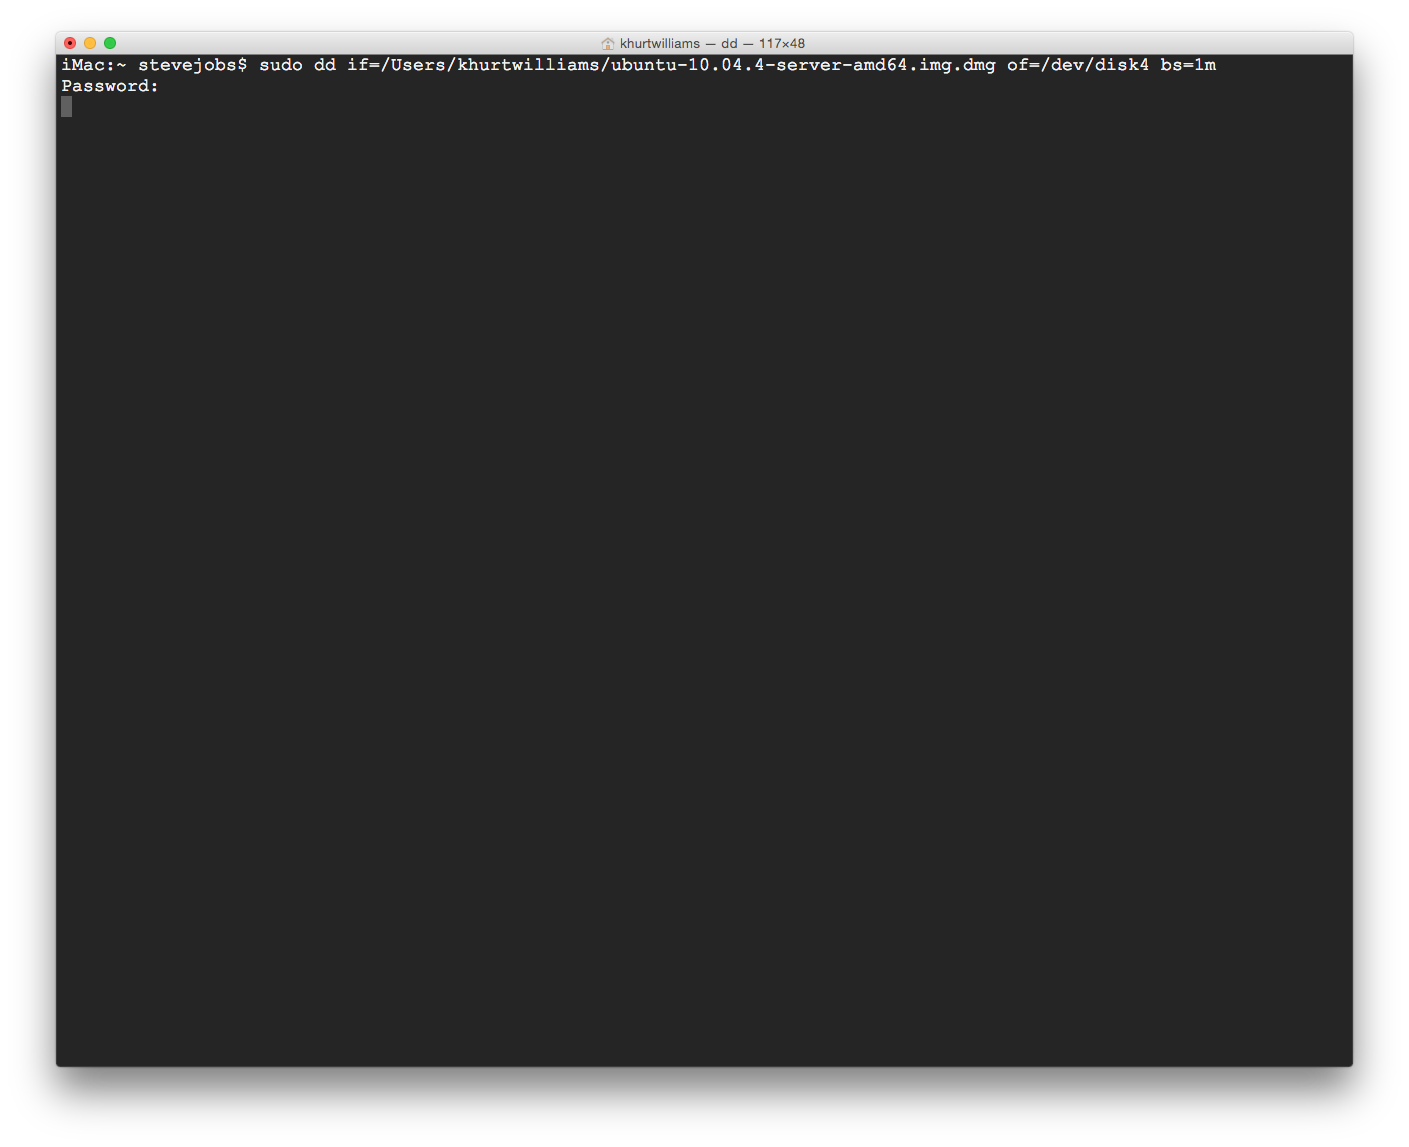
:~$ sudo hdiutil convert -format UDRW -o ubuntu-10.04.4-server-amd64.img ubuntu-10.04.4-server-amd64.iso

After converting the ISO, I followed the instructions to burn the IMG to disk. The flash drive imaging was taking forever. I lost my patience after about 20 minutes. I wanted to get started right away. So, while the USB flash drive was being imaged, I tried burning the ISO to DVD with DU. That failed, too. After a few minutes of scratching my head, I burned the IMG I had just created to DVD with DU. This method finished before the USB flash drive was ready—time for the OS install.

Screenshot 2015-03-30 20.22.22

Install the OS

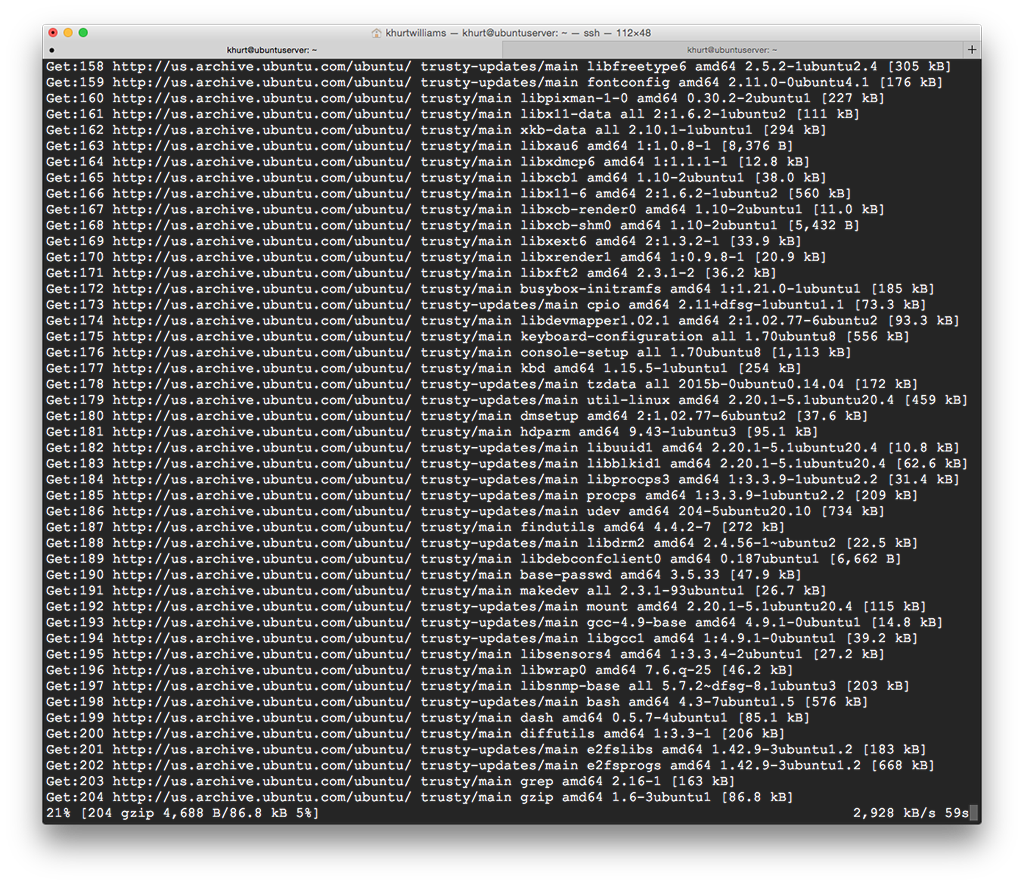
I booted the Dell from the install DVD, answered many questions, and created the root and a standard user account. Once the server booted into Ubuntu, I ensured the SSH daemon was running and sat on the couch with my MacBook Air to complete the initial security configuration. This is one thing I love about UNIX/Linux. Almost anything can be accomplished from the terminal -- remote or local. I used apt to install missing OS patches, but after doing that, I realised I should do an OS release update instead.

:~$ sudo do-release-upgrade

The release upgrade seemed to take forever, but once it was complete, I configured the server firewall using UFW. I remember having to create Linux iptables firewall rules by hand. UFW makes changing the firewall rules trivial. I edited /etc/default/ufw to ensure IPV6 support was enabled (IPV6=yes) and started creating firewall rules. At a minimum, I needed a way to secure remote access to the server and allow web services. From a security perspective, I wanted to follow my practice of "that which is not explicitly allowed is denied". I enabled access to SSH on port 22 and secure web services on port 443 via a firewall on Ubuntu with UFW.

:~$ sudo ufw allow ssh
:~$ sudo ufw allow www
:~$ sudo ufw allow 443
:~$ sudo ufw enable
:~$ sudo ufw logging on

Next Steps

My next steps are to install other security software on the Ubuntu server. I took an early stab at installing Tripwire and OpenVAS, but I'll need more time to understand how to configure these correctly.

Starting a Security Tools Lab at Home

I recently realised that although I've worked in the information security space for almost 13 years, my hands-on work has decreased over the last few years. When my last full-time employer switched to a fully outsourced IT stack, the need for a security analyst to work directly with technology diminished. The team transitioned to a governance, risk, and compliance (GRC) model, with my role evolving into more of an internal security consultant. I was no longer responsible for day-to-day tasks like vulnerability assessment, network intrusion detection, and log management.

This didn't mean I lacked skills. It just means that my skill set was better suited to building or advising on information security architectures, critical controls, policies, procedures, and standards. I have good to great presentation skills. I've practised my writing over the years and written a few internal white papers. I could confidently discuss business strategy in front of senior managers and directors and collaborate across multiple business units to achieve shared goals. I can navigate both the language of technology and business.

When my role was eliminated in 2013, I returned to working as an independent security consultant. I realised how much my hands-on skill set had atrophied. I found myself struggling to remember how to use NMAP and wasn't up-to-date on the latest open-source security tools. I wasn't even aware that OpenVAS was essentially Nessus. I panicked, thinking, "I'm over the hill now!".

However, these hands-on technical skills are not what my current client finds valuable. Most of my achievements in consulting over the last two years have involved helping to build an information security architecture to meet certain business compliance objectives. My client appreciates my efforts and the results.

Nevertheless, I want to expand what I can offer future clients. There's an uptick in demand for experienced information security professionals, and I want to position my skills and services to take full advantage. I asked myself, "How can I dust off my technical skills and polish them?"

There are two strategies I am pursuing simultaneously:

  • Training
  • Building a lab

I aim to develop my penetration testing and vulnerability assessment skills. Perhaps due to the large number of highly public security breaches in 2013 and 2014, many organisations realise they need to do more to find and fix flaws in their systems. Attackers have become very adept at exploiting weaknesses — some of which have been around for decades — in some core services of operating systems and networks. I believe penetration and vulnerability testing is one area where demand will continue to grow. However, pursuing training is the toughest challenge.

Many of the training classes I want to take are expensive. A single SANS course is about $5000. The cost of the course, plus the loss of income during the week I am attending, makes the overall cost difficult to swallow. But... if I want to be successful, I have to find a way.

The other option is to do all the training online. This would allow me the flexibility to work during the day and study at night. Online courses tend to be cheaper as well. Some courses provide a lab for students to practice the techniques taught in the course. I haven't made any decisions on training yet, but I have put some thought into building a lab where I can experiment with some open-source security tools.

At first, I thought I might build the lab using OS X. I could use my iMac for assessment and monitoring and my MacBook Air for pen-testing. I could certainly find OS X ports of most, if not all, the tools. But I use these two machines for other purposes. The iMac is for photo editing and writing, and the MacBook Air is my minimal viable mobile office and presentation device. I really want devices dedicated to security-related tasks.

To build a test lab, I bought a used Dell Blade Server on eBay. It has enough CPU, memory, and storage for this purpose. I plan on installing a Linux distro. I'm not sure if it would be better to install Ubuntu Server and then install or build the security tools or just install a Linux distro like Kali Linux that's geared toward pen-testers. I'm not sure yet.

I plan on installing and configuring the following assessment tools:

  • OpenVAS for network and system vulnerability assessment
  • ZMap for network scanning
  • Nmap for network discovery and server profiling
  • Nikto for application security assessment
  • WhatWeb for application profiling

In addition to the tools mentioned, I want to try network and system monitoring tools such as Snort, OpenSCAP, Open Source Trip wire, and Splunk. It will be nice to re-familiarise myself with tools like Snort and Splunk.

My home network has 19 IP-enabled devices. I have iOS devices, a few Macs, two Raspberry Pi, and some embedded Linux devices. I think these will give me enough traffic to test these tools.

So far, progress has been slow. I have my blade server sitting in the basement, but I have yet to install the OS and connect it to the network. Many years ago (circa 2008?), I got rid of all the superfluous PC-style machines in my basement and bought an iMac and MacBook. I've bought only Macs since then. Part of the delay is that I have no power cables, display, or keyboards for the server. I may have to search eBay for a small used display and keyboard. I only need them to install the OS and set up SSH. After that, I can connect to it remotely.

In the meantime, I installed Kali Linux on one of my Raspberry Pi machines. I still can't use it since Kali Linux defaults to having no running services. I can't log in to turn on the service without a display. I am also hoping to repurpose an old Mac mini G4 to run Linux. Again, the lack of a display hinders those efforts.

So... I'm off to eBay. I need a minimum of a 14” monitor and a keyboard to get started.