I'm participating in a group 365 photography project with members of the PHOTO-FUSION meetup. The 2011 Journey 365 — Daily Visions is a challenge for the group to have fun and learn over the year. We are being challenged by the meetup organiser to take one photo each and every day and post it to a photo album he created specifically for the project.
The PHOTO-FUSION meetup organiser has chosen to host the photo albums on his web site using Gallery, an open source web based photo album organizer. With Gallery a web site owner can easily create and maintain albums of photos via an intuitive interface accessible from any web browser. But after exporting a few photos from Adobe Photoshop Lightroom 3 and then uploading to the gallery I realised that I wanted a more efficient work-flow.
One of the things I like about Lightroom is the plug-in architecture. Plug-ins extend the capability of Lightroom allowing integration with external image-processing software such as Nik Software's HDR Efex Pro and Photomatix Pro. Adobe maintains a list of free and commercial plug-ins on the Adobe Exchange web site. I'm a big fan of Jeffrey Friedl's export Lightroom plug-ins which allow me to upload images directly to online social media services such as Flickr, Facebook, and PicasaWeb. Jeffrey offers these plug-ins as "donationware". A small donation — as little as one dollar cent to cover the PayPal fee— is all that is required to unlock the full potential of the plug-ins.
A few minutes on Google and I had a link to two plug-ins for exporting from Lightroom to Gallery. The first plug-in, written by German photographer and blogger Moritz Post, works with Gallery 2 — which is what PHOTO-FUSION is hosting — and the other is written for Gallery 3. The instructions below are for installing the Gallery 2 export plug-in for Lightroom on Mac OS X.
Installation
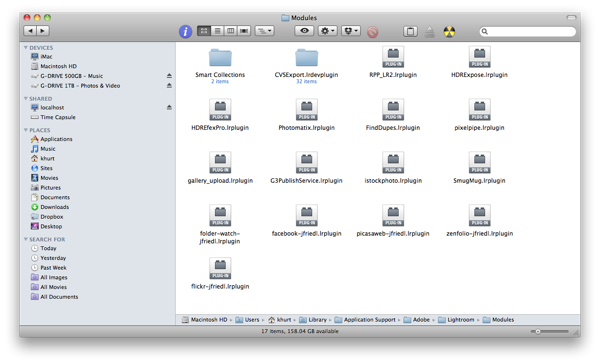
First, quit Lightroom if it's already running. Download the Gallery 2 plug-in from Sourceforge and extract the plug-in file from the zip file. Copy to Lightroom’s Modules folder. This will be different depending on operating system.
- Windows Vista or 7: C:UsersusernameAppDataRoamingAdobeLightroomModules
- Windows XP: C:Documents and SettingsusernameApplication DataAdobeLightroomModules
- Mac OS X: ~/Library/Application Support/Adobe/Lightroom/Modules (where ‘~’ is your User directory)
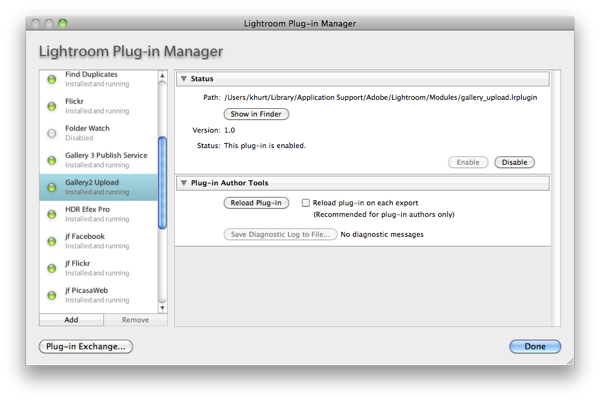
Launch Lightroom and go to the Plug-In Manager. Scroll until you find the "Gallery2 Upload" entry. Select it and verify that it is enabled.
NOTE: If the plug-in does not appear in the list, you can add it by clicking "Add" and navigating to the folder where you copied the plug-in.
Creating export preset
Before we can use the Gallery2 plug-in, we need to create an export preset.
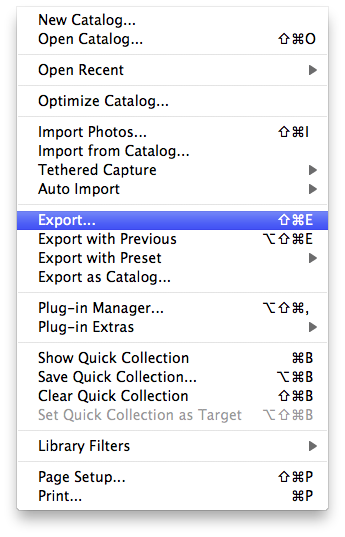
From the Lightroom File menu select the "Export..." menu item.
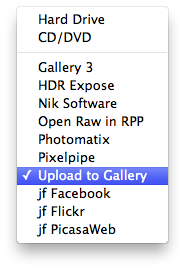
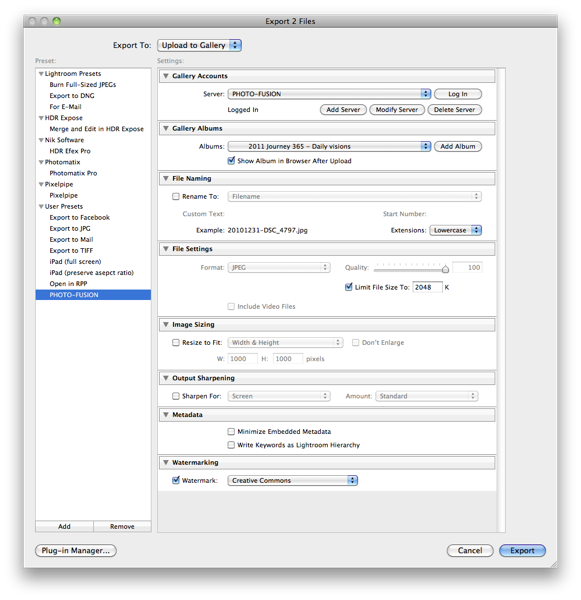
From the ExportTo drop down list select "Upload to Gallery".

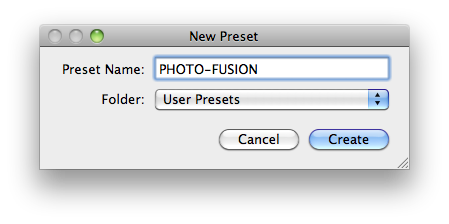
Click "Add" to create a User Preset. Give the preset a name and click "Create".
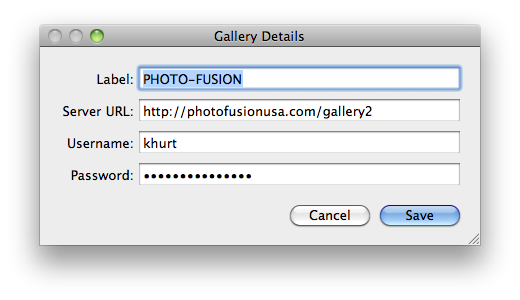
In the left hand section of the Export window, select the newly created preset. Click "Add Server" and enter the requested information about your gallery server. The server URL is the same address you would enter in your web browser to get to the web site. Click "Save".
Click "Login" to login to the server, then select the Gallery album from the drop-down list.

Make any other changes to the preset as necessary. The PHOTO-FUSION server limits individual images file uploads to 2MB so I made sure to set that in my preset (2MB = 2048KB). I also made sure to enable the Watermarking feature. This will ensure my copyright information stays on each image.
When you are done making changes, right click on the preset (in the left hand section of the Export window) and select "Update with Current Settings". Click Cancel.
Using the export preset
From your Lightroom library, select the photos you would like to upload and then from the Lightroom File menu select "Export...".
Select the export preset. Click Login. Select the album to export to then click export.