As of the beginning of 2020, LR/Instagram is no longer a viable way to post directly to Instagram. The developer’s note on their website says: “Service Note: Instagram has updated their protocol and currently plugin does not work. We are investigating the issue and the plugin will be updated when a fix is available.”
Last month I wrote about a plug-in to export images to WordPress from Adobe Lightroom. This month, I am writing about exporting from Lightroom to Instagram.
In the early days, Instagram was all about mobile photography. You used the app to snap a photo, applied a filter, added a few hashtags and posted the image to the Internet. But eventually, people started posting DSLR images to Instagram. The process was not quite as instant. Most DSLRs don’t have Wi-Fi and even if your does, the posting process involves transferring the image to your smartphone and importing to the Instagram app. If you wanted to do more editing and post-processing before posting to Instagram, you have to transfer the image from the computer to your smartphone and then import to the Instagram app. But there is a faster way.
LR/Instagram is an unofficial publish plugin for Lightroom, allowing you to post photos directly to your Instagram account from Lightroom. There is no need to export to a folder and then transfer the photo onto your smartphone.
 First, you need to install the plugin. If you are already familiar with plug-in installation follow the normal process for installing LR/Instagram. If you have never installed a Lightroom plug-in, plug-in author Jeffrey Friedl has written an excellent overview of the process.
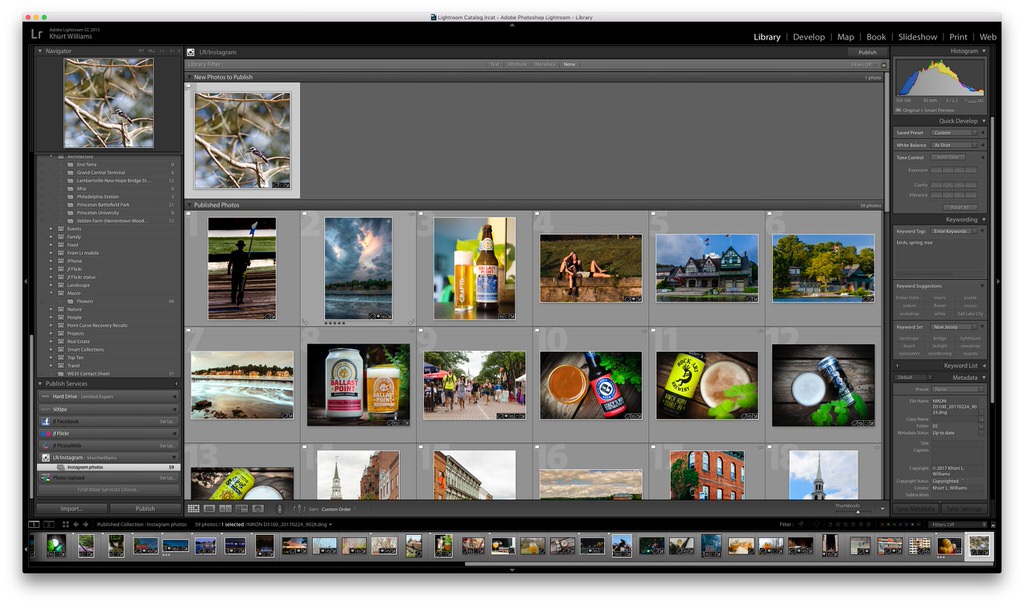
Once the LR/Instagram plugin has been installed you’ll need to create a Lightroom publish service. The Publish Services connection allows LR/Instagram and Lightroom to communicate with your Instagram account. You can find the Publish Services panel in the lower left-hand corner of the Library module. Click the "+" and click "Go to Lightroom Publishing Manager."
The Lightroom Publishing Manager will display a list of existing Publish Services. Click "Add" to create a new publish connection and select LR/Instagram from the drop-down list. You can optionally enter a name for this connection. Click Create to create the connection. Once your connection entry has been created you can configure the connection.
Select the LR/Instagram connection in the left pane of the Lightroom Publishing Manager. Once you authenticate with your Instagram account information, the connection is ready, and you can start exporting images to Instagram. However, before you start doing that there are some additional preferences that will help make the best use of the plug-in.
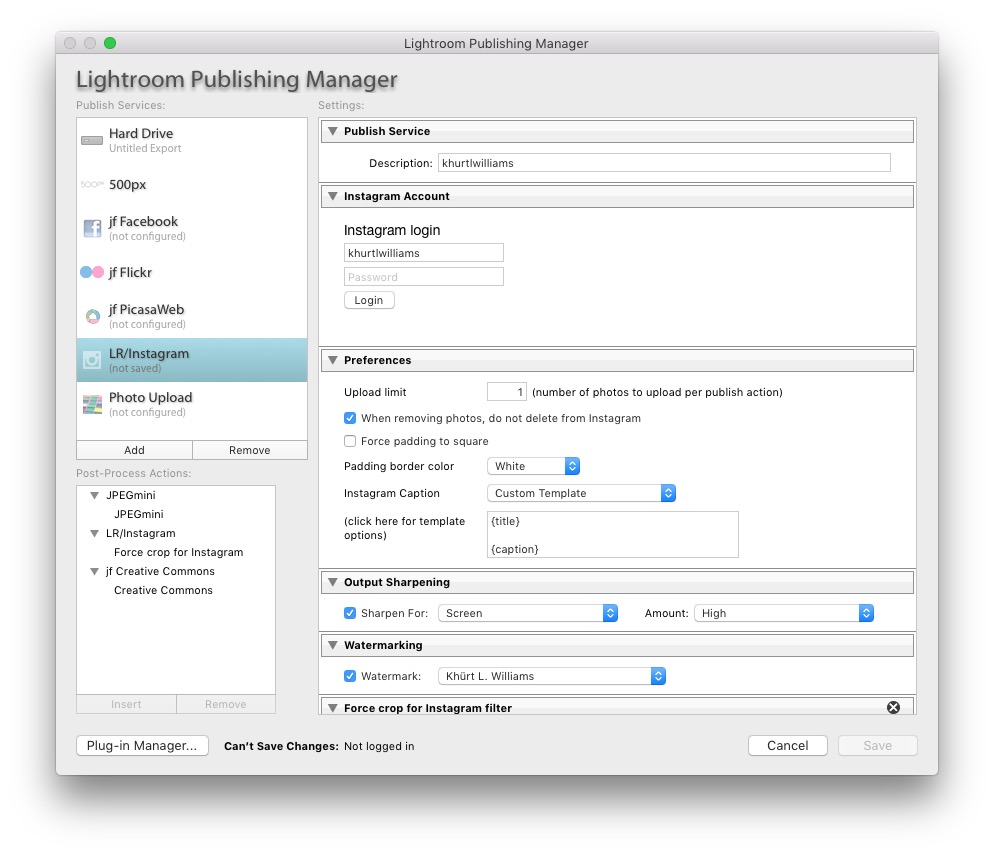
To avoid having my post fill the timeline of my viewer, I normally post only one image at a time to Instagram. I control this via the Upload limit preference. This limits the number of photo upload per publishing action. Originally, Instagram only supported square cropped images. However, recent updates to Instagram allow the posting of images in landscape and portrait modes. I welcome this change but if you are nostalgic for the square format, you can enable that preference.

LR/Instagram provides a new metadata panel, where you can add captions and hashtags to be published along with your to image. I created a custom template using a set of template tags to customize how the metadata information appears when I publish my image.
My template looks like this:
`{title}
{caption}
{cameraMake} {cameraModel} + {lens}, {shutterSpeed}, {aperture}, {isoSpeedRating} @ {focalLength} (~ {focalLength35mm})
{Hashtag} {#keywordTags}`
Here's an example of what that looks like when posted to Instagram.
Once you have your template set up, save the changes to the Publish Service. Now you can drag photos to the publish collection, then click Publish to immediately upload your photos to Instagram. If you want to change the caption and hashtags after posting an image, you can edit the information and mark the image for re-publishing. When you click the publish button, LR/Instagram will update the information on Instagram. The original image, however, will remain unchanged.

If you modify photo after publishing, the photos go to "Modified Photos to Re-Publish" state. Since it is not possible to replace a photo in Instagram, the photo content is not actually updated from this state. However, the plugin does update captions and hashtags on republishing.
The LR/Instagram plugin is 100% free to download and try. The developer simply asks that you if you like it, show your support by registering it for $10 from Lightroom Plugin Manager.