My HDR Workflow

I like HDR photography a lot. I've been messing around with it for a few years. Most of my efforts have been hit or miss. Not all subjects lend themselves to HDR photography, and my technique and workflow are shoddy.

Recently I discovered an article by where he detailed his workflow for creating beautiful HDR. I put the piece away but only recently found the time to try out his workflow on a few of my images.

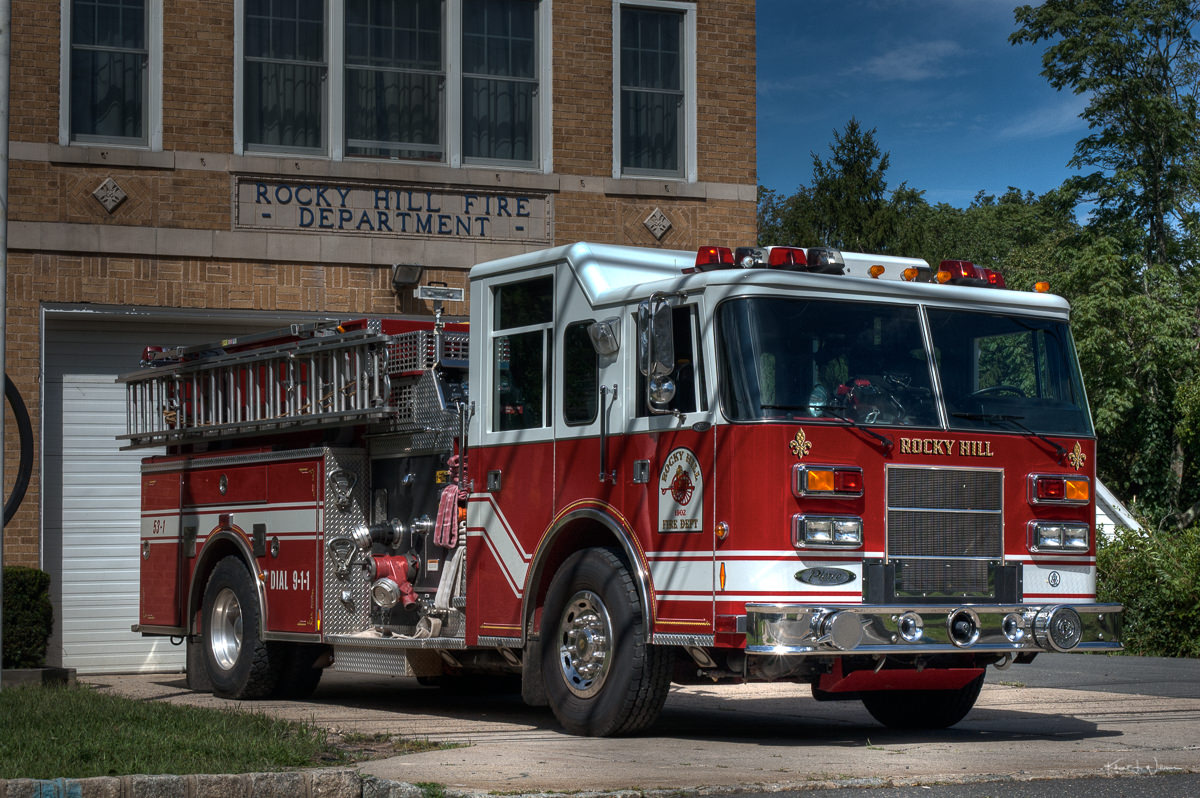
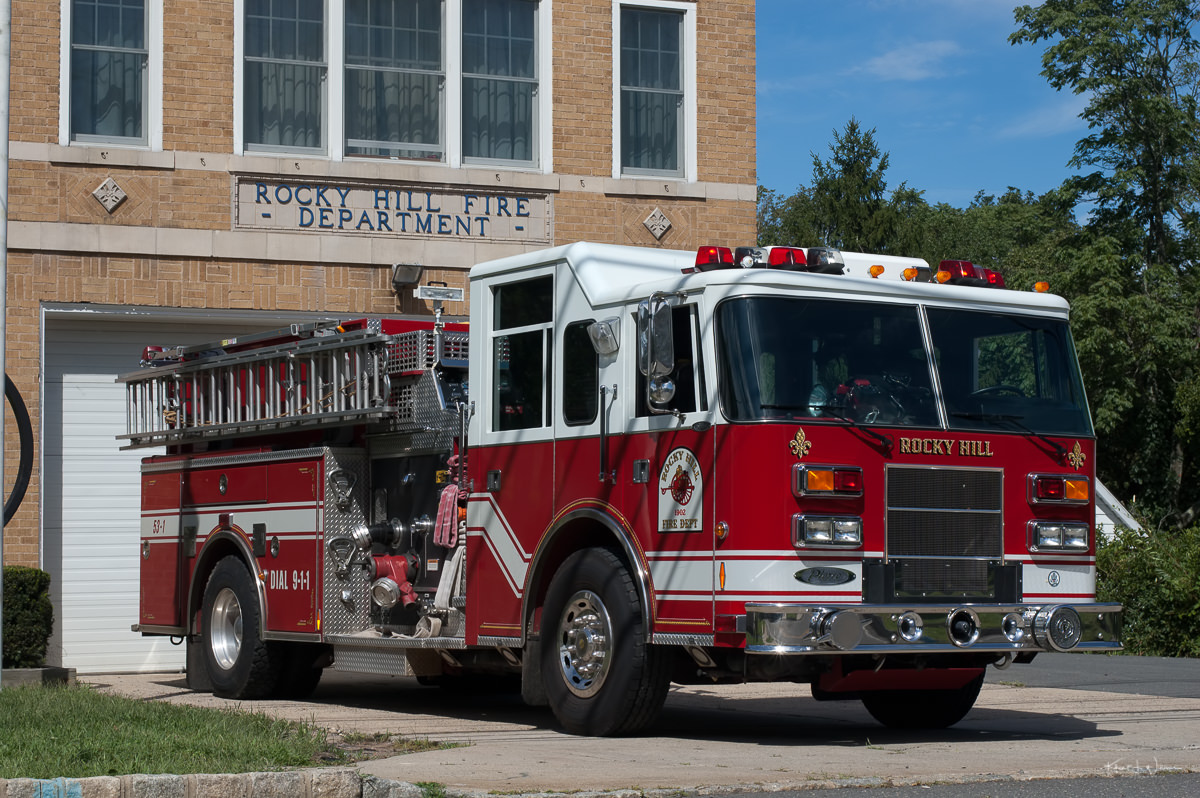
The image in the header of this post is the original image of a fire truck for the Rocky Hill Hook & Ladder. I took the photo about a month ago a few days after Hurricane Irene blew through New Jersey. The Rocky Hill Hook & Ladder were out helping residents with flooded basements, cutting fallen trees, and keep idiot motorist off the flooded road and bridges in the area.

I started with a single RAW image and used Topaz Noise to remove some noise from the high ISO image. I created four virtual copies in Adobe Lightroom and adjusted each +4/-4 and +2/-2 stop before combining them to create an HDR image in Photomatix Pro. I then tone-mapped the HDR image using Enhancer Painterly. That image is below.

29 August 2011 | Nikon D40 | AF-S DX Nikkor 50 mm f/1.8G

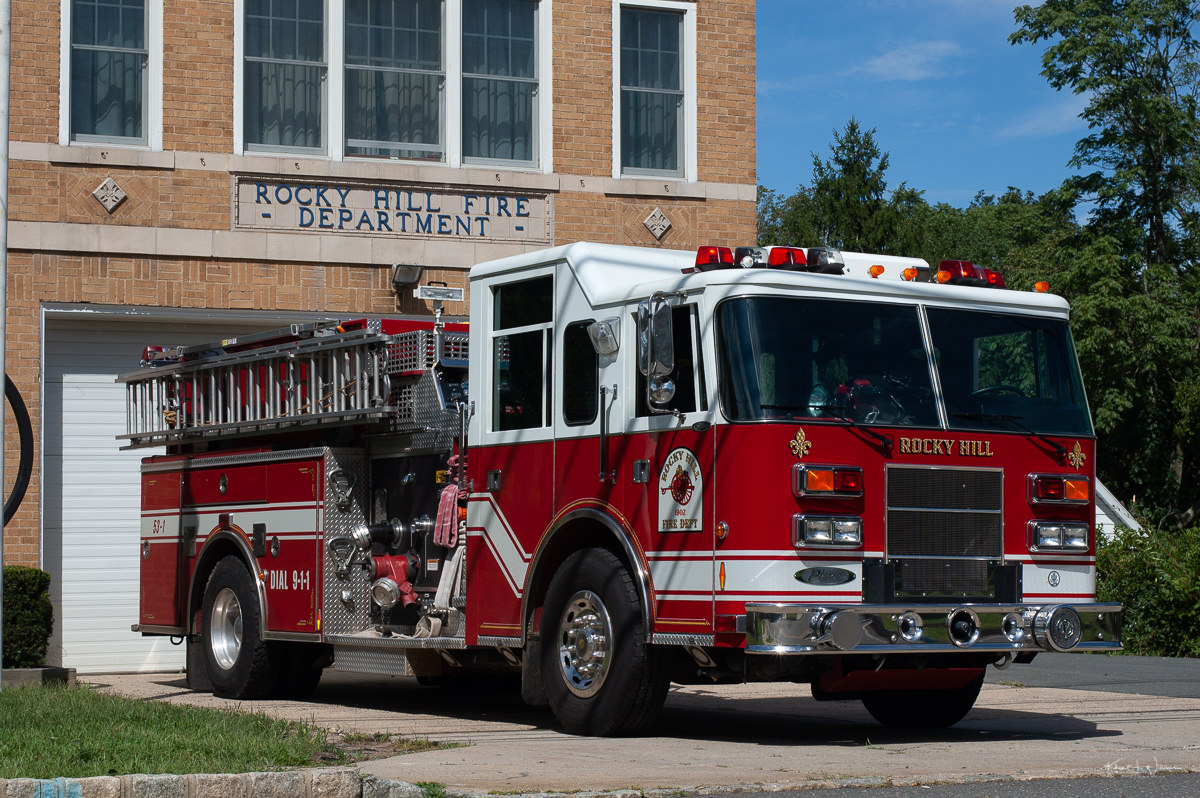
I then imported the resultant image into Topaz Adjust and applied one of the standards presets. I think it was crisp. The result is the following. What do you think?

Rocky Hill Fire Department | 29 August 2011 | Nikon D40 | AF-S DX Nikkor 50 mm f/1.8G

HDR photography with Raspberry Pi and gPhoto2 - Revision 2

This project allows you to create bracketed images for HDR photography using the Raspberry Pi, a supported DSLR camera connected via USB, and the gphoto2 Unix tool.

Project Overview

Last August, I initiated a project aimed at using a Raspberry Pi for bracketed image capture, intended for High Dynamic Range (HDR) photography with my Nikon D40. The initial version had limitations: it necessitated manually connecting the Raspberry Pi and waiting for the script execution to complete.

After rigorous testing, I have developed a more refined, Perl-based solution. This work is an amalgamation of several other projects and contributions, including those mentioned in the comments of my previous post.

Acknowledgements

I gained valuable insights from Zach Dwiel's gphoto2-timelapse project, which is written in Python. I adopted the startup script and usbreset methodologies from his work.

For understanding Raspberry Pi's GPIO functionalities, WiringPi was instrumental. Additional help came from this diagram and code on the TNET Raspberry Pi site, as well as information found on the RPi low-level peripherals page.

Technical Details

The project uses a Raspberry Pi, a supported DSLR camera, and the gphoto2 software. My Perl script refines an earlier BASH version to simplify the process.

Requirements
  1. Compile WiringPi to control the GPIO pins.
  2. Install usbutils to get lsusb, a utility for monitoring USB connections.
  3. Compile usbreset to manage the camera's USB interface effectively.

Running the Script

After fulfilling the requirements, you'll need to adjust the script for your camera specifics. Use lsusb to identify the USB ID for your camera and locate appropriate gphoto2 parameters. Then, initiate the Perl script using perl hdr.pl.

There's also an rc script for auto-starting the HDR script when the Raspberry Pi is powered on.

Final Thoughts

The script comprises one main loop and four functions. While the system is operational, there are still some inefficiencies; notably, gphoto2 takes about 5 seconds to initialise. Potential improvements could involve creating Perl bindings for the gphoto2 library or rewriting the program in C, although I generally avoid strongly typed languages.

By sharing this project, I hope to contribute to the broader discourse on Raspberry Pi and HDR photography, while also opening the door for collaborative problem-solving and further refinements.

You can find all the code on GitHub.

Nope.

I had been sitting on my duff all weekend programming my Raspberry Pi and doing taxes. I decided to go out for a twenty-minute walk I put on my fleece, launched RunKeeper and started playing my favourite trance playlist. I didn't get very far. The temperature was low and the icy cold wind sliced through me like a knife. I turned around about 5 minutes into the walk. Brr.