Chrome Eggleston

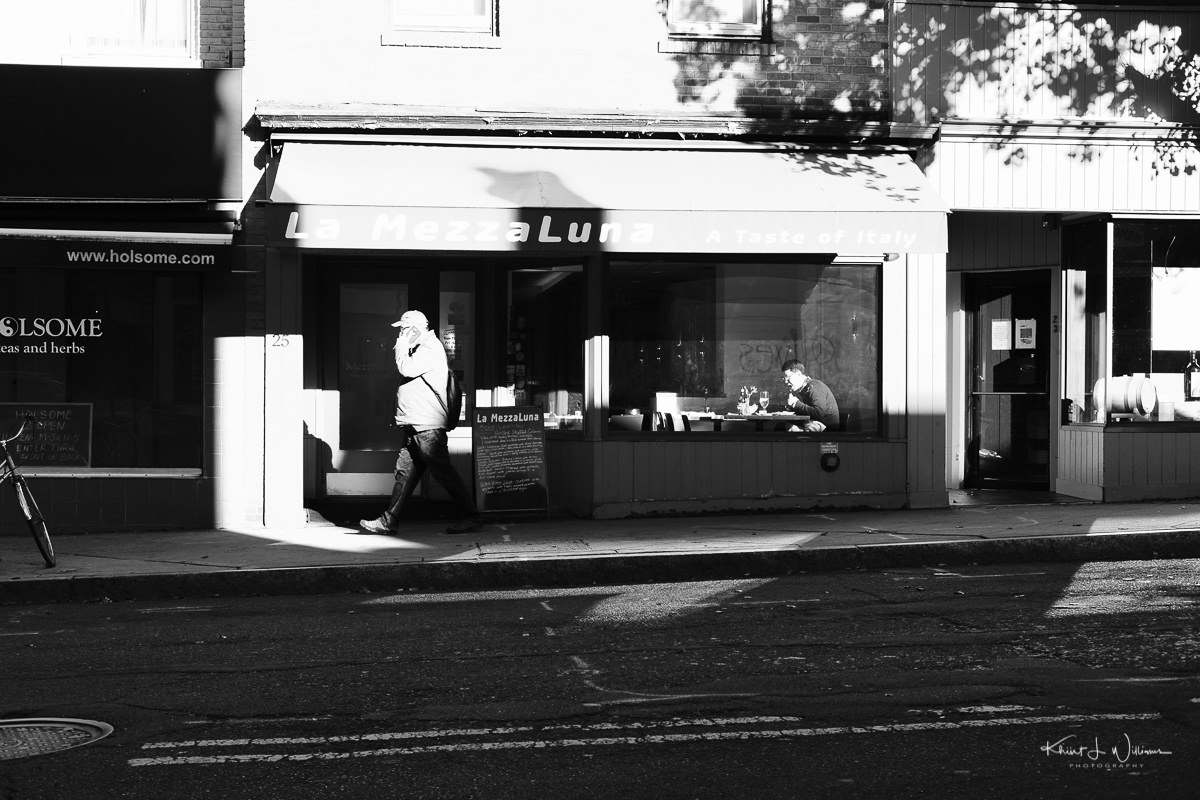
This past Thursday, I got my camera back from the Fujifilm repair centre in Edison. The shutter button had failed, and they had to replace the entire top plate.

I missed the camera, and while it was out for repair, I could feel what I can only describe as withdrawal. While the iPhone is capable of capturing excellent images, I missed the feel of the Fuji in my hands, putting the viewfinder to my eye, and the soft click of the shutter.

One thing I want to change is how I used the camera. I think I had developed a nervous tick of turning the camera on and off between bursts of photography, most likely trying to save the battery. I have four batteries so really I have enough for an entire day out in the cold taking photos. I’ll retrain myself to rely on the auto-shutoff feature.

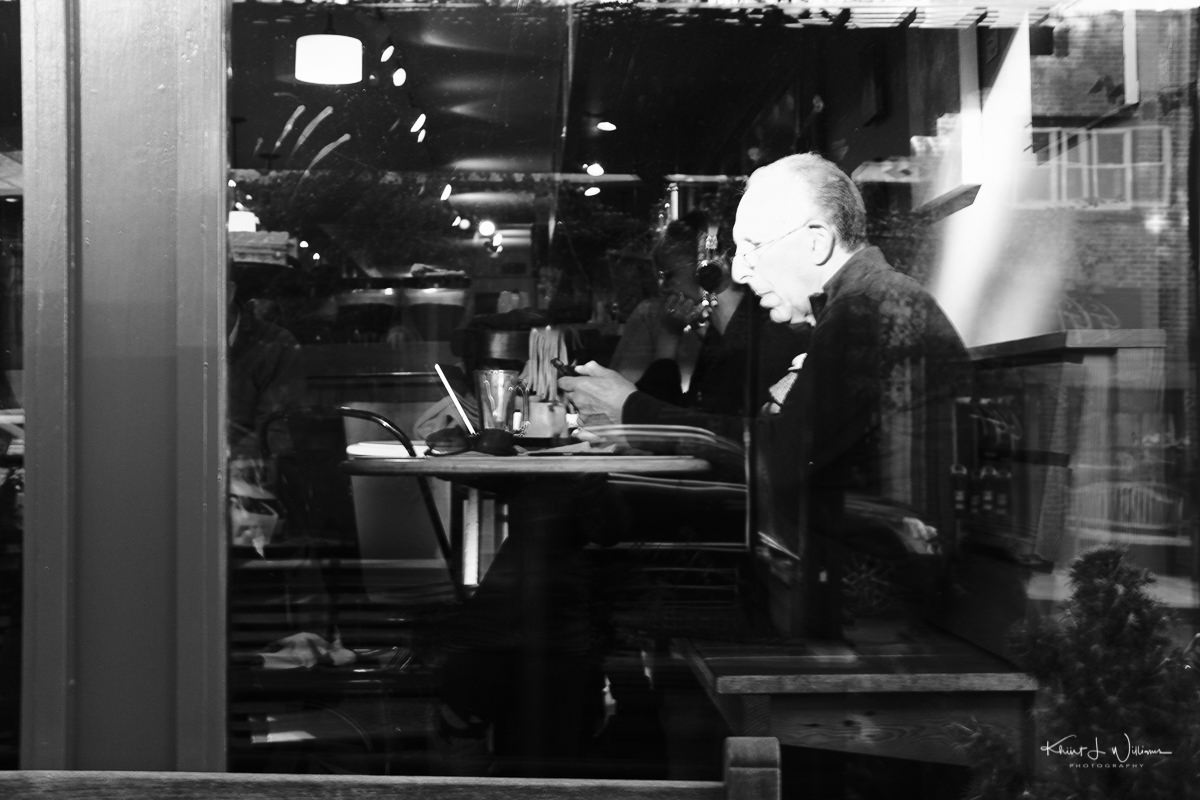
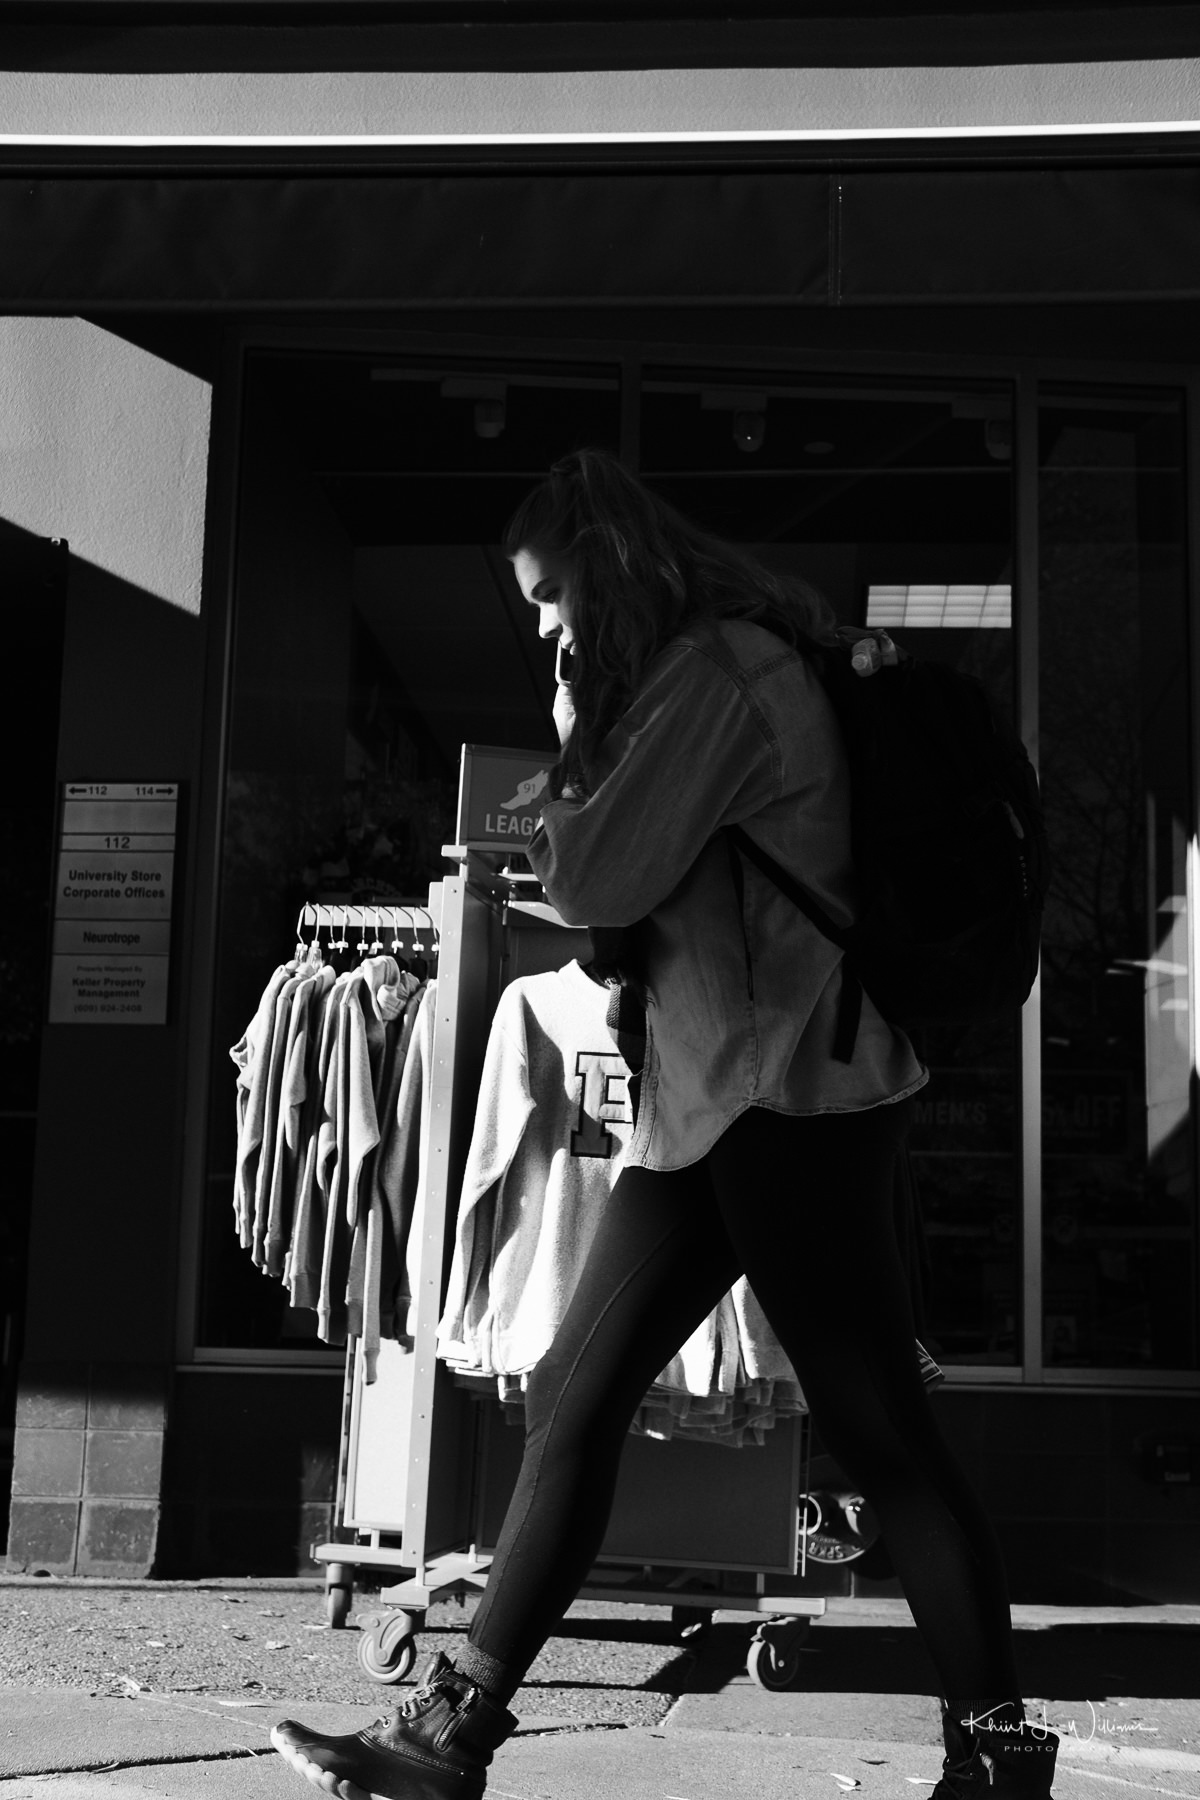
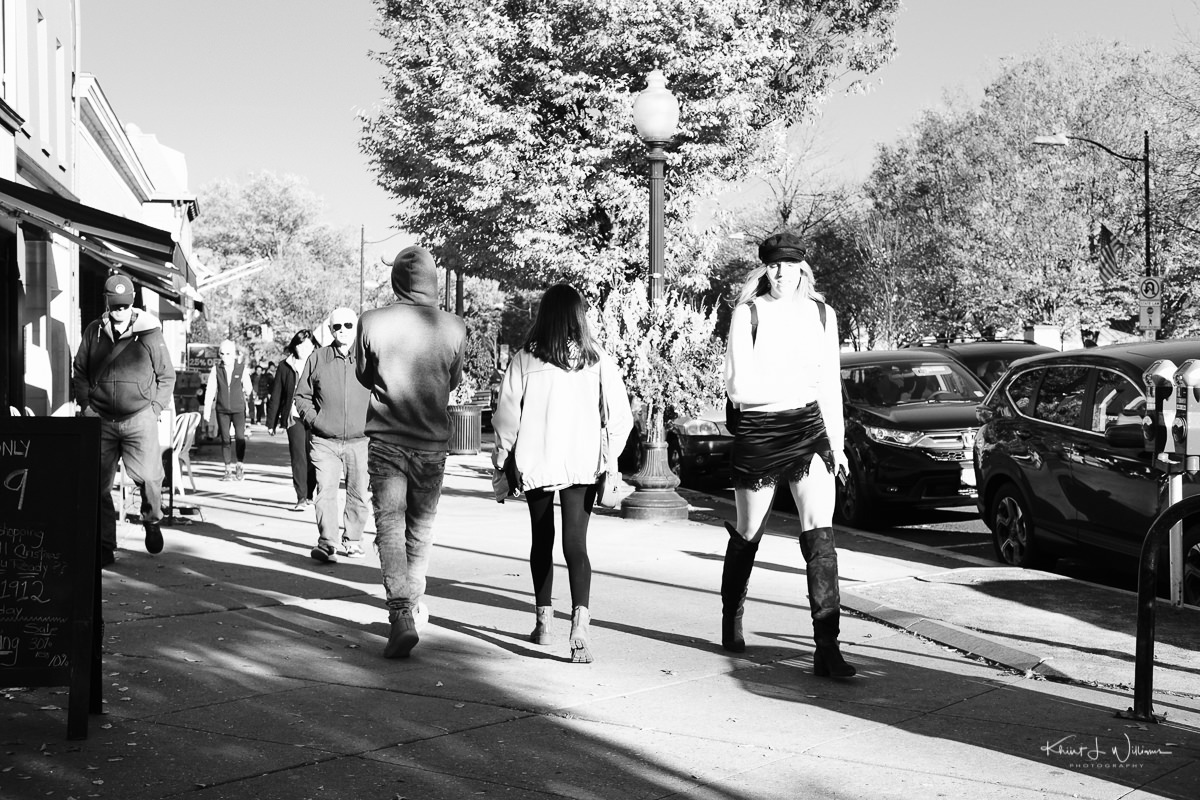
Now that my camera is back, I want to test out a few film simulation recipes I discovered around the web. All of these are based on either Classic Chrome or ACROS. Three of them I especially want to try attempt to replicate the look of the new Fujifilm Simulation, Classic Negative, which debuted with the Fujifilm X-Pro3 and X100V.

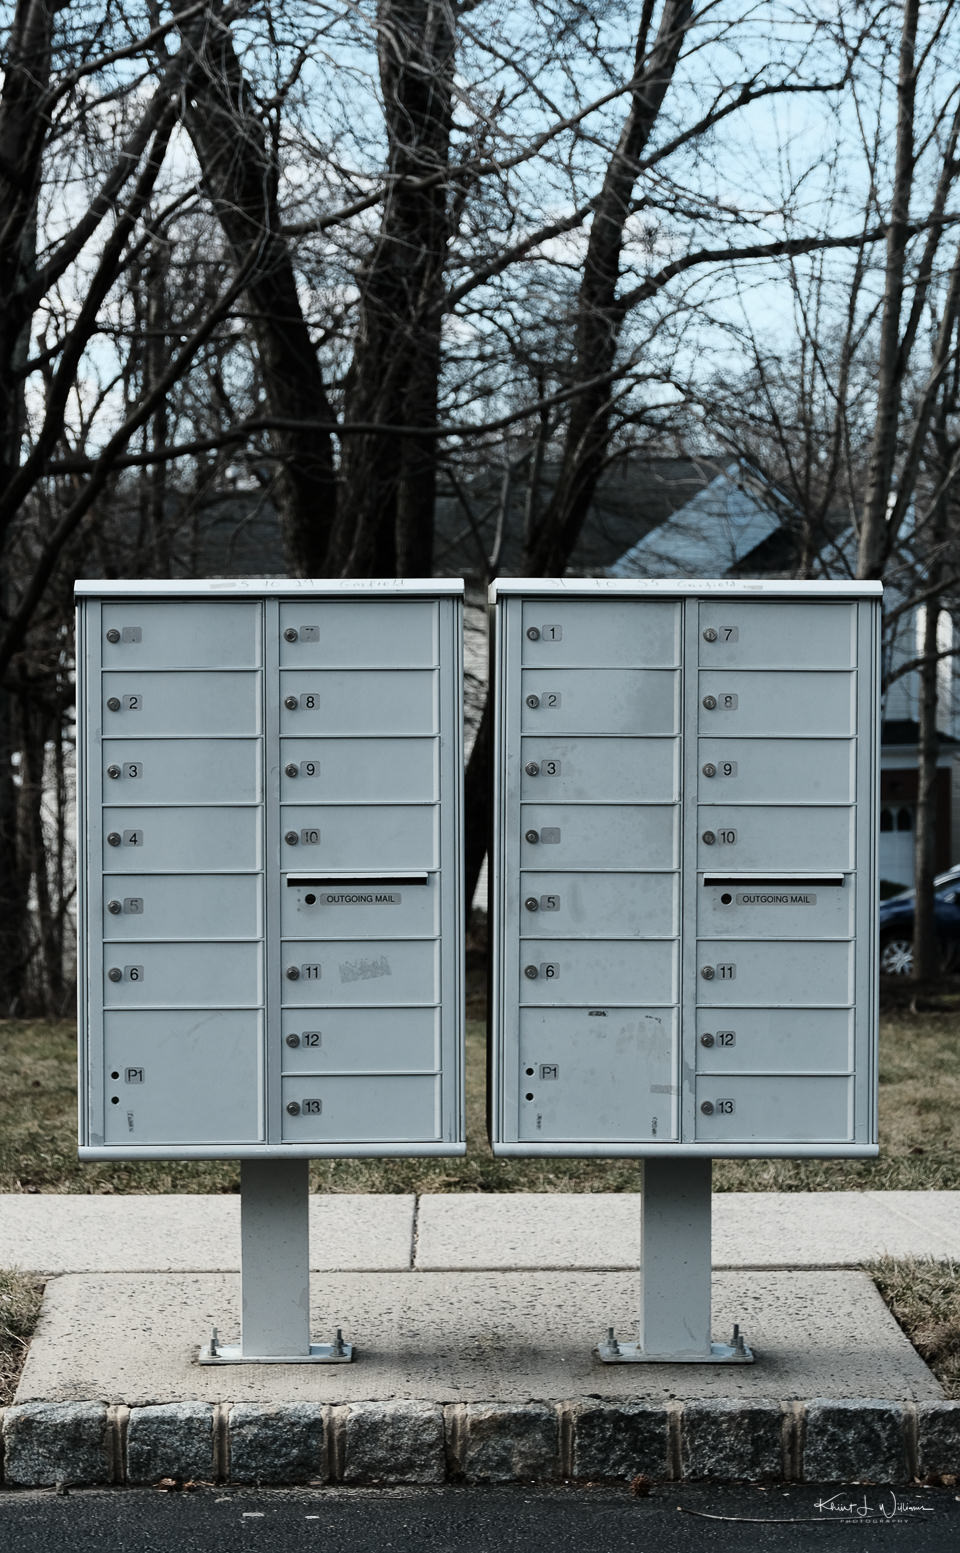
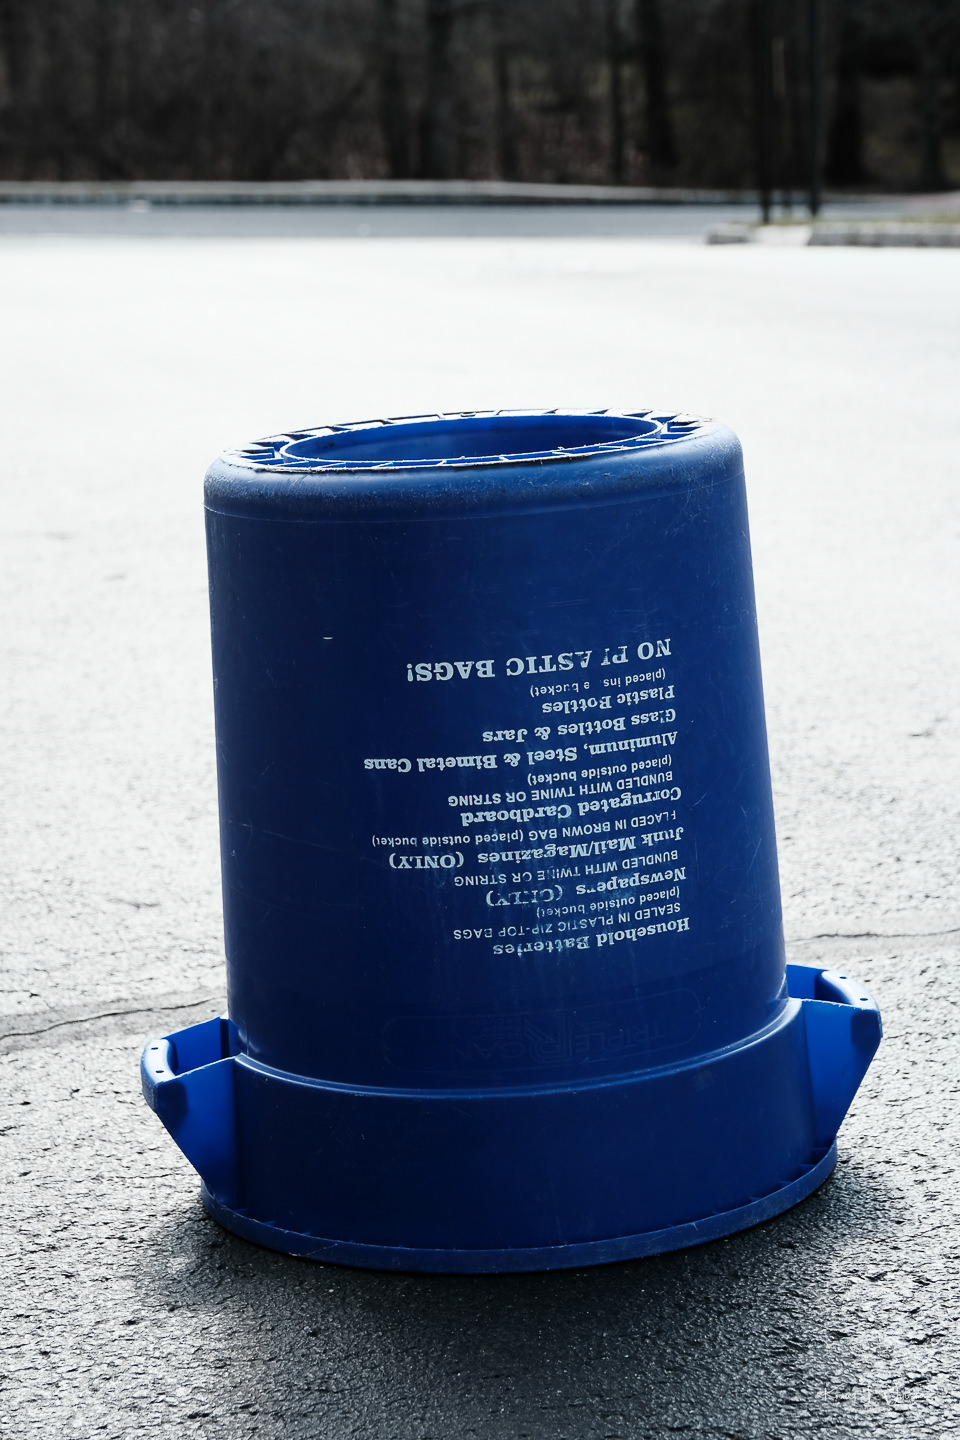
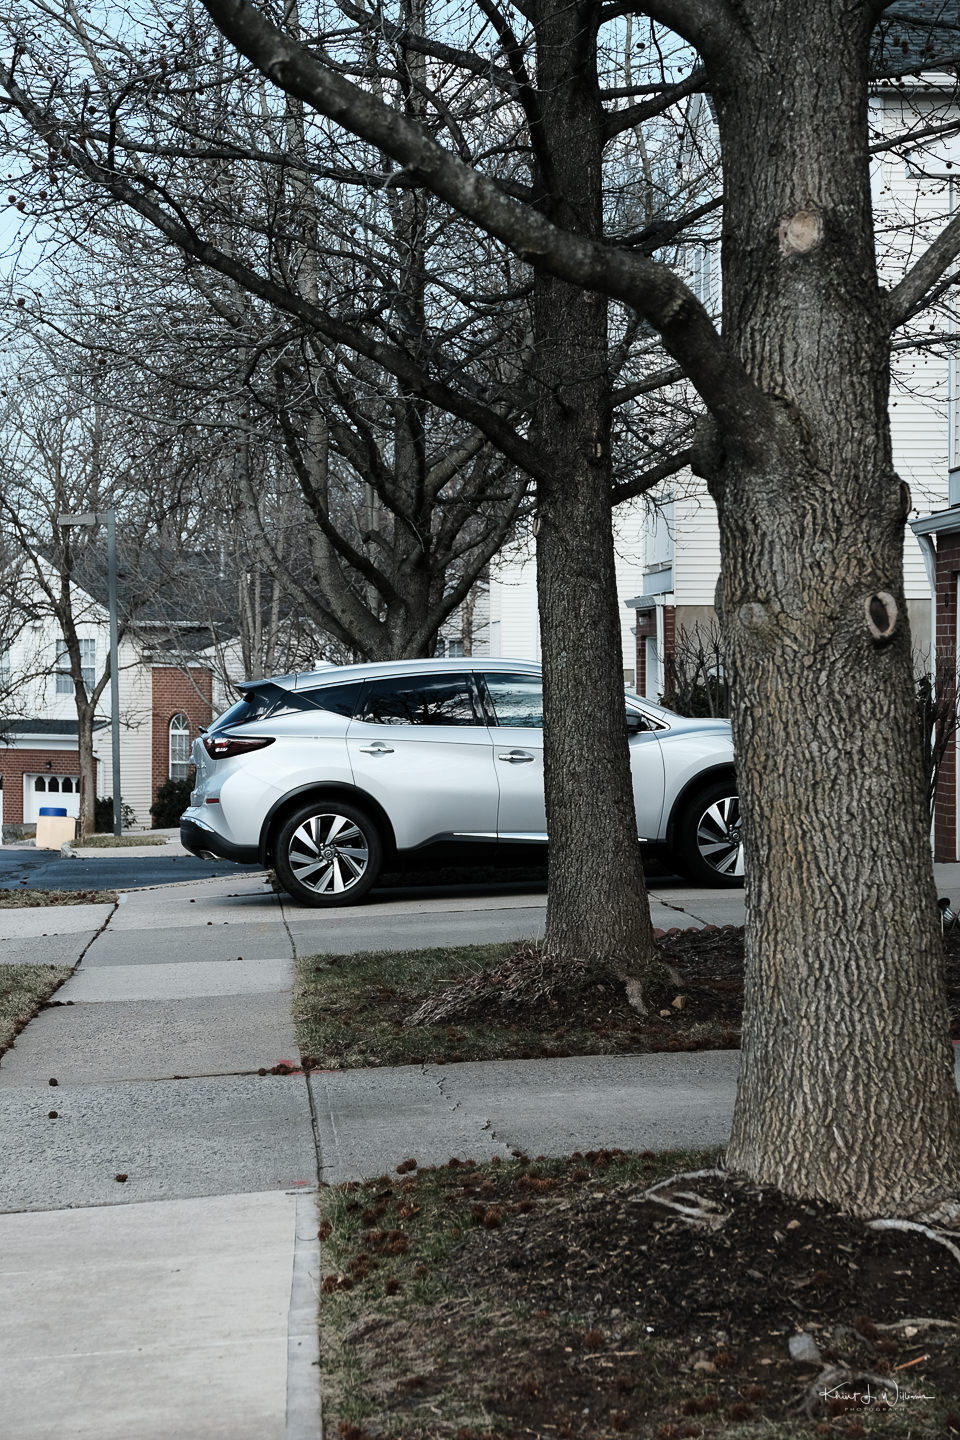
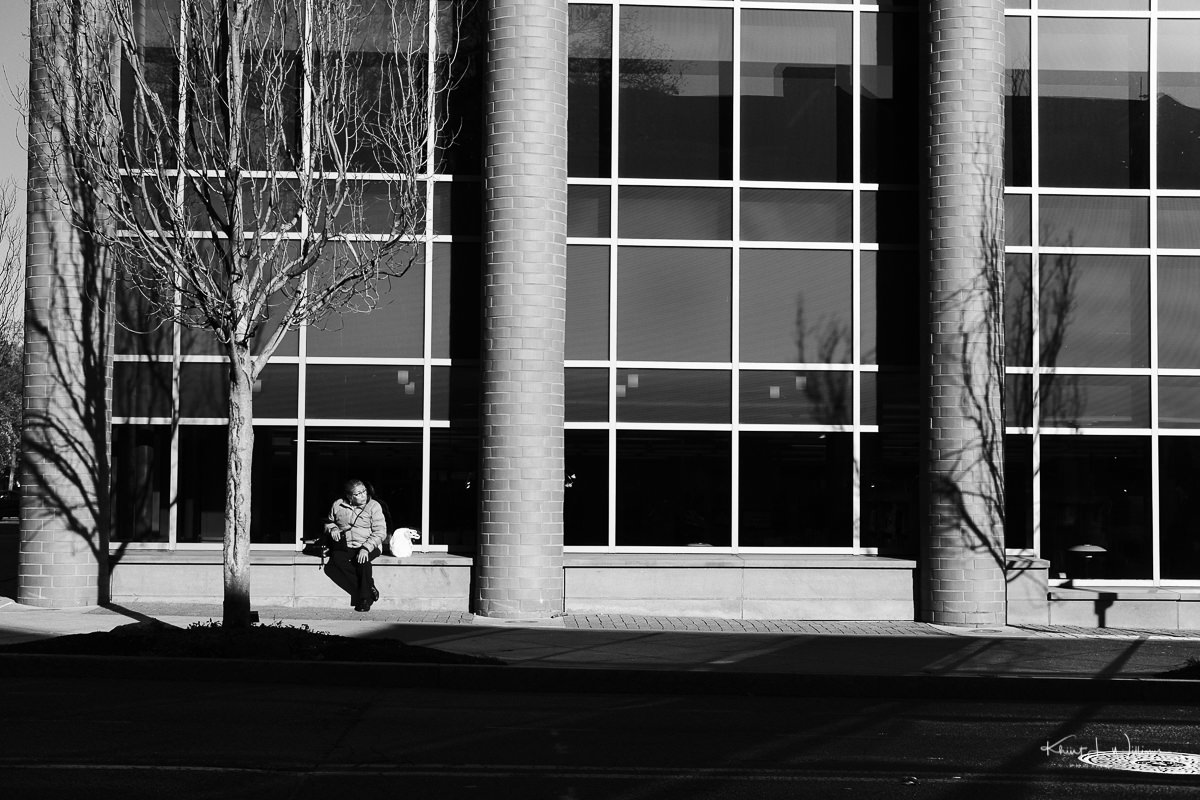
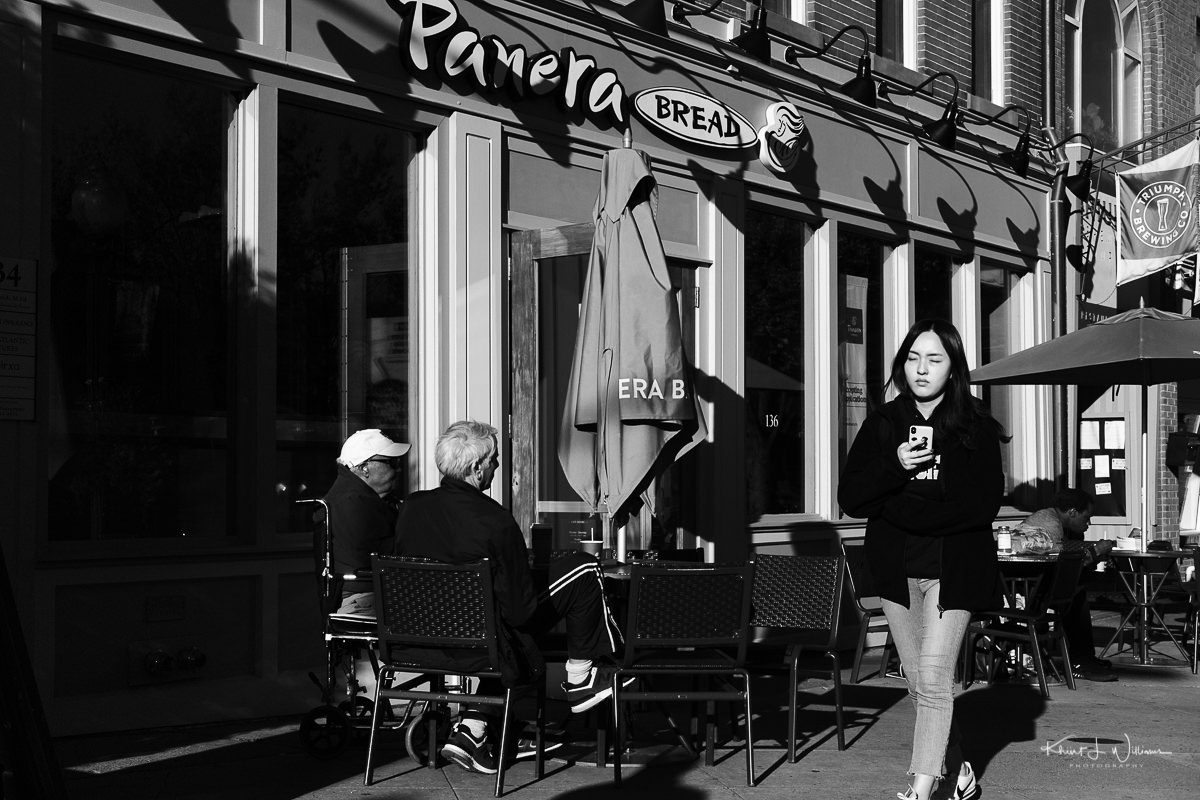
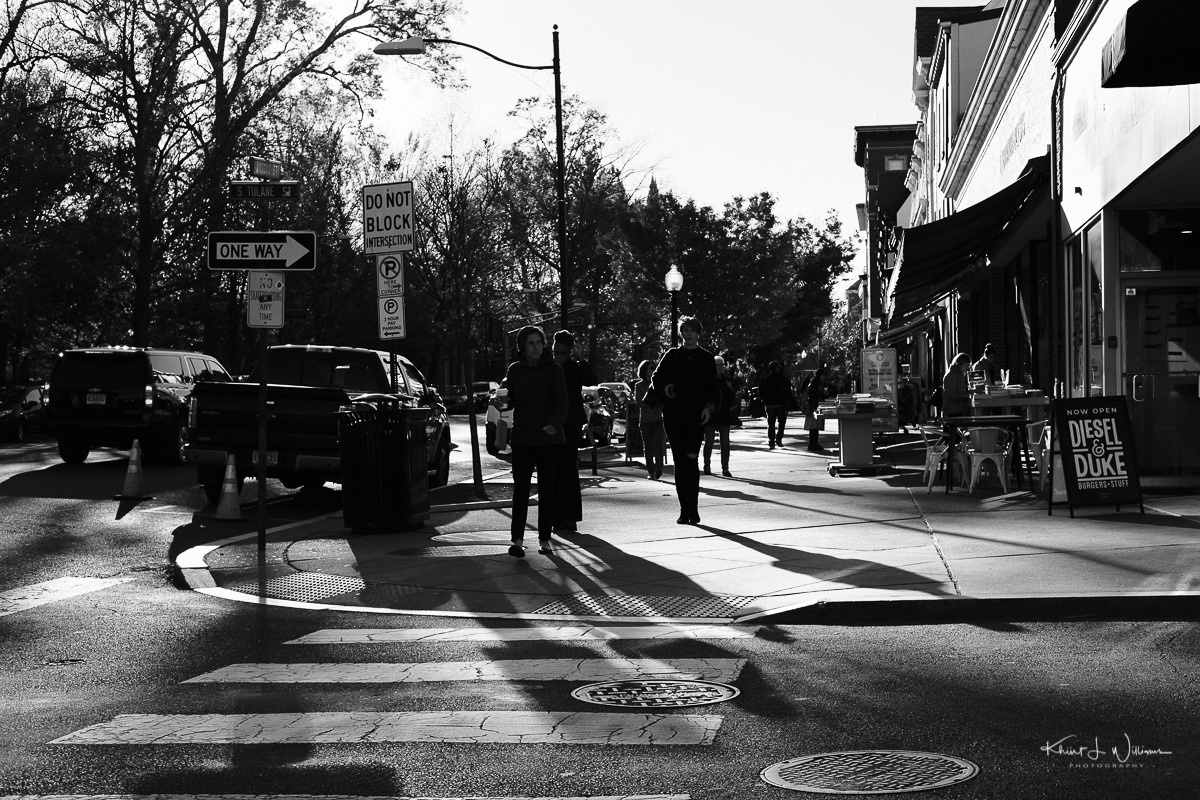
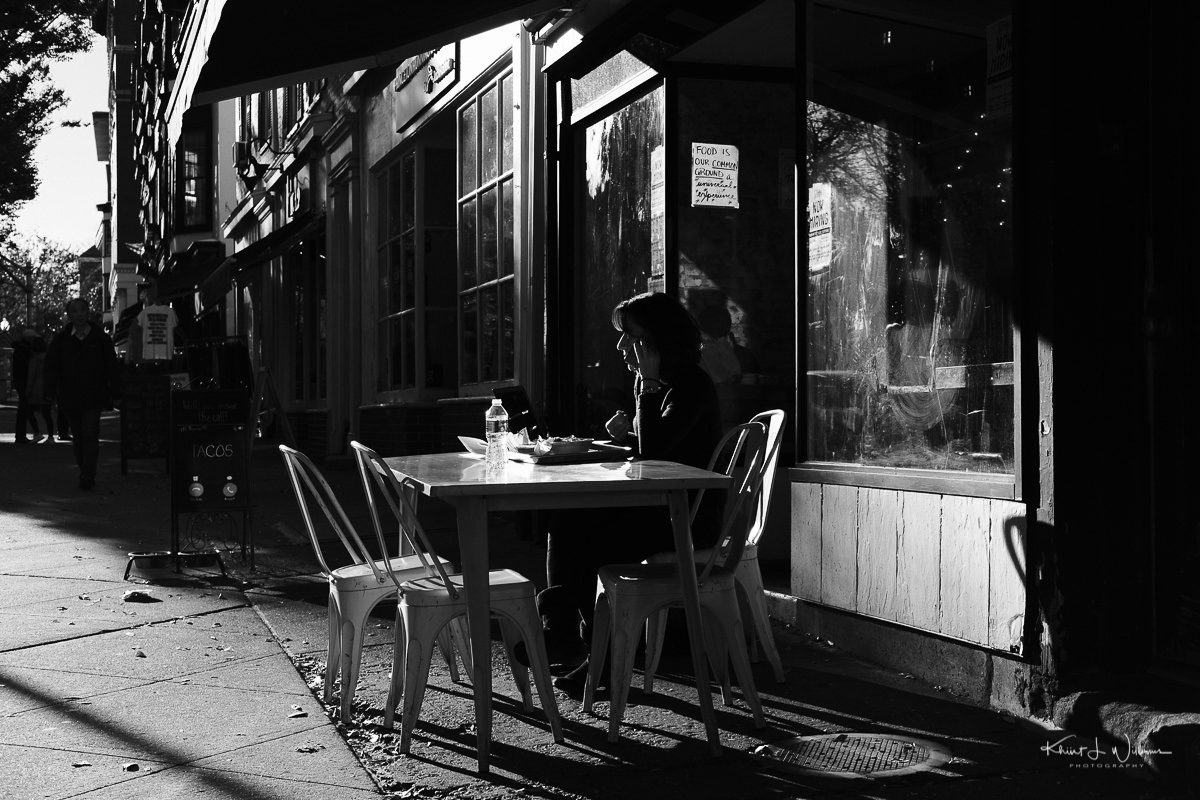
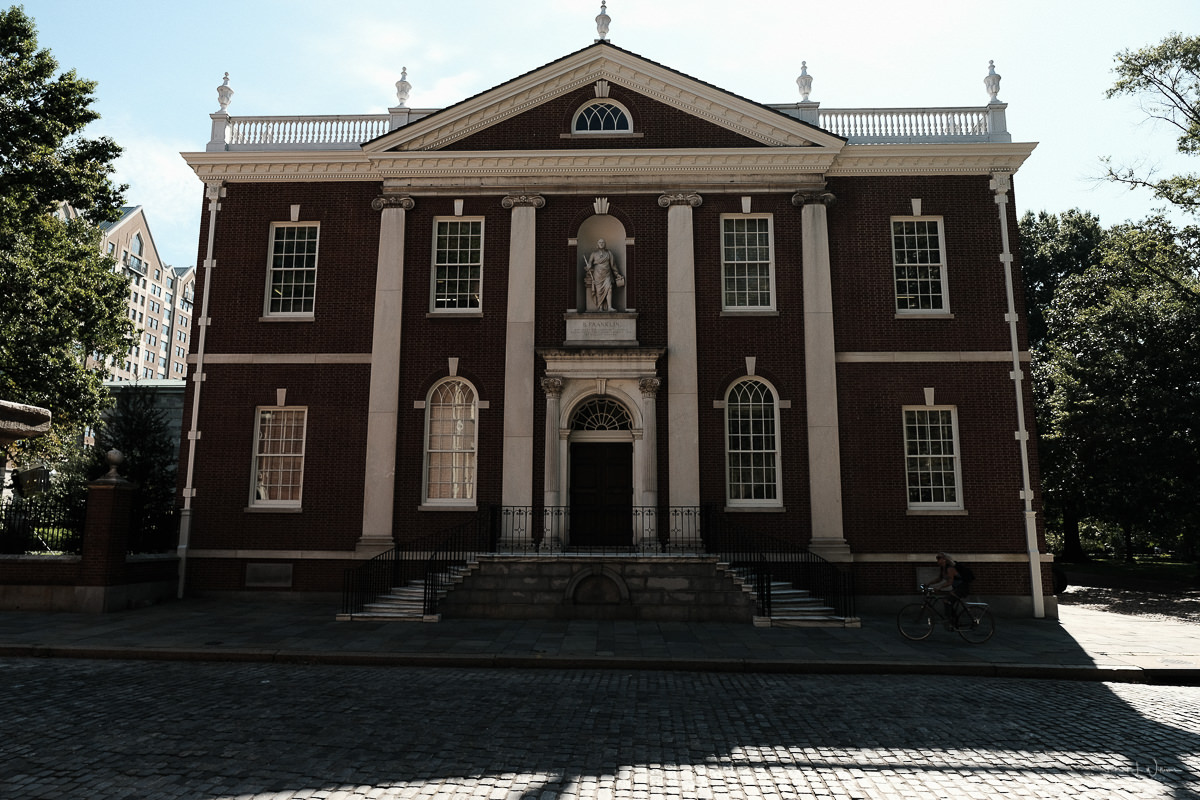
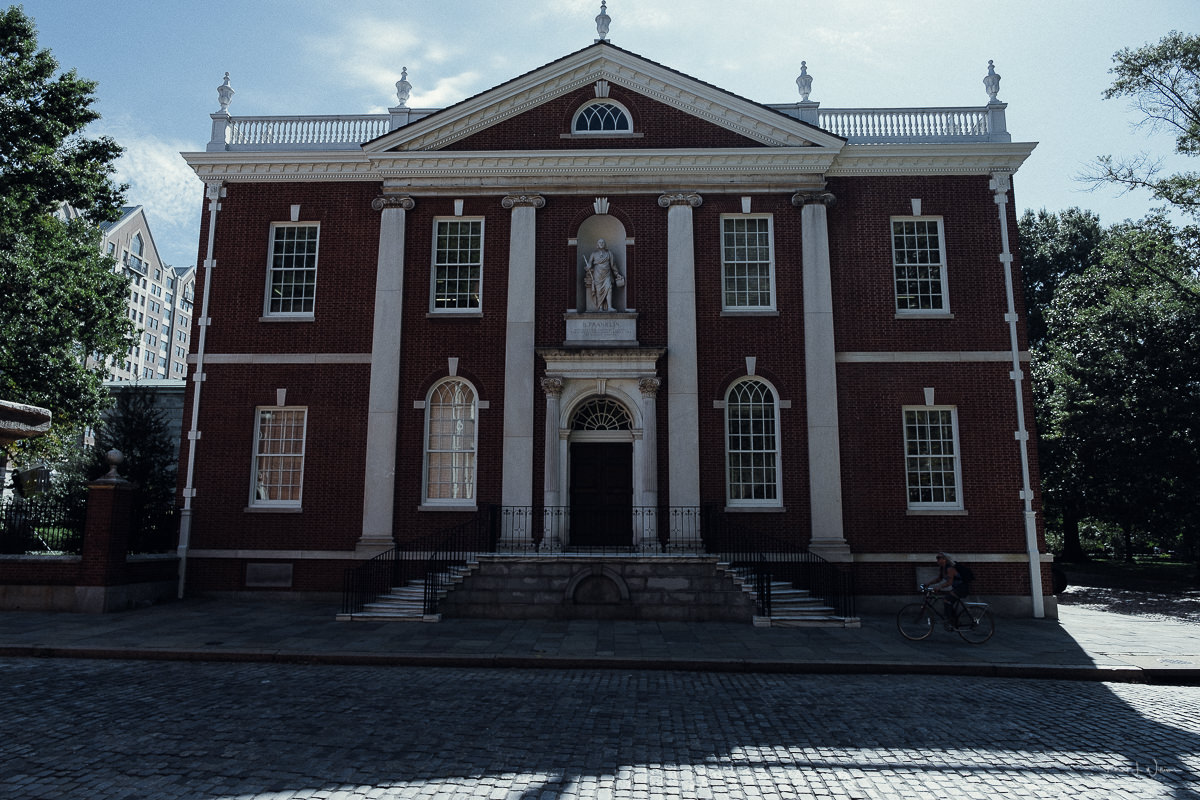
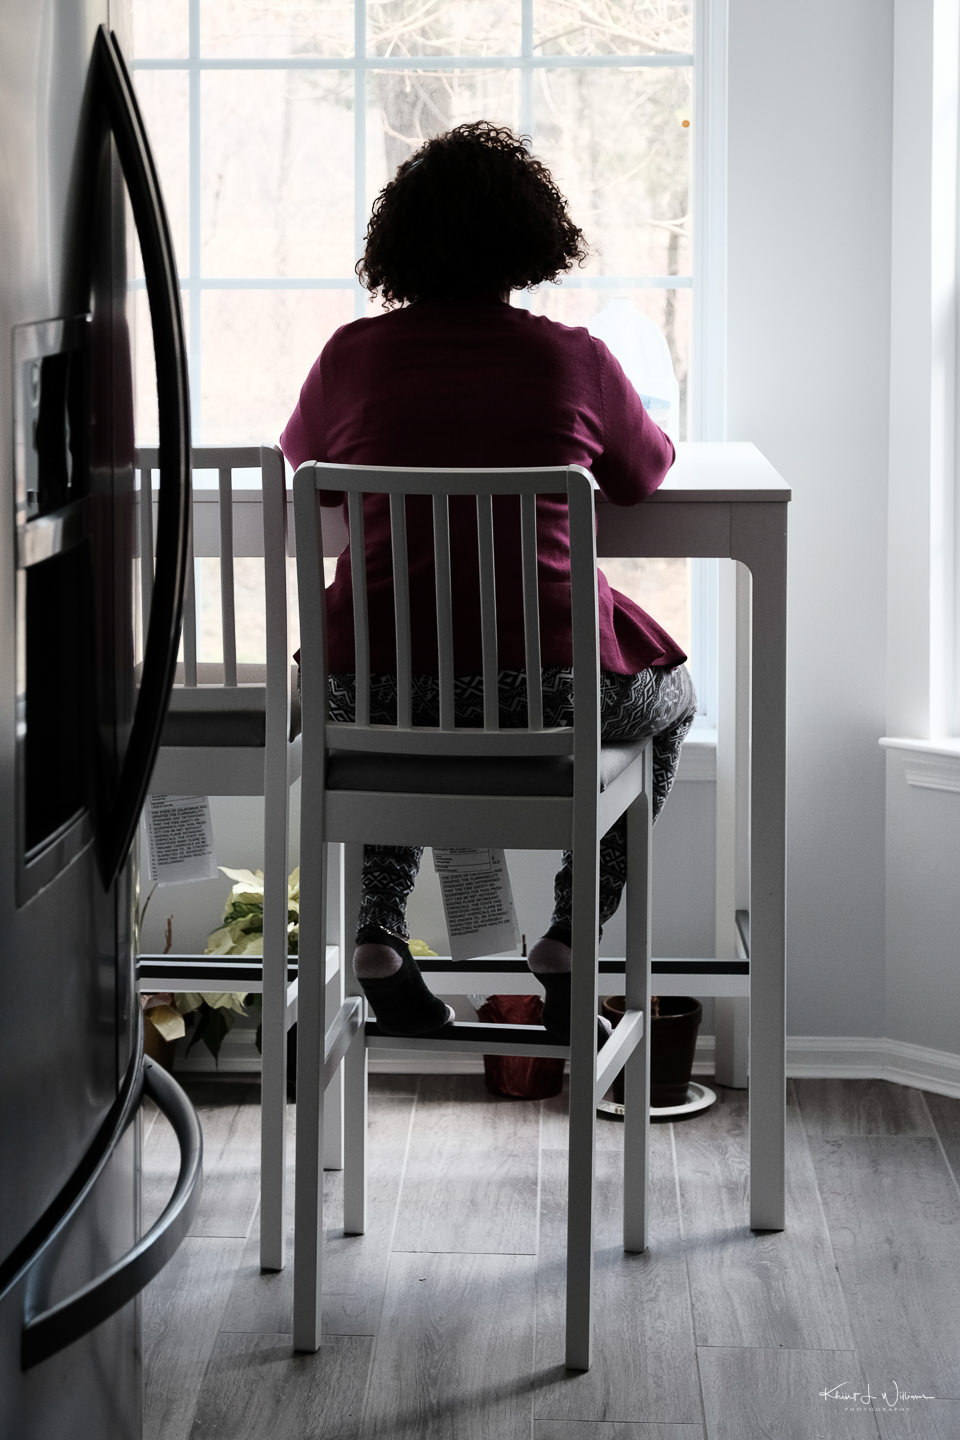
First up is Chrome Eggleston which Peter Dareth Evans has documented on his web site. It's a bit "light" for my taste but Peter did advise that it was good for "dystopian brutalist architecture" and nostalgia. All images are SOOC JPEG and either cropped or perspective adjusted.

Origin: Based on William Eggleston's sombre but beautiful rich colourwork using the old Kodachrome.
Intent: Whenever I want a rich, warm and nostalgic feel, this is the one to go for. Also surprisingly good for dystopian brutalist architecture. A good all-rounder.
Film Simulation: Classic Chrome
Dynamic Range: AUTO
Noise -3
Sharpness -1
Grain Effect: Off
Highlight Tone: +2
Shadow Tone: +2
Colour: -2

14 February, 2020|Tree nut|FujiFilm X-T2|XF16-55mmF2.8 R LM WR|f/5.6|ISO 200
14 February, 2020|Mailbox|FujiFilm X-T2|XF16-55mmF2.8 R LM WR|f/5.6|ISO 400
14 February, 2020|Trash can|FujiFilm X-T2|XF16-55mmF2.8 R LM WR|f/5.6|ISO 400
14 February, 2020|Suburban carriage|FujiFilm X-T2|XF16-55mmF2.8 R LM WR|f/5.6|ISO 400

Fujifilm Film Simulation Challenge Roll 3: Tri-X Push

For this 36 frame "roll of film" for the Film Simulation Challenge, I chose to use Ritchie's "Not" My Fujifilm X-Pro2 Tri-X Push-Process which is Luis Costa's Black and White recipe which is based on ACROS. I'll let Luis describe the recipe.

When it comes to monochrome images, I still use the same recipe that I came up with once I upgraded to an X-trans III camera a few years ago. I’m a fan of contrasty, grainy images when it comes to B&W, so I experimented a bit and discovered that the Acros film sim when shot at high ISOs produces some very film-like grain, which looks much more natural than the grain effect in the film sim settings. This works particularly well with older legacy lenses, because of their natural imperfections compared to current lenses.Luis Costa

And here's what Ritchie wrote about that recipe:

The film simulation recipe that Luis invented produces results that resemble Kodak Tri-X 400 film that’s been pushed one or perhaps one-and-a-half stops, and I would add using Agfa Rodinal. The grain pattern and structure isn’t a 100% match, but for straight-out-of-camera results, it’s pretty darn convincing. I’ve only been using it for a week, but it has already become one of my favourites! It’s better than my Acros Push-Process recipe that I use frequently, and I like that one a lot, too.Ritchie Roesch

And the following set of images is what results when I don't read the fine print, and my wife drives me into Princeton on a sunny, cloudless fall afternoon w, here I spend 45 minutes walking around capturing high contrast scenes at ISO 400. This recipe is meant to be used at high ISO, between 3200 & 12800, and I shot the whole roll of 36 on the wrong ISO setting.

This is one reason why shooting film sucks and why most professional photographers that I know, including ones who were in the industry for several decades, switched to digital a long time ago. Whether it's sniffing chemicals in some dark, dingy hole or clicking and dragging, their clients don't care how you got the shot. They don't care about "slowing down" or "decisive moments" or shooting only in manual or with primes or any of that other mental junk that amateurs spend their time debating. They get paid for results.

If you shoot film and process film, I hope you enjoy it. If you shoot and process digital, I hope you enjoy doing that. Just don't tell me that one or the other has some sort of magical property. I rarely post straight-out-of-the-camera images on this website.

I have a roll of Kodak Tri-X 400 in my Asahi Optical Co. Pentax Spotmatic II. I have been waiting for an opportunity to shoot that roll, which I now know from this experience with the film simulation recipe must be a cloudy or overcast day. It will soon be winter in New Jersey and I expect I will have a lot of cloudy, grey, dreary days.

From the SOOC JPEG, you see here; I did not get good results. These are the best of the shots. The rest are all blown out in highlights. I rented a Fujinon XF35mmF2 R WR (~52mm full-frame FOV) for the week and through the week and decided to try it out. The Fujinon XF35mmF2 R WR performed admirably despite my ineptitude. A few of the shots were out of focus, which is also operator error.

I took a landscape and cityscape in B&W workshop a few weeks ago. I think I will process the same set of RAF images using the techniques I learned in that course. The results won't be based on any films except the one I invent in my head.


Other entries in this challenge series.

Fujifilm X-T2 | Fujinon XF35mmF2 R WR | f/5.6 | ISO 400

Classic K14 Adobe Lightroom Preset compared with Kodachrome II Film Simulation Recipe

The real Kodachrome film is dead but lives on as Fujifilm X camera film simulation recipes or as Adobe Lightroom Classic presets.

Ritchie Roesch has done a fine job of creating Film Simulation Recipes for Fujifilm cameras. Two of my favourites are his Kodachrome 64, Vintage Kodachrome, and Kodachrome II recipes for the Fujifilm X-Trans III or IV sensor cameras. These recipes create excellent straight-out-of-camera (SOOC) JPEG images, which I often use for social media. I recommend clicking the links to Ritchie's website and reviewing his recipes.

One of the downsides of SOOC JPEG images is that they are well, straight-out-of-camera. Sometimes I want to correct for perspective, vertical or horizontal alignment, a crop to remove distractions, etc. I can do this in Adobe Lightroom Classic, but of course, I lose the look from the film simulation recipe. I could edit the SOOC JPEGs, but I prefer to retain as much image quality as possible. With the Classic K14 Lightroom Presets, I get the best of both.

For most SOOC JPEGs, I have used Ritchie’s Kodachrome II film simulation recipe. I used these JPEGs when I am out in the field, and I want an image for direct upload to my blog or for use in social media and when I am sure the as-is image suits my purpose. More often, I prefer to post-process the Fujifilm RAW image files (RAF) in Adobe Lightroom Classic before uploading them to my website for a blog post. Sometimes I want to remove a distracting object from the frame, something that I could not remove by re-framing or change the shadow or highlights in a particular section of an image frame, etc. JEPGS are not the best option for doing that. Often, after making my edits, I will apply an Adobe Lightroom Classic preset before uploading. Several months ago, I purchased the Classic K14 Lightroom Presets package from The Classics Presets.

The Classic K14 Lightroom Presets are an easy way for me to create the fashionable Kodachrome film look in Adobe Lightroom Classic and Photoshop Camera RAW. With this Adobe Lightroom Classic preset the camera profile is included to ensure the preset will perform uniquely for each camera model. The Classic K14 bundle includes additional tools to adjust the contrast, white balance, grain, and correct for orange skin. For images processed with the Classic K14 Lightroom Preset, I typically adjust only the exposure or white balance.

What do you think? Which image do you prefer?

I can apply this preset in Adobe Lightroom Classic during import or later using the develop module. Examples are given below for some of the images I took on my Nikon D5100, a rented Sony α7 and my Fujifilm X-T2.

I can also apply the Kodachrome II film simulation recipe to an un-edited RAF file using the Fujifilm X RAW Studio app. I applied the K14 Kodachrome inspired presets from The Classics Presets to the images below.

Jul 1, 2015 | Classic K14 | Sony α7M2 | Sony FE 24-70mm F4 ZA OSS
Aug 26, 2019 | Classic K14 | FujiFilm X-T2 | Asahi Optical Co. SMC Takumar 28mm f/3.5

For comparison, I have included an image shot on my Fujifilm with the SOOC JPEG using Ritchie’s Kodachrome II film simulation recipe, and the Classic K14 Lightroom Preset applied to the Fujifilm RAF.

Street, Building, Colonial, Brick
Aug 30, 2019 | Kodachrome II Film Simulation Recipe | FujiFilm X-T2 | Fujinon XF16-55mmF2.8 R LM WR
Street, Building, Colonial, Brick
Aug 30, 2019 | Classic K14 64 | FujiFilm X-T2 | Fujinon XF16-55mmF2.8 R LM WR