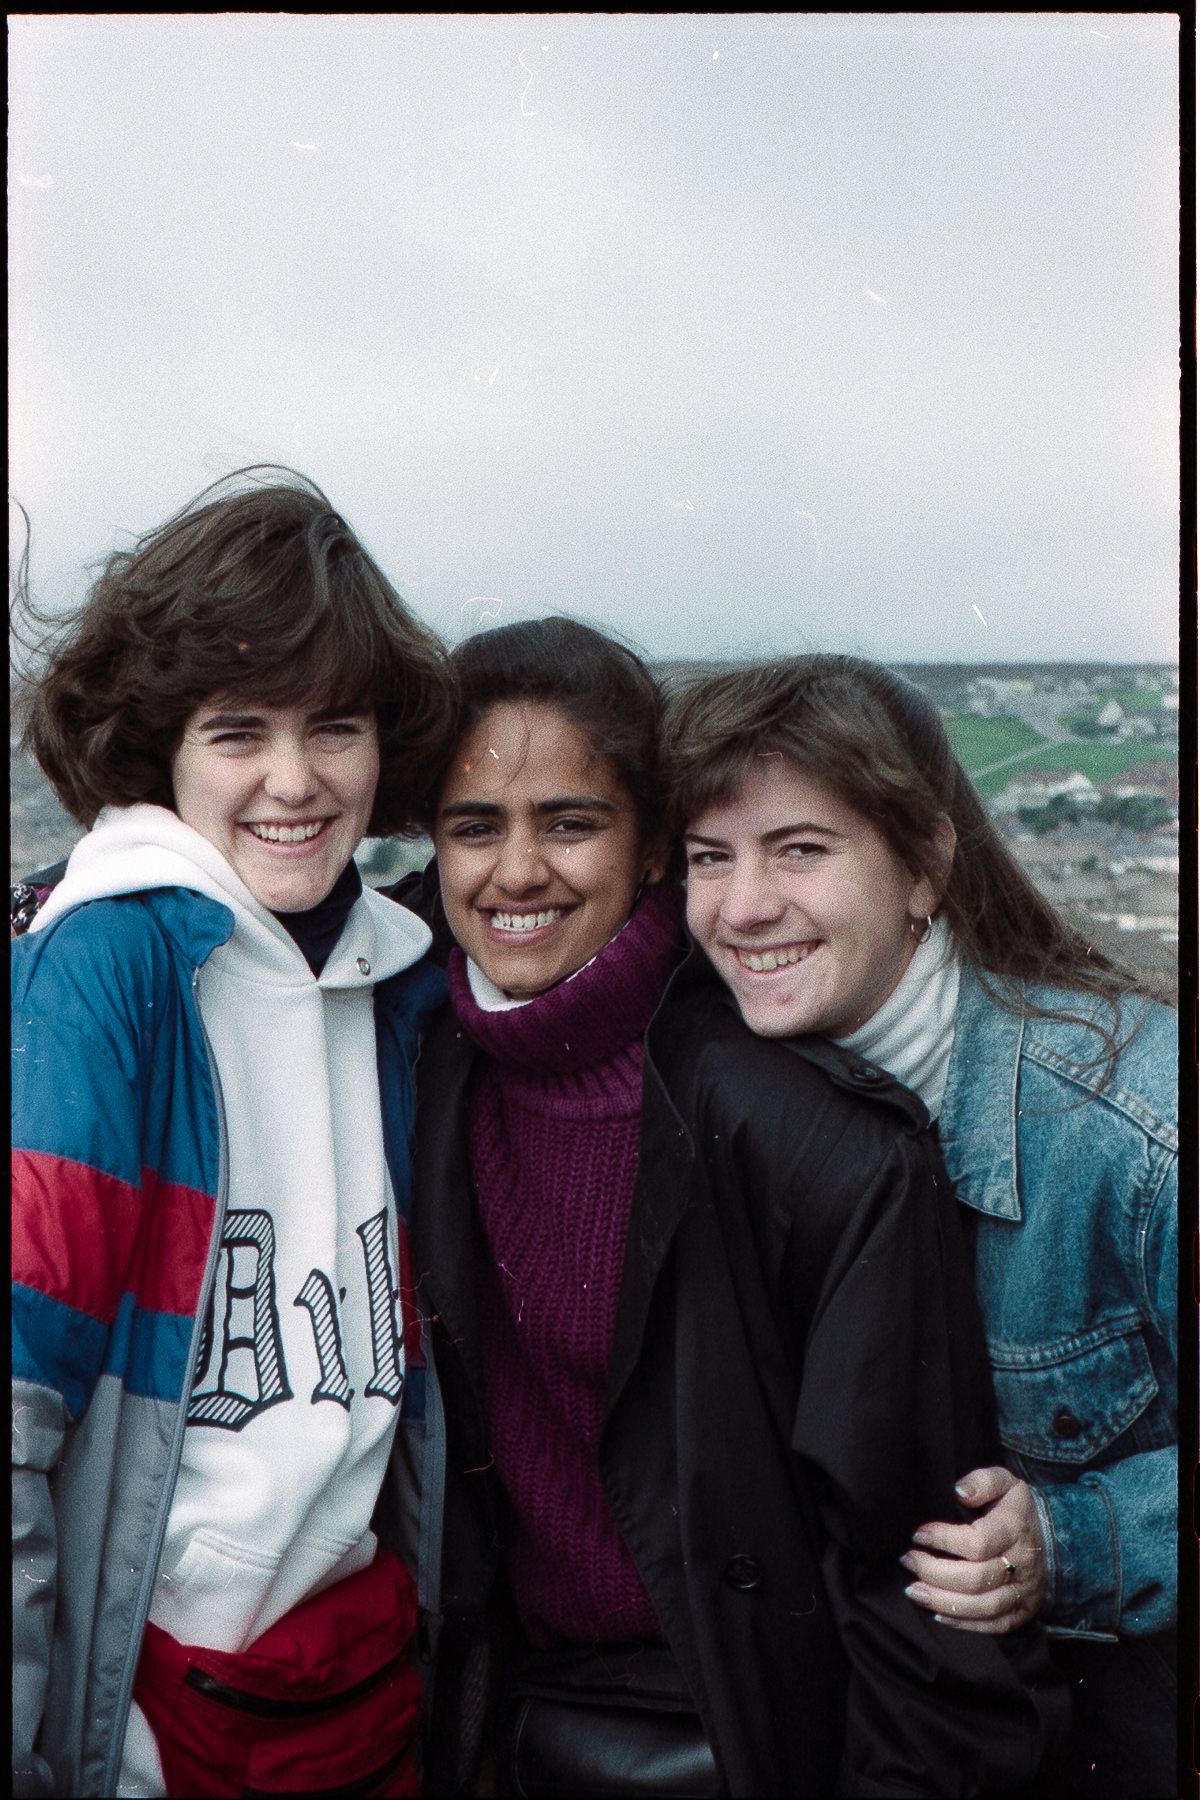
Bhavna
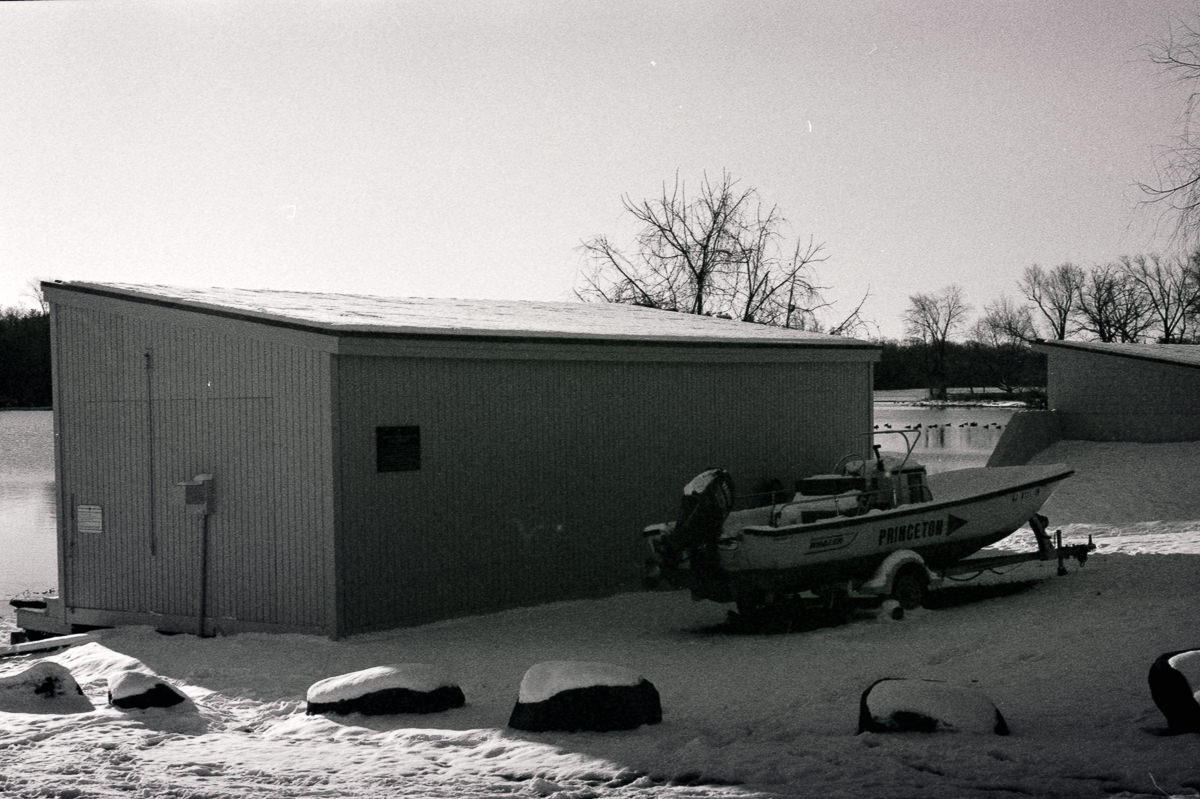
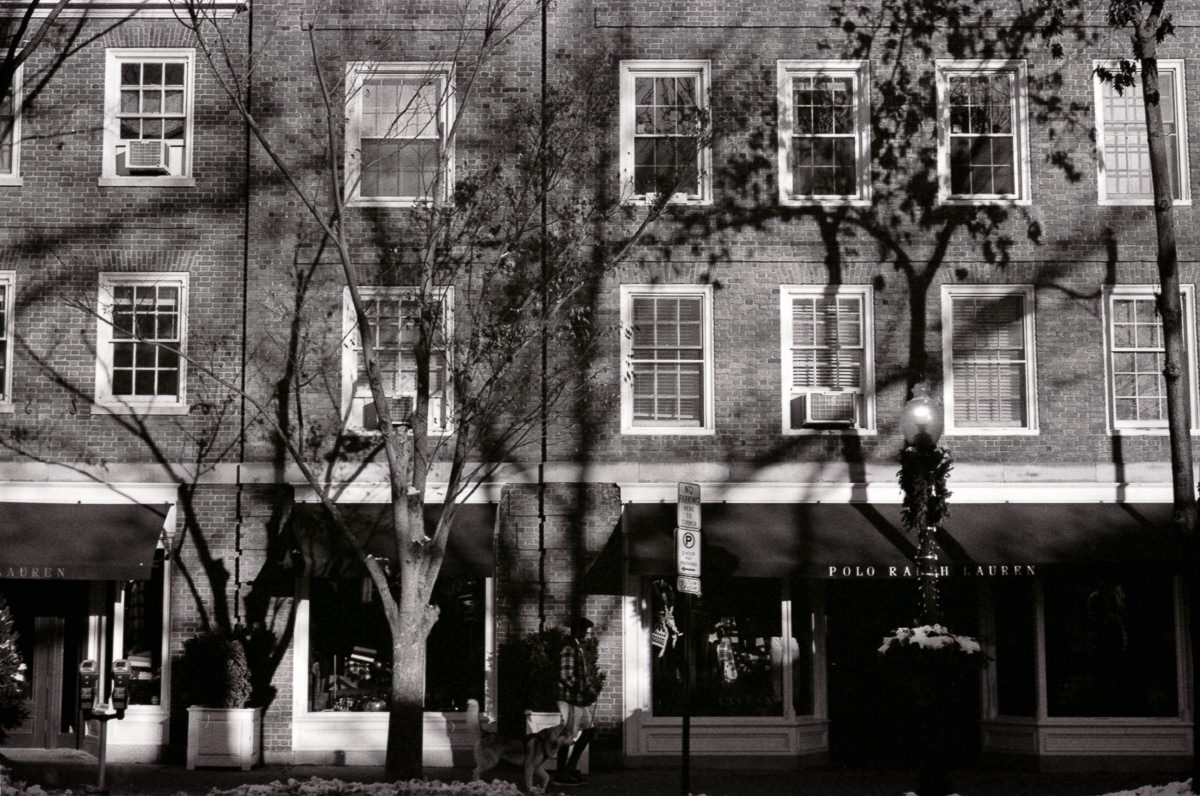
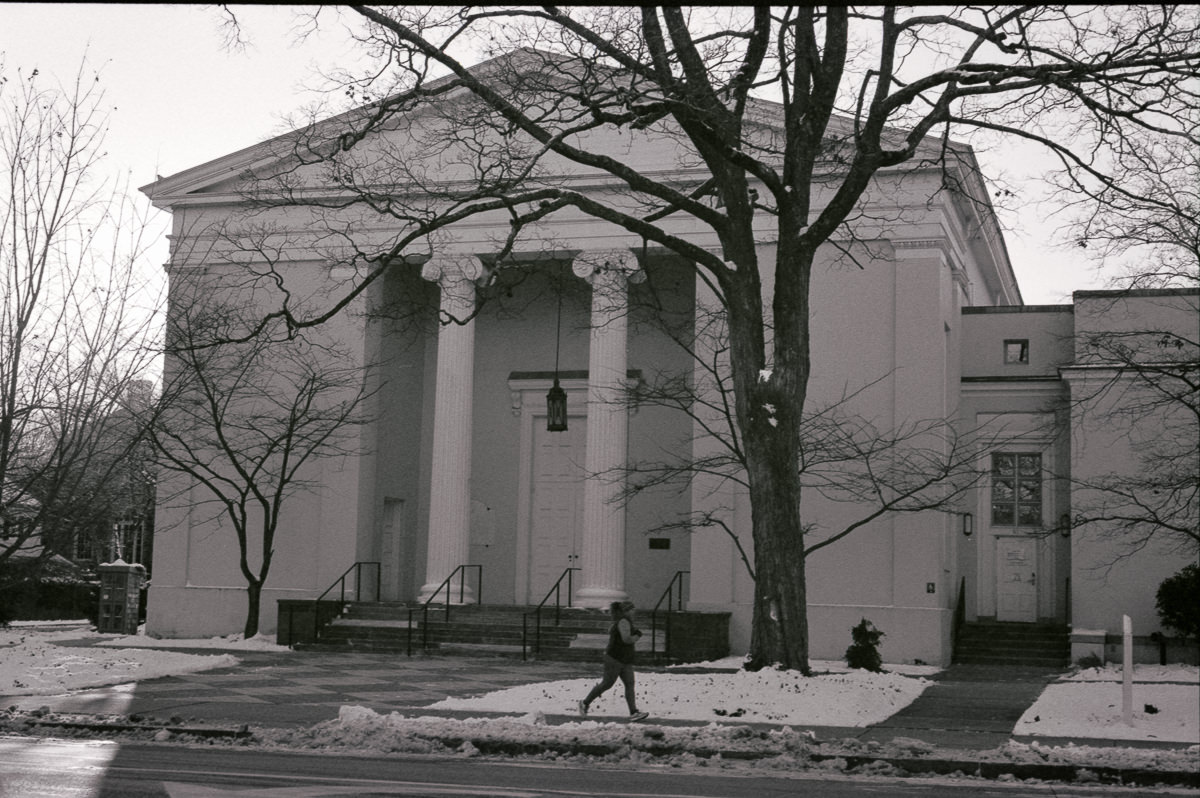
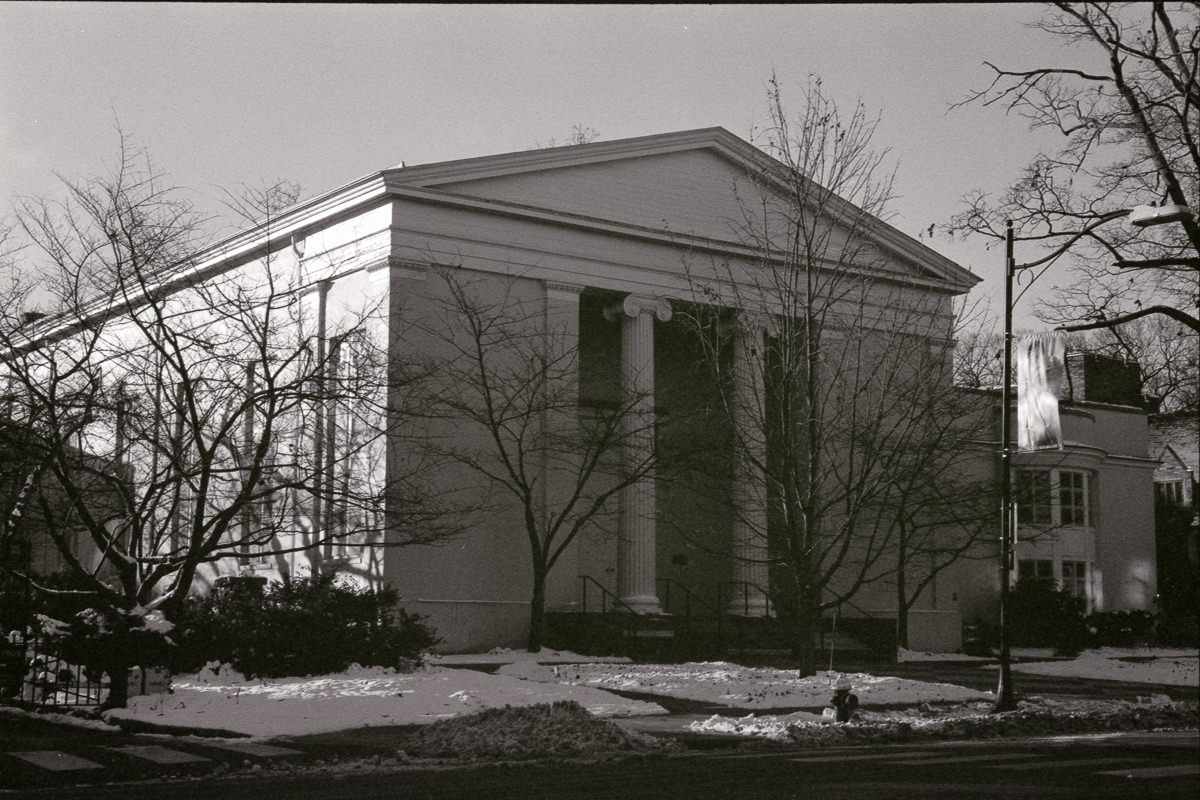
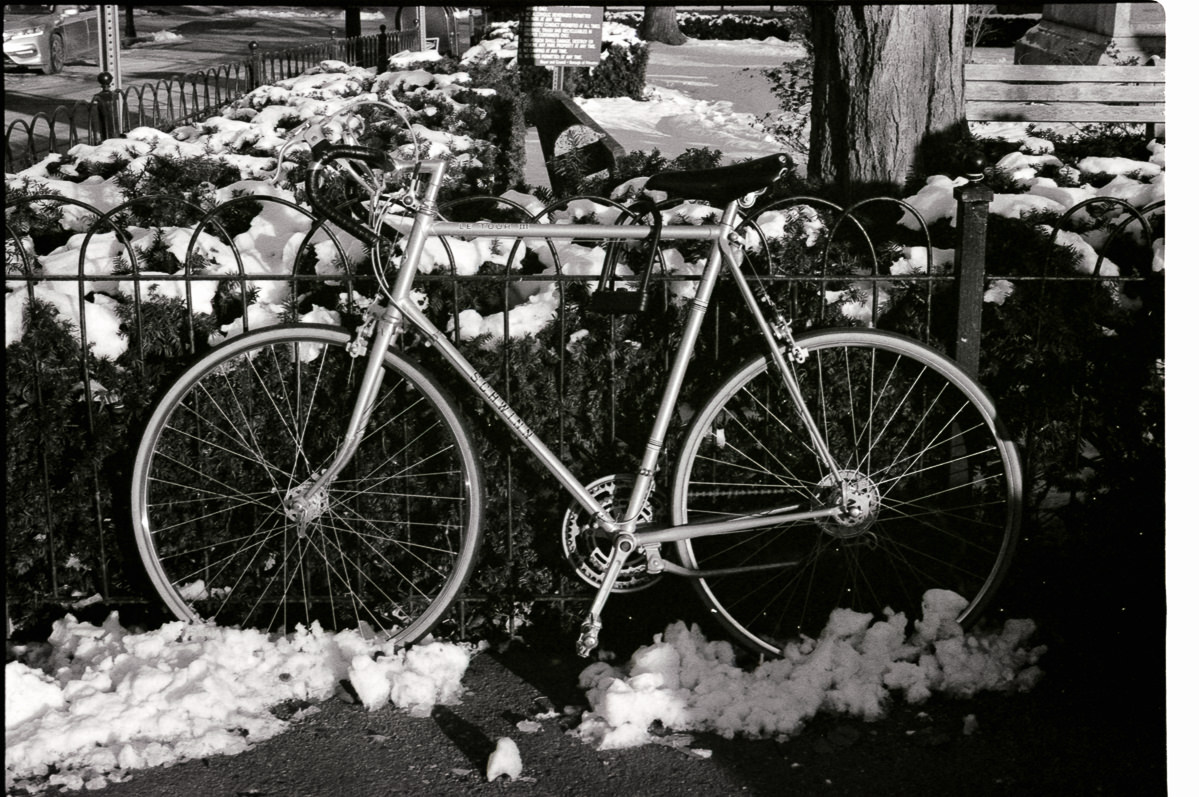
Minolta XD-11 | MD ROKKOR-X 45mm F2 | Eastman Kodak Double-X 5222 400
Island in the Net by Khürt Williams
Technology and Photography Musings. Established circa 2000.
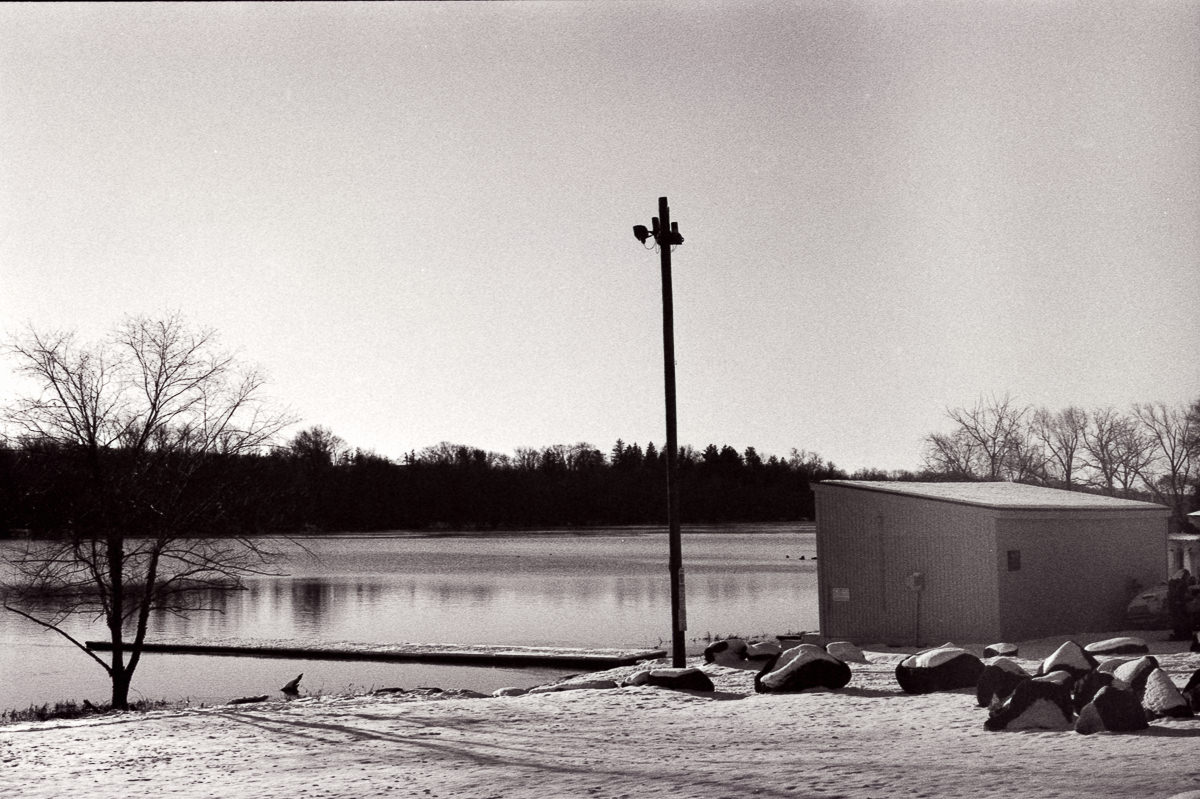
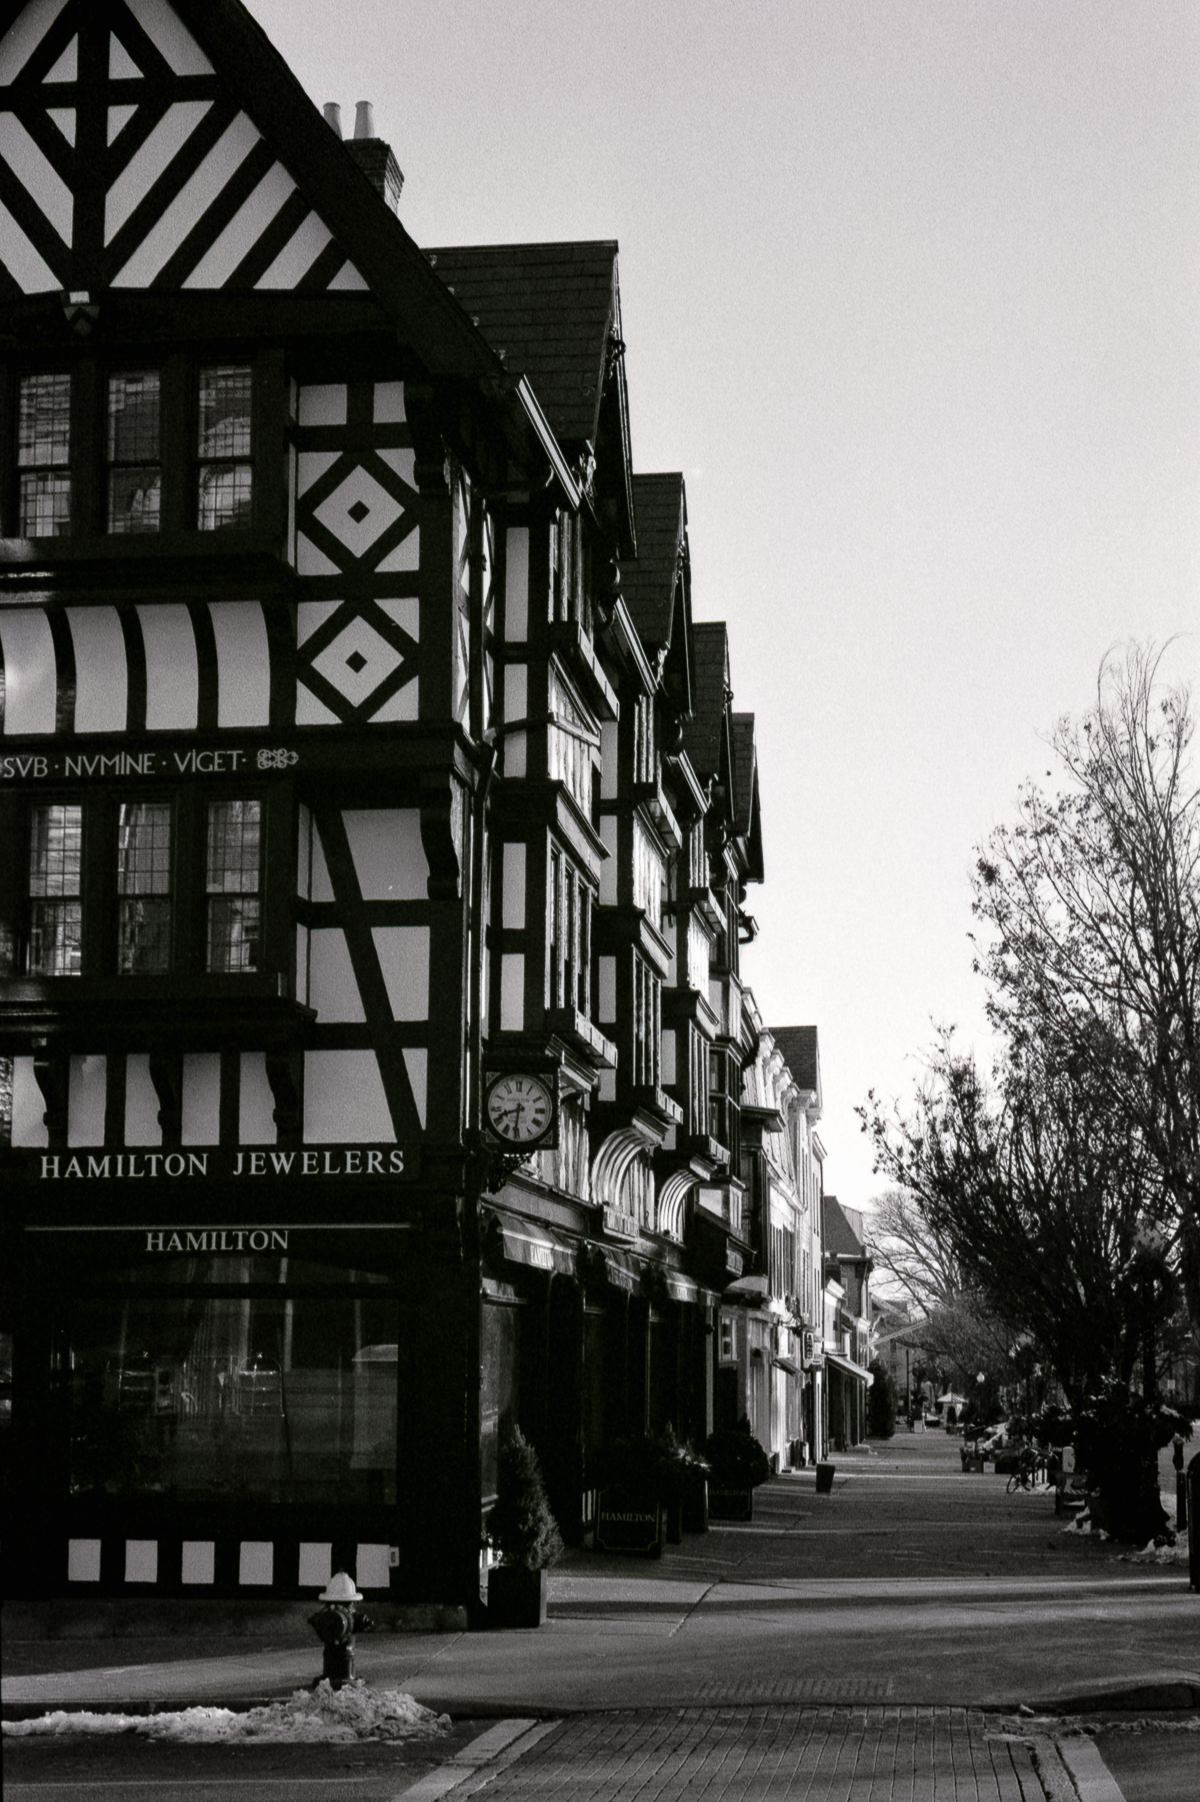
Minolta XD-11 | MD ROKKOR-X 45mm F2 | Eastman Kodak Double-X 5222 400
One of the appeals of photography is the ability to capture fleeting moments. As photographers, we see a scene or even unfolding, and we desire to preserve that moment. It takes awareness of time and space (composition), attention to detail, practice and patience. It takes time to learn and master the camera and lens settings and the interactions of reflected light. The photographer must learn to work within the limitations of the equipment and their knowledge and experience. The photographer must learn to see how the camera sees. It can be rewarding and frustrating.
When my first child Shaan was born Bhavna, I tried to capture as many of these moments as possible. In 1999, we used my Pentax P3, a 35mm manual focus single-lens reflex (SLR) film camera I purchased in 1988 for a college photography course. Before our kids came along, I used that Pentax to document our college post-college experience, travel and events. There was no screen to check the photos, and only after the 35mm film roll had been processed and printed could we see what we had captured. As the parent who spent most of the time with Shaan, Bhavna used the camera more than I did. We developed a lot of rolls of 35mm film, and we caught a lot of memorable moments. But Bhavna was not as adept at using the Pentax as I was. There were a lot of missed moments, and it was an expensive endeavour to purchase, develop and print each roll. Our keeper rate was relatively low. We stopped getting prints and requested scans saved to a compact disk to reduce costs. But I wanted more.

Circa 2001, we bought our first digital camera, a Sony DSC-S70. The point-n-shoot was easier for Bhavna to use. Our keeper rate went up, and with autofocus, the 3.4-megapixel sensor produced images suitable enough for standard size prints1. I had very little control over aperture, exposure, no control over ISO, and no manual focus capability. All images were recorded as JPEG. I soon outgrew the limitations of that fully automatic camera. I wanted more.

In 2006, I bought a Nikon D40, my first APS-C digital single-lens reflex (DSLR). The Nikon D40 had double the pixel count of the Sony, used interchangeable lenses, a sensor with better dynamic range and colour, which could use larger memory cards. I took a lot of photographs with that camera. I was immediately able to check the screen to see the result. If I didn’t like the result, assuming the moment had not passed, a quick change in aperture, shutter speed, or ISO and a push of the shutter button allowed for correction. The instant feedback loop was encouraging. I learned quickly. My keeper rate went up. I wanted more.

I would take hundreds of photos on any given shooting day. The idea was to pay attention (via the LCD screen) to what was going on in the camera and the frame to have more “keepers” and less junk to sort through at the end of the day. Patience and the process of creating the image have always been essential to every legendary pro, notably nature photographers2 who are known to spend hours in the same place to capture a cherished moment. As I grew more confident in capturing those moments, I found myself snapping at the right time instead of all the time.
I bought more lenses, and in 2011, I upgraded my camera body to a Nikon D5100, a 16 mega-pixel DSLR with a faster frame capture rate, better dynamic range, and live view. Live view allowed me to see the scene or subject as the sensor saw. It allowed me to adjust camera and lens settings dynamically. My actions became more deliberate. I experimented with different types of photography - macro, high dynamic range, landscape, portraits, nature, action, etc. I learned faster. My keeper rate went up, and my confidence increased. I wanted more.

In 2018, I accidentally dropped my Nikon, breaking the mirror box. I sold all my lenses and bought into the Fuji X camera system. More megapixels, an even higher dynamic range, because it’s mirror-less, the Natural Live View inside the viewfinder allows me to see what the camera sensor sees. The Fuji system camera controls (shutter speed, ISO, and exposure compensation) and lens controls (aperture) are right at hand. As I adjust the settings on the camera, the viewfinder dynamically changes to show the scene exactly the way the camera’s sensor would record it. I no longer had to guess, imagine, or be concerned about how the photography would be recorded. I took fewer shots. My keeper rate went up. I wanted more.
In 2020 I bought an old Minolta 35mm film camera and lens, and I tried shooting 35mm film alongside my Fujifilm. I am not good at it. I once again have to learn to imagine what the camera sees. What I see through the viewfinder bears no resemblance to what will be recorded onto the frame of 35mm film. My vision is worth nothing. It is still an expensive endeavour to purchase ($8-$10), develop ($5-$7), and (now) scan ($4-$5) one roll of 35mm film. That doesn’t include shipping. My keeper rate is low.
I know how I learn. I learn best with feedback. Instant feedback. My photography improved rapidly when I switched from 35mm film photography to digital photography. The improvement encouraged me to learn more. Once the equipment is purchased, there is no cost to expose a frame in digital photography. One-shot or 100 shots. The price is the same. I learned faster because I could look at the result on the screen, adjust the settings and try again. Rinse later repeat. With Fuji's Natural Live View feature, I can see the results in real-time BEFORE I push the shutter button. I am more deliberate with my photography. The results encourage me to continue to learn and grow. My keeper rate is higher.
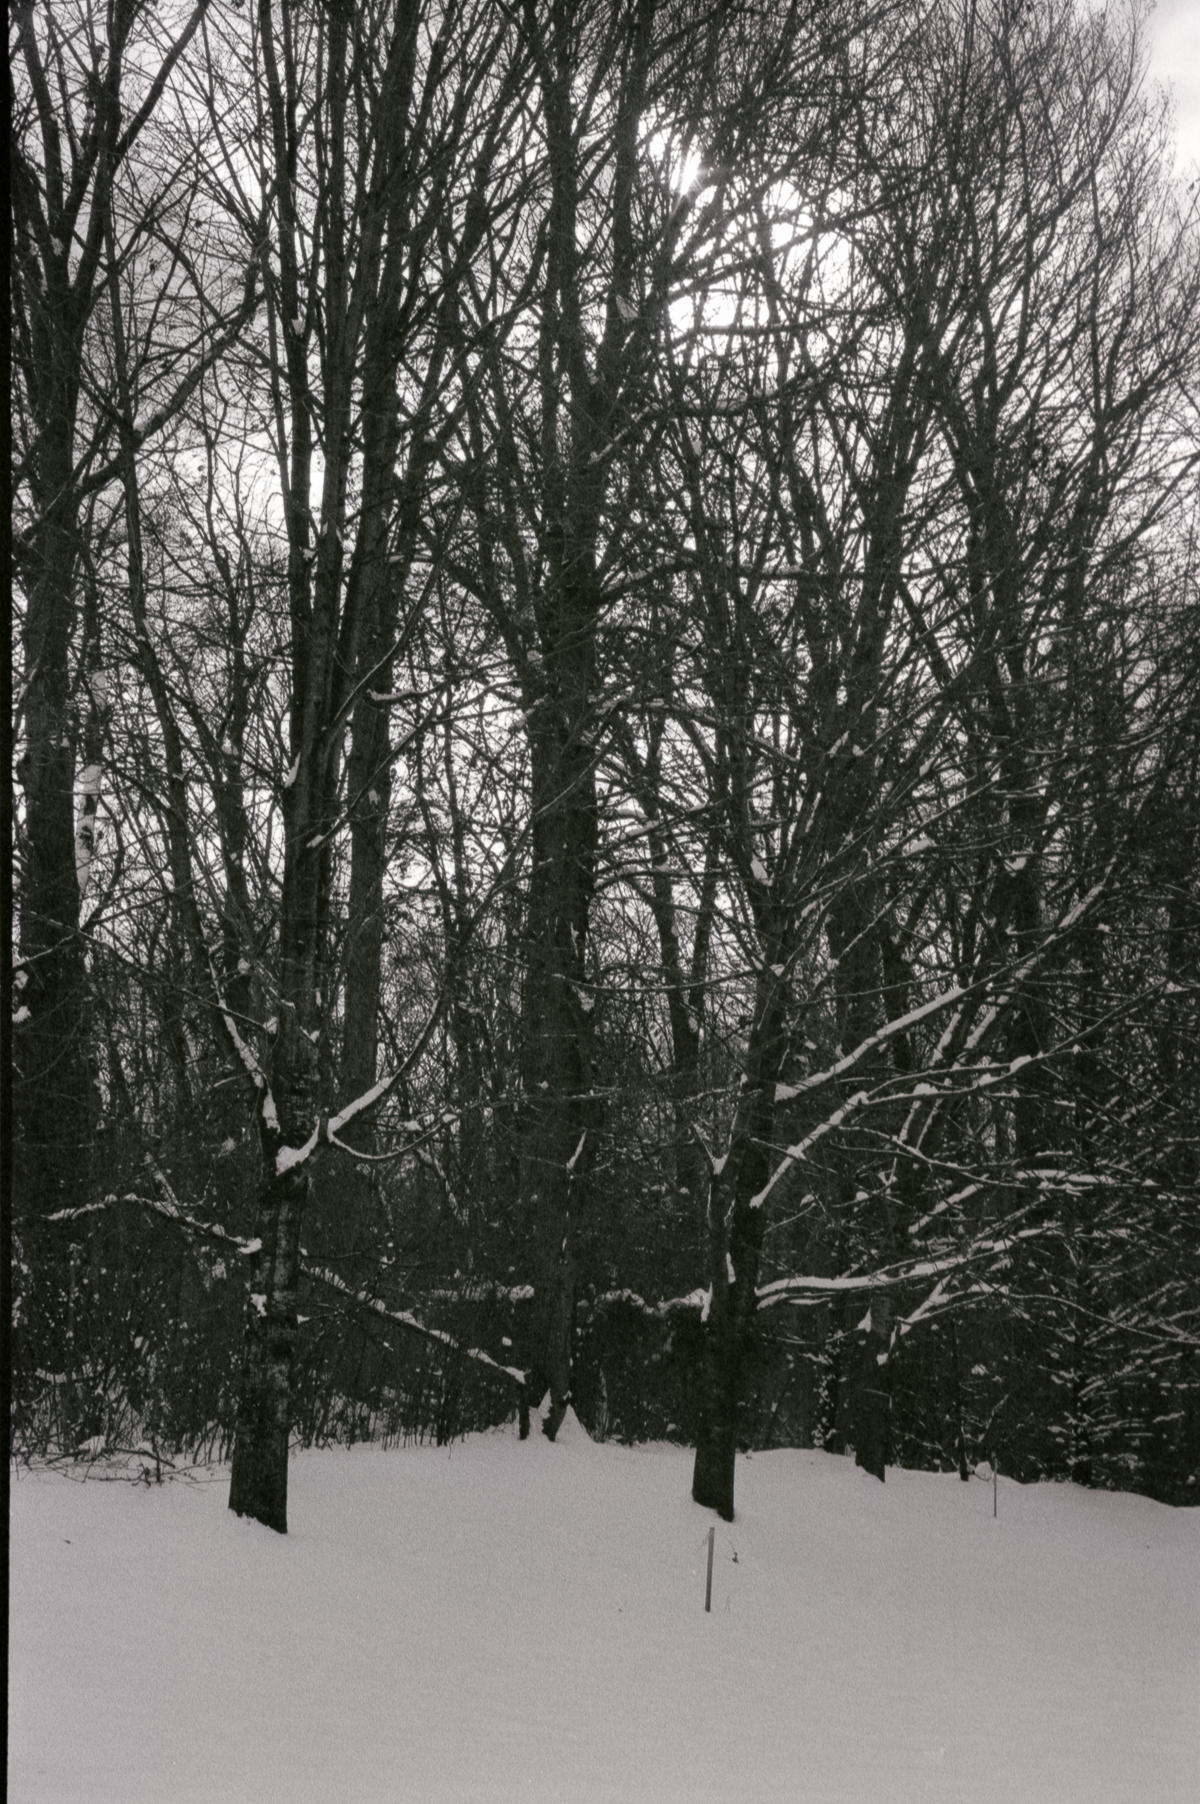
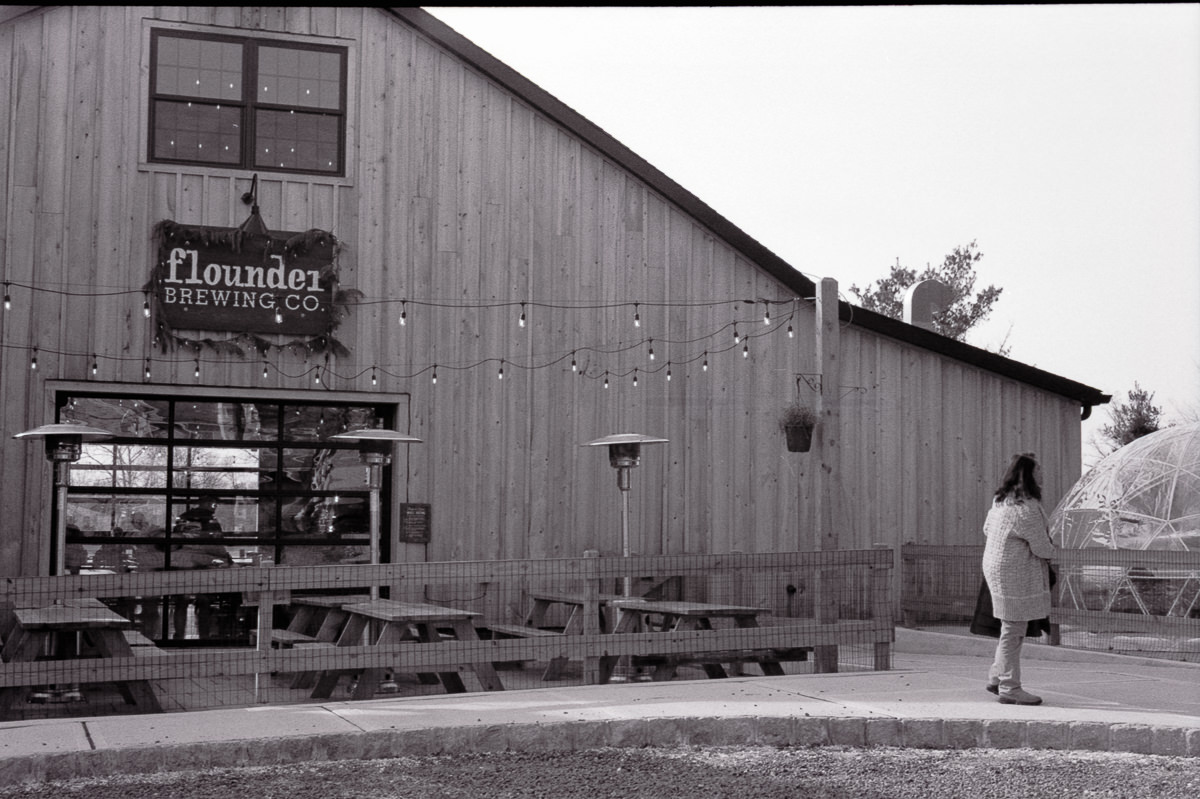
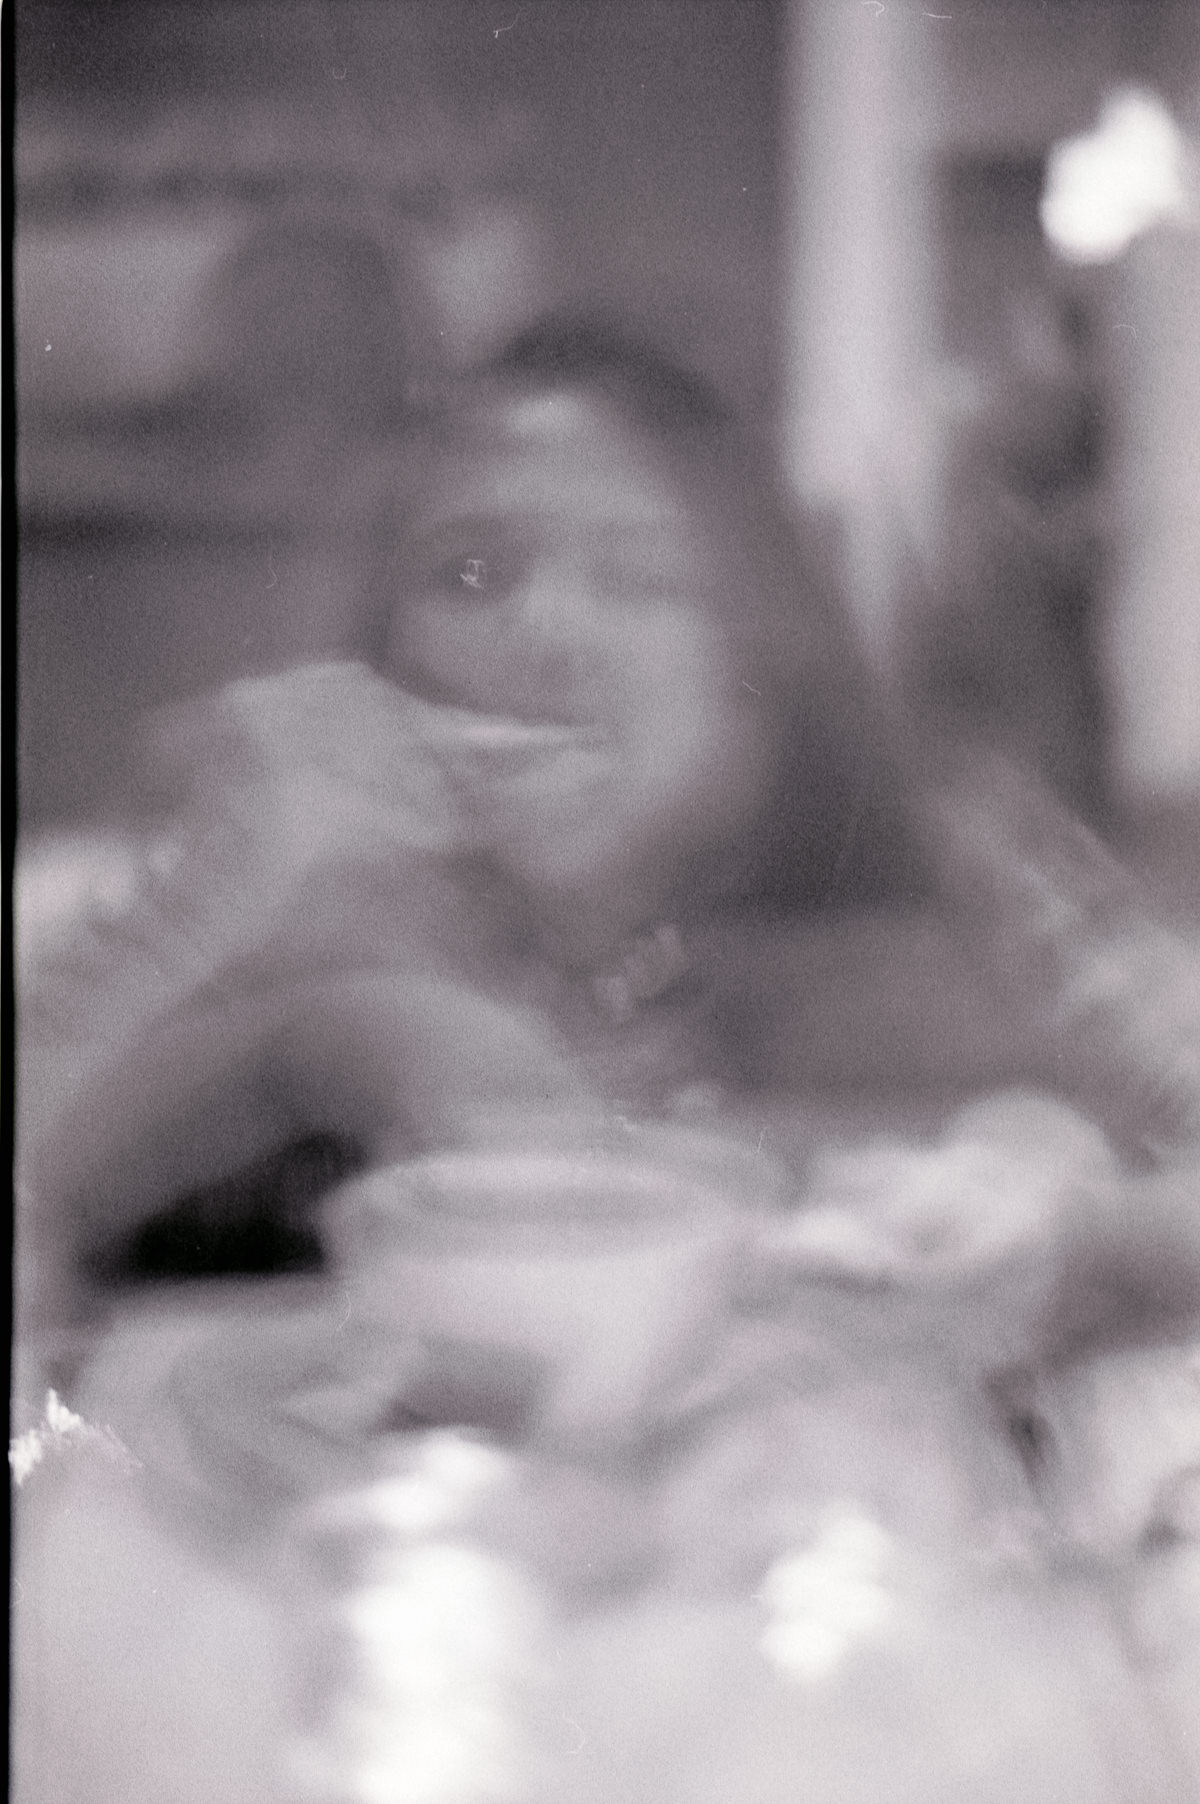
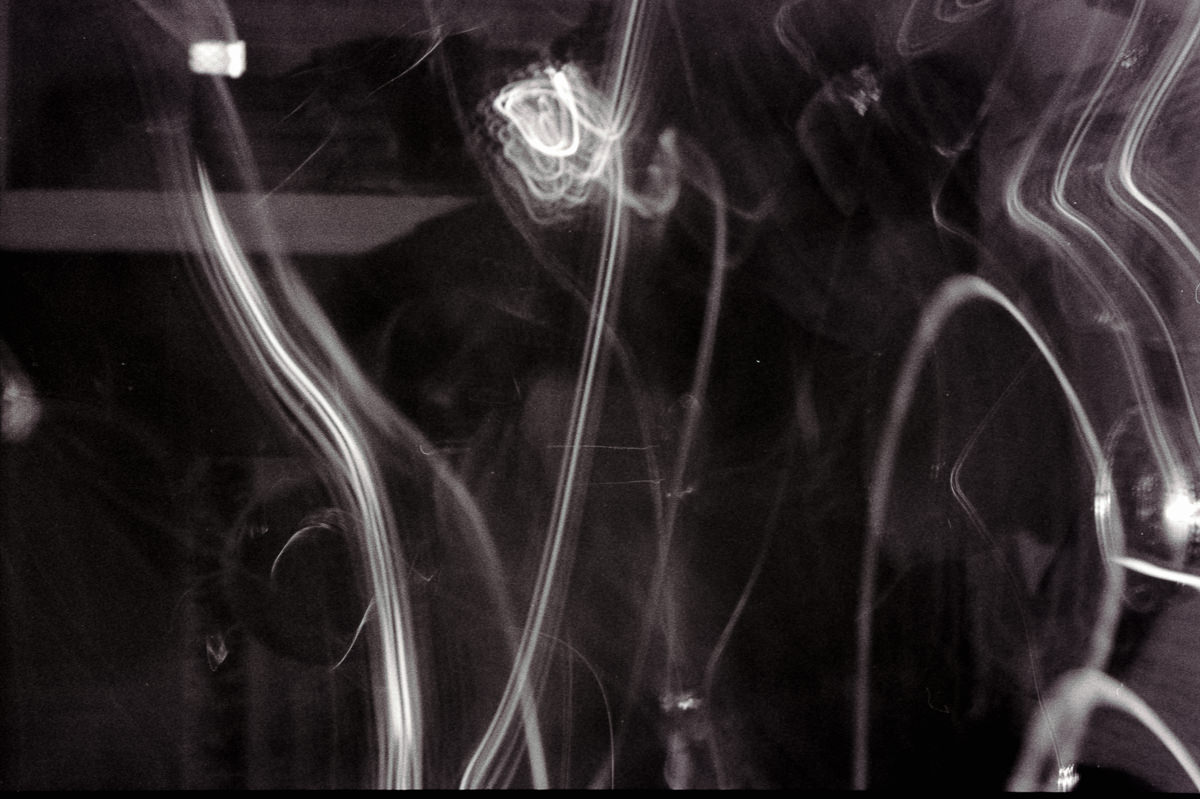
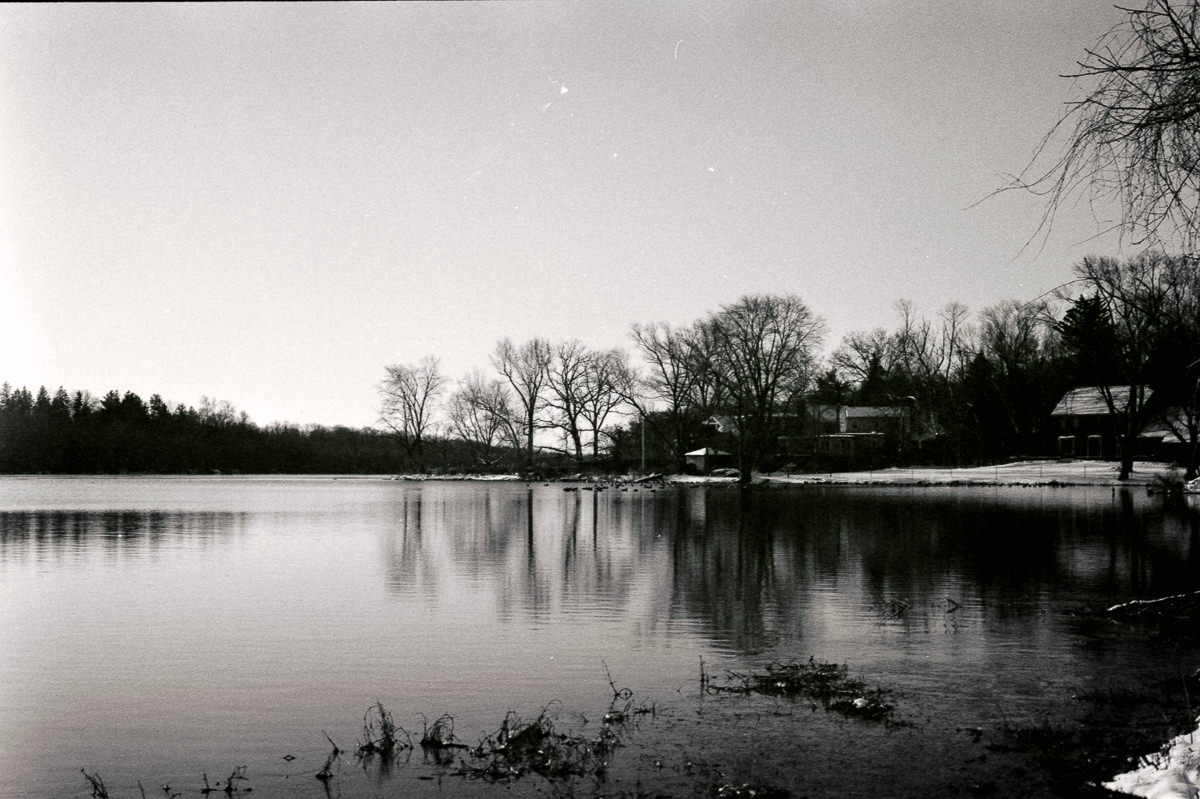
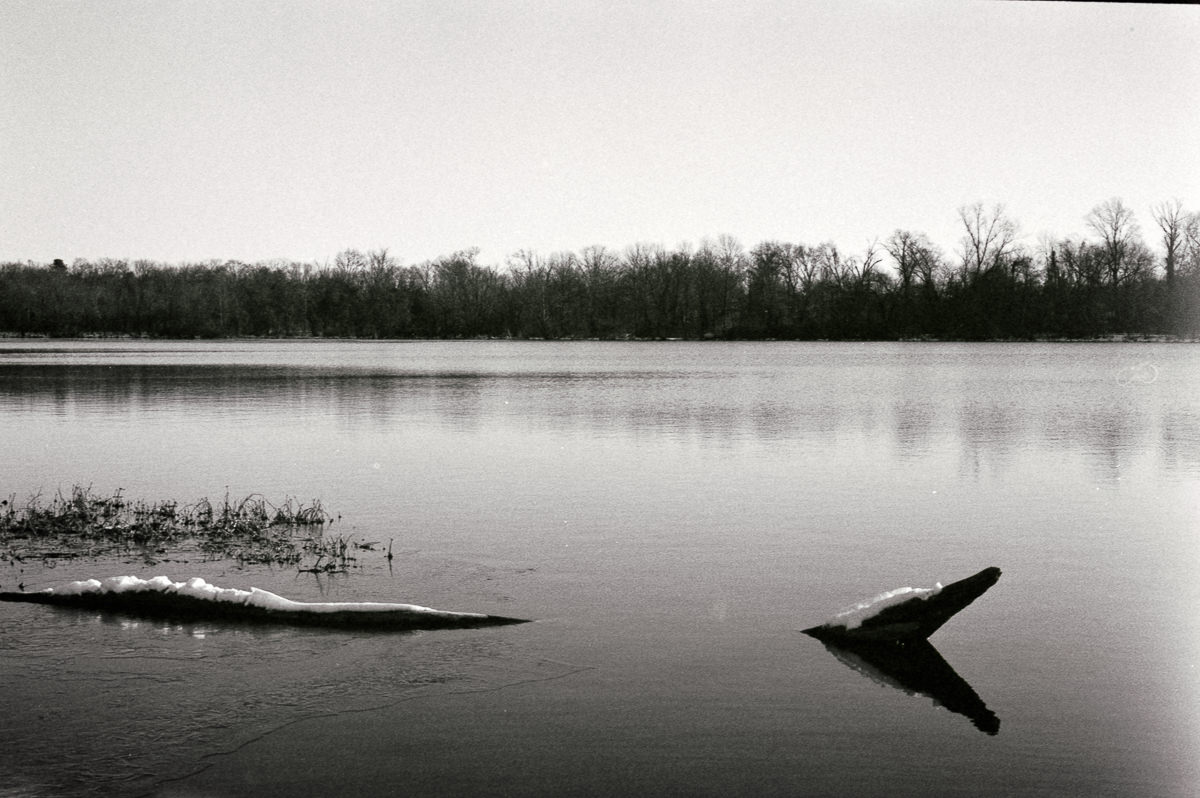
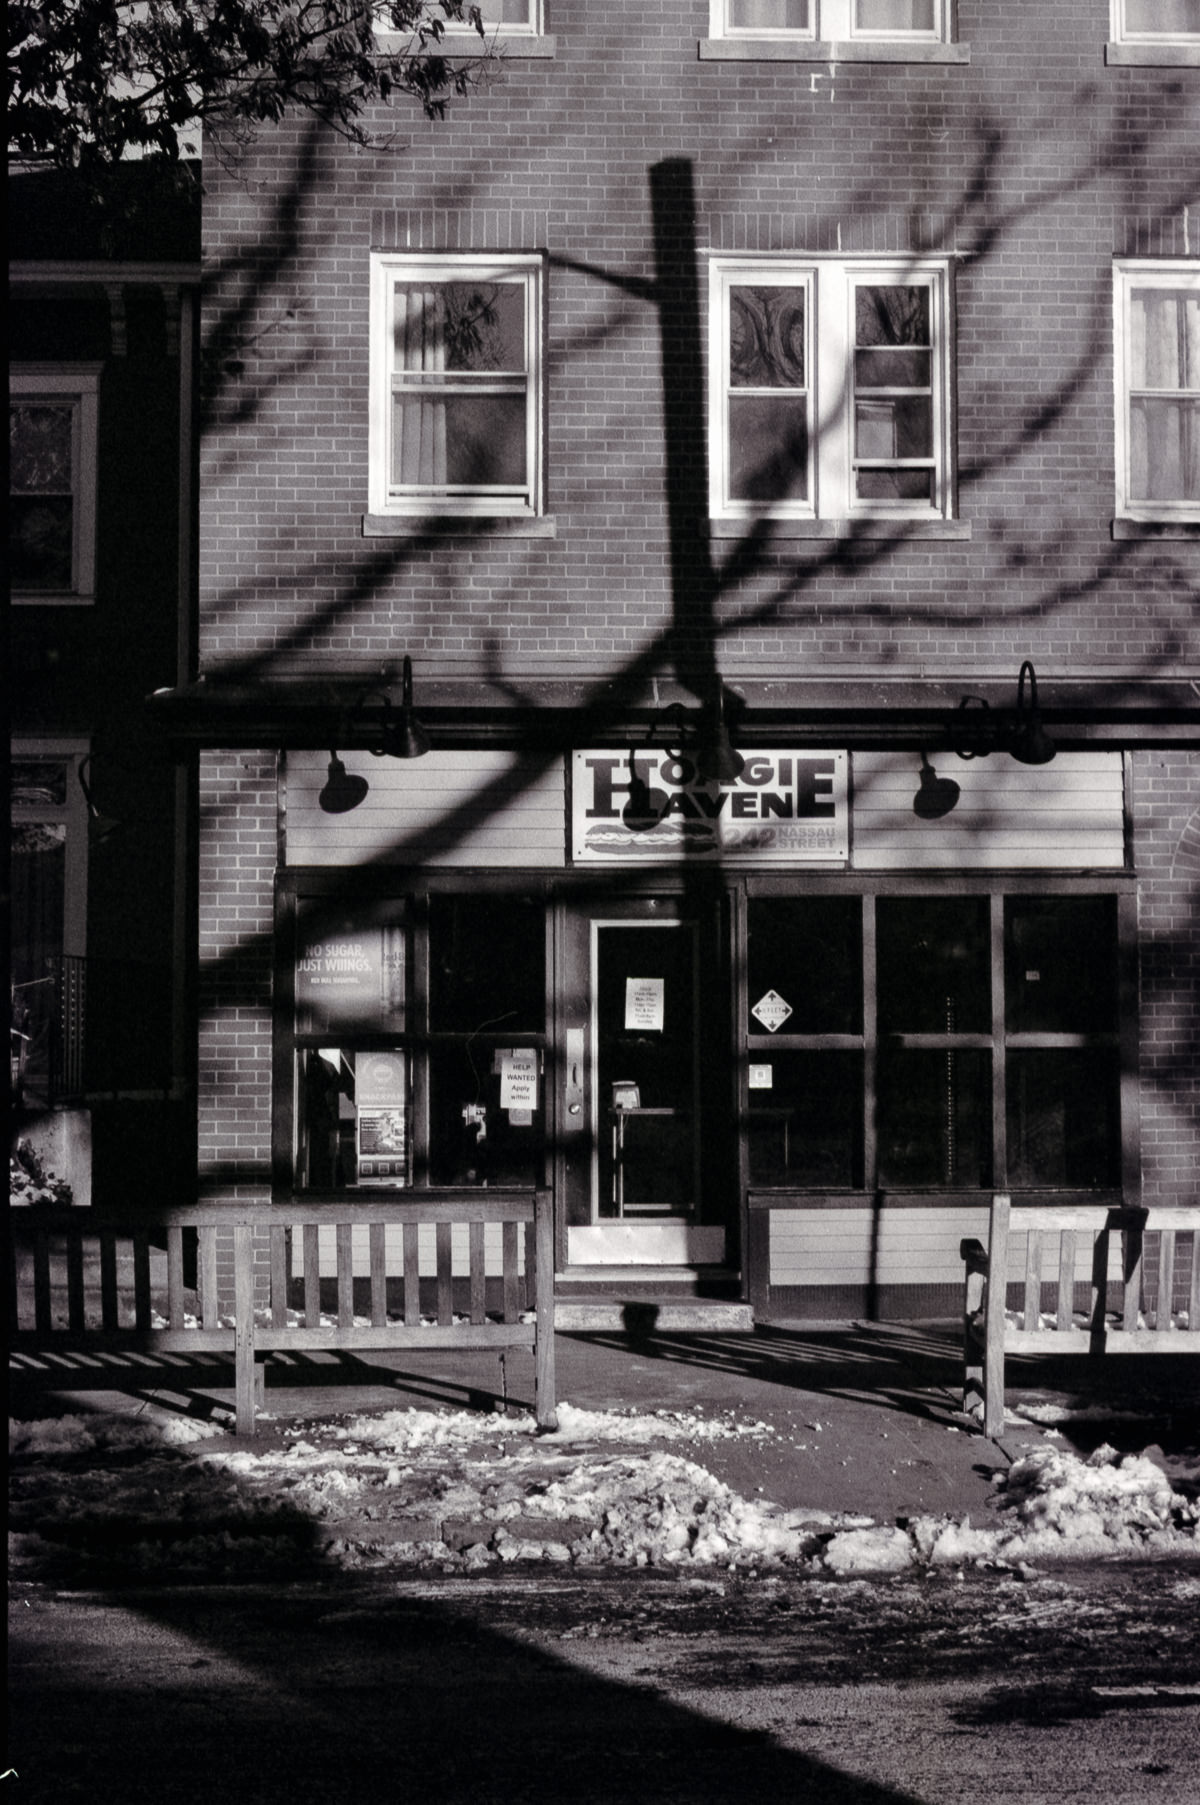
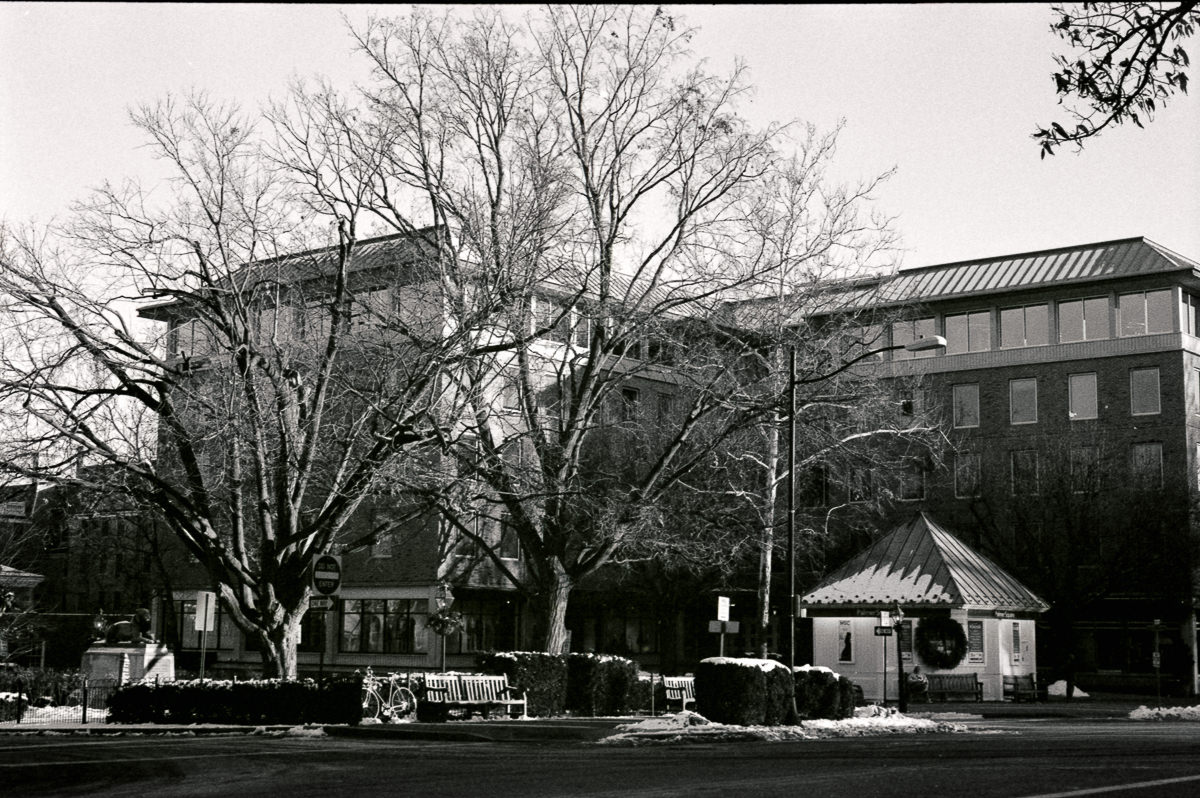
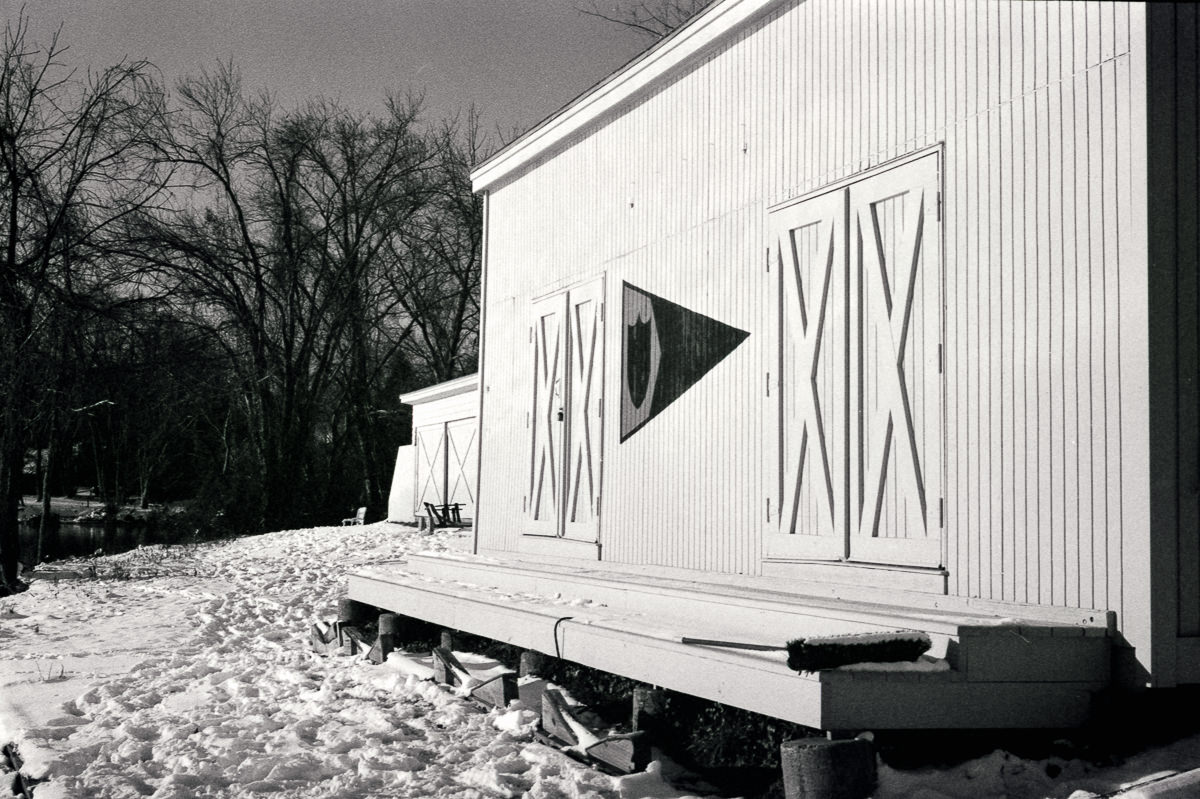
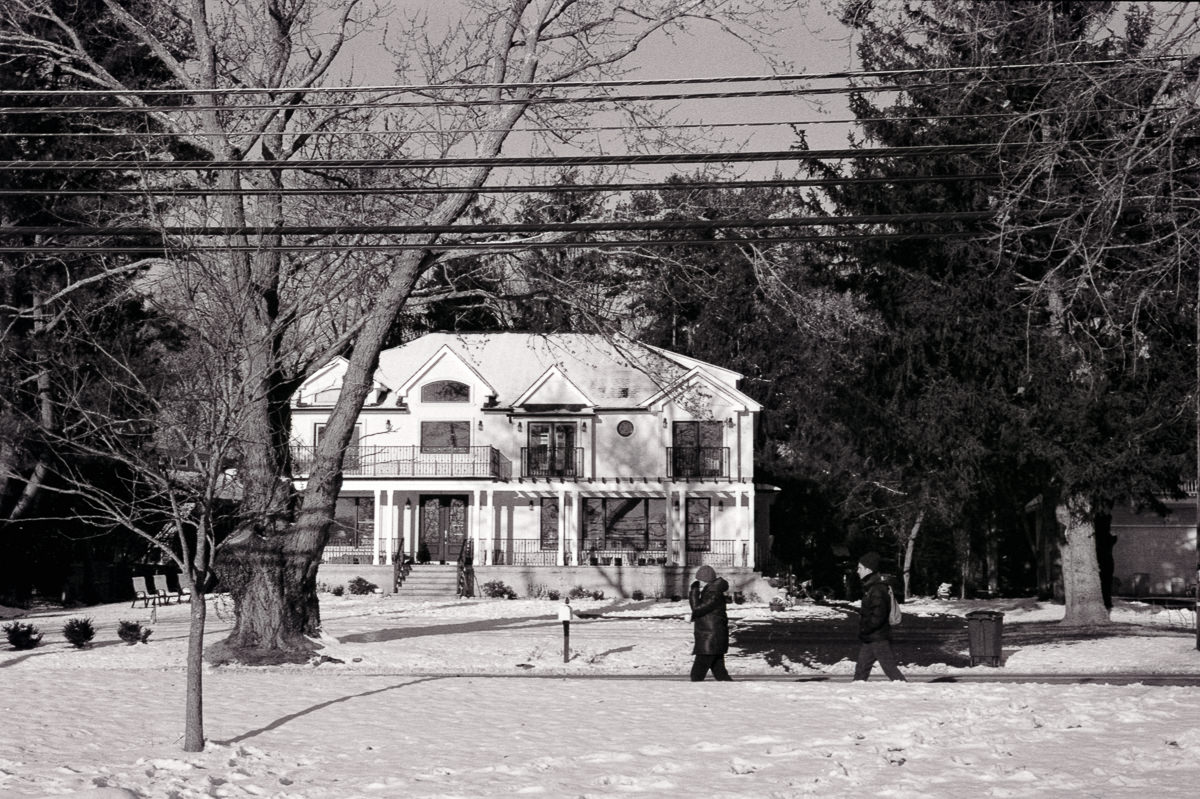
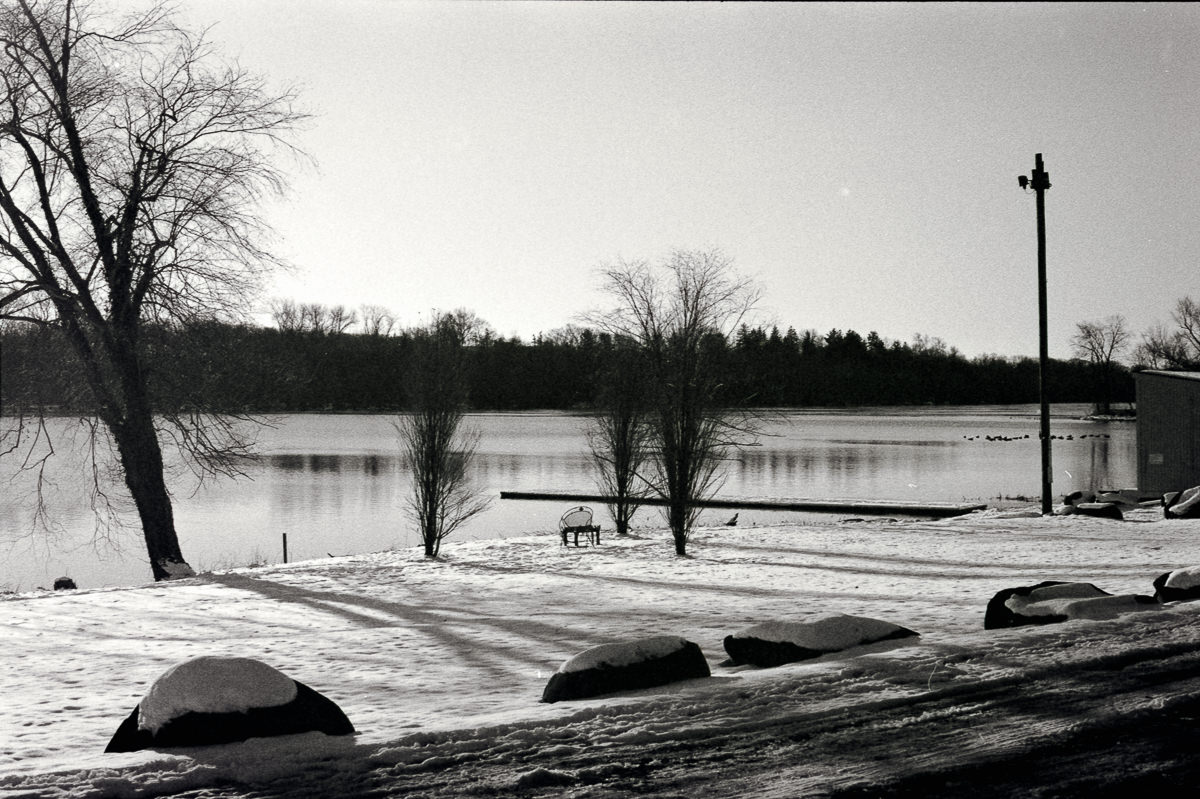
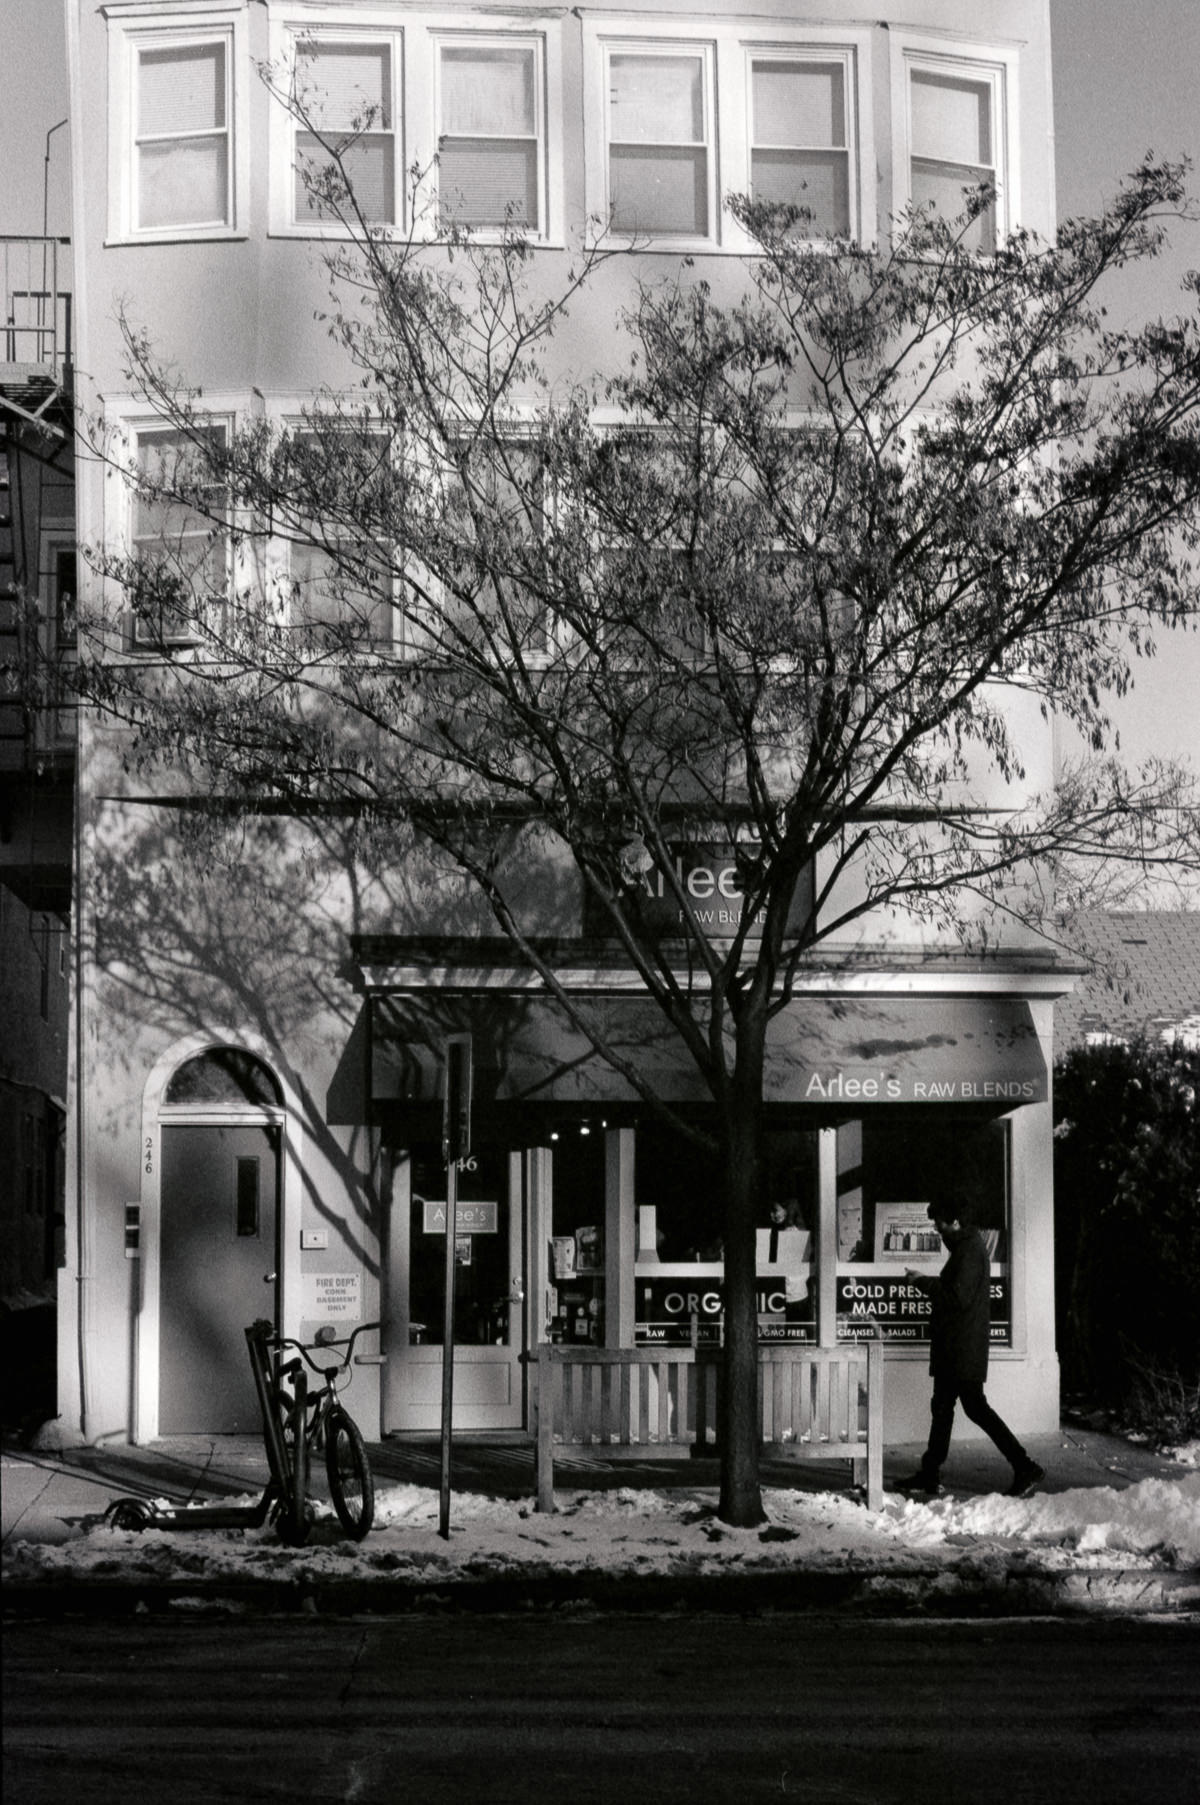
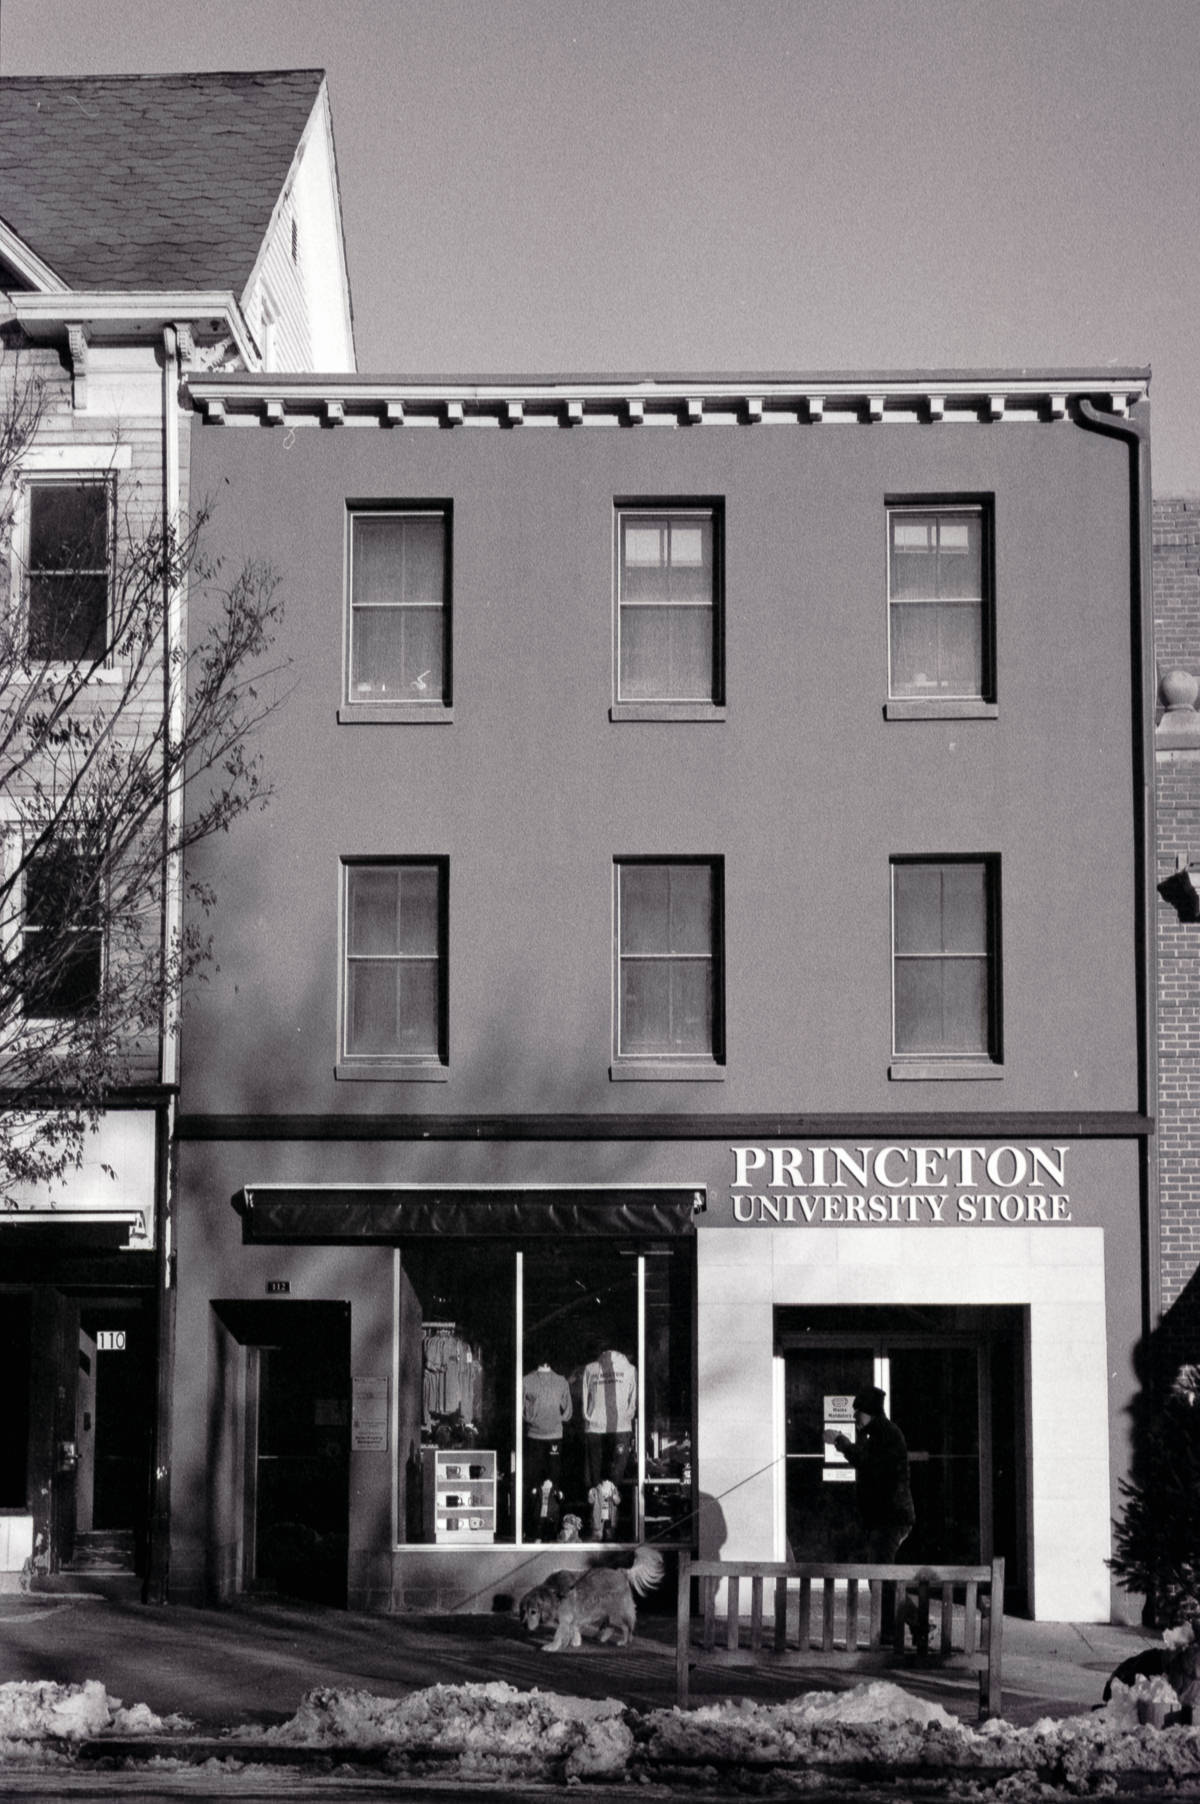
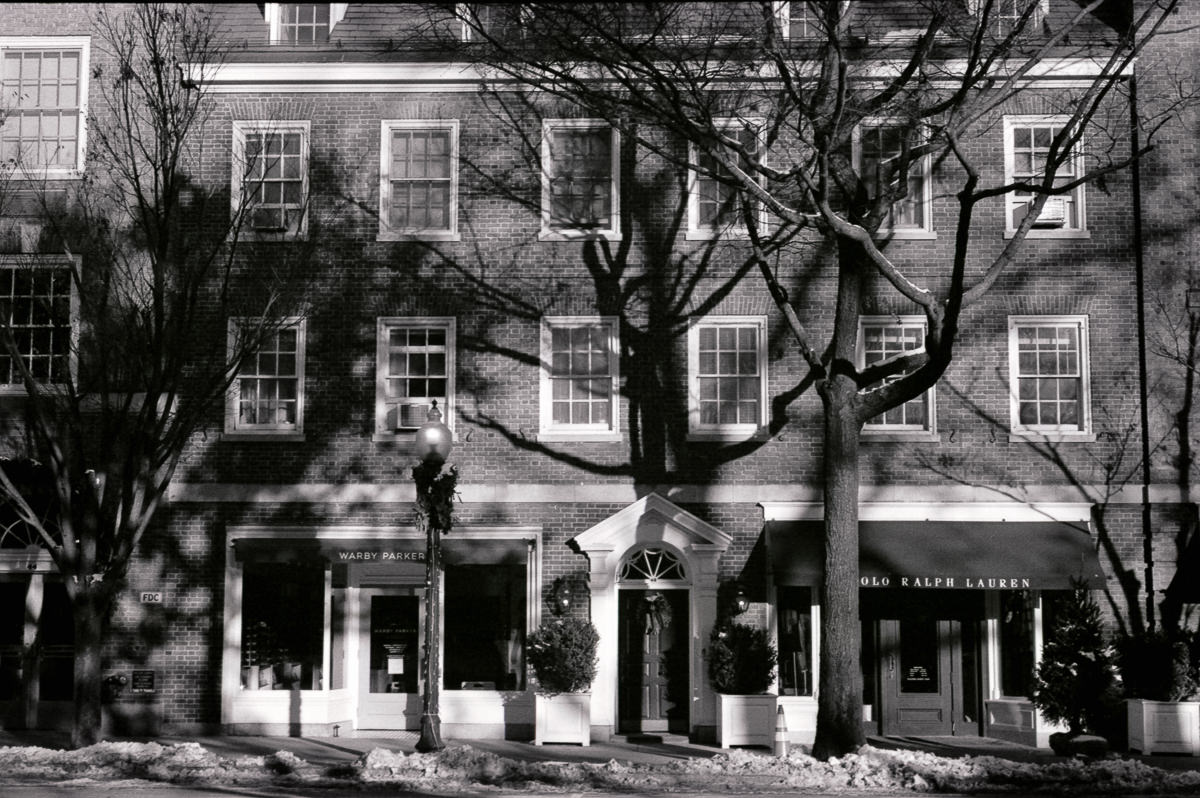
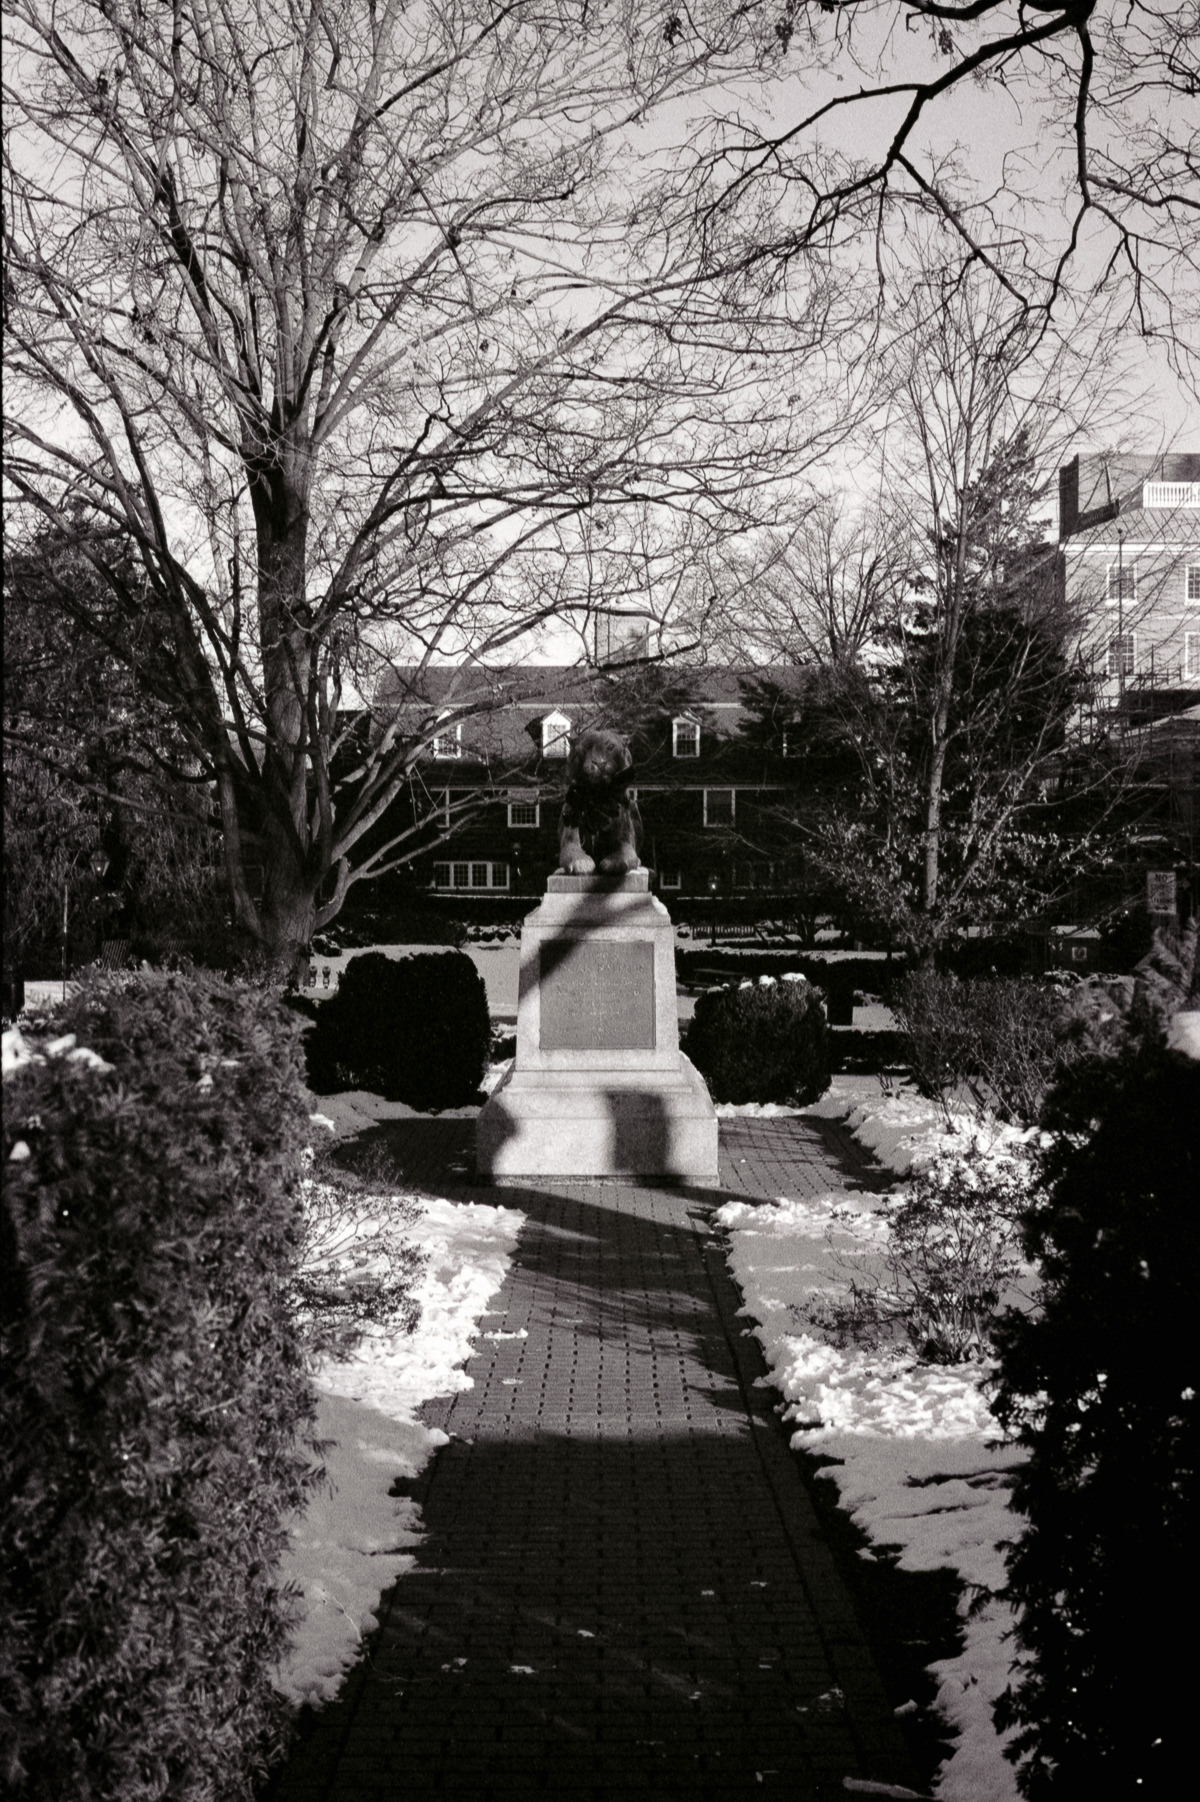
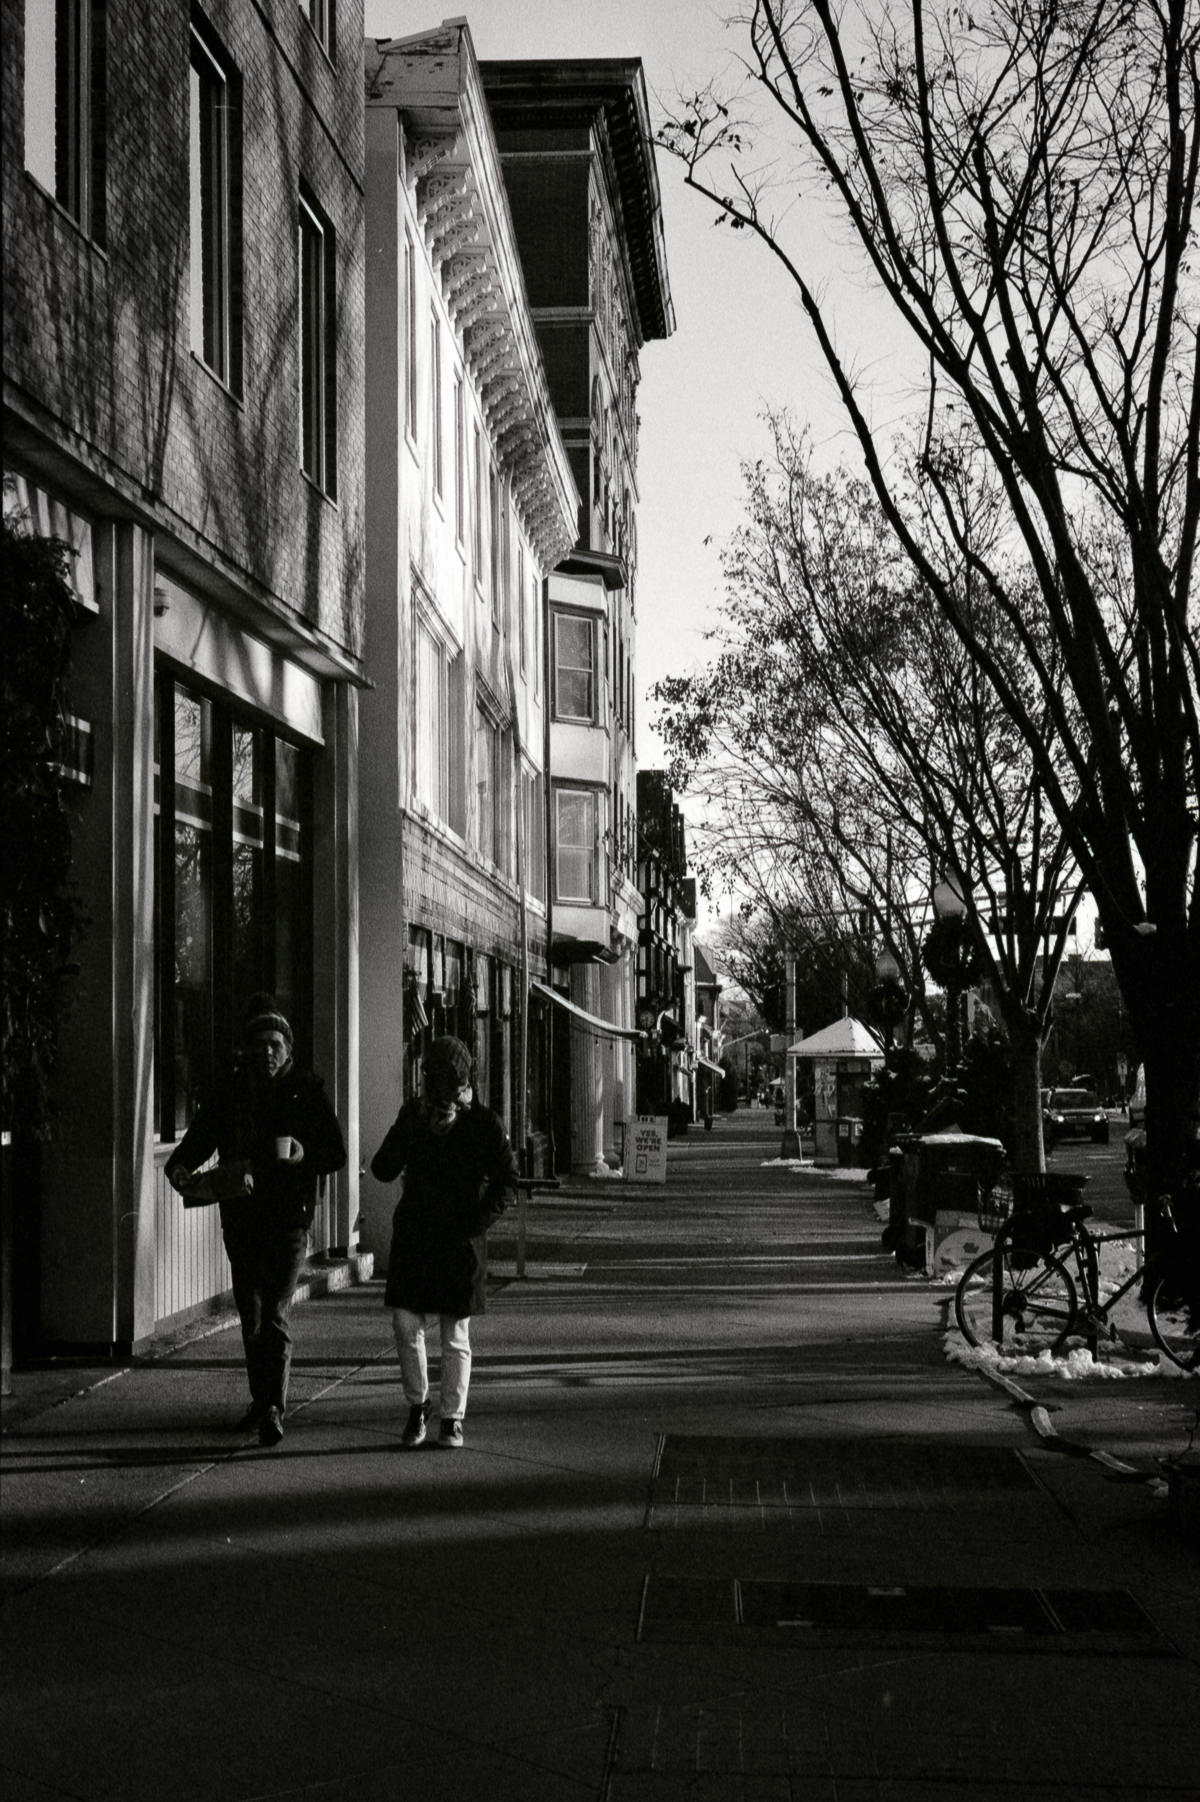
With 35mm film, none of this is possible. This is frustrating to me. I am re-learning at a snail's pace, and with each roll of 35mm film I develop, I think to myself, “what a f**king waste of money”. The photos below are from a 36 exposure roll of Kodak Professional T-MAX 400 35mm film. One of three 35mm film rolls (the other are FPP and New Classic EZ400) that I exposed between January and February. By the time I finished telling the roll of film, shipped it for development, got the negative back and scanned them, I had forgotten “why”, “how”, and “when” I took each frame. I know I used my XD-11 and MD Rokkor-X 45mm lens, but I know nothing else. These photographs are like the little bits of odd and ends of cloth used to make ill-fitting clothing.
I need to reset my expectations. I think I’ll put the 35mm film photography on the shelf for a bit. I’ll continue to shoot 35mm film but at a slower pace, maybe expose a few rolls over a month; My Fujifilm digital mirror-less camera makes me feel like “I can do it”. The 35mm film camera makes me feel like an idiot.


What scanner settings work best?
I have sat at my iMac for weeks, scanning old "found" negatives. I adopted a scanning workflow starting with scanning 35mm film negatives using my Epson Perfection V600, SilverFast 9 Plus, and the Negative Lab Pro plugin for Adobe Lightroom Classic. This workflow is adapted from Matt Wright's illuminating article in 35mmc. While scanning my 35mm film negatives myself saves me some money (about $5/roll), my recent focus has been on digitising decades-old photographs in an attempt to preserve memories.
For my most recent 35mm film captures, I have scanned the negatives to 1800x1200 DNG files at 300 pixels per inch (PPI). I have kept the PPI low to keep the image file sizes small when I export them on my blog or for sharing on social media. Most people have switched to using smartphones to share and view images. On such tiny screens, anything beyond 1000 pixels is mostly a waste of bandwidth. I am uploading 1800x1200 images to my blog for those who prefer to use a computer or tablet screen to view photographs.
But prompted by a recent blog post by Jim Grey, I have been thinking quite a bit about what resolution to use for archiving of older 35mm film negatives. I searched the web for information about the resolution of 35mm film but found mostly articles debating the benefits of film versus digital. But from websites like dppreviw and others, I eventfully put together what I think is a correct answer.
A 35mm film negative frame is 24mm (height) by 36mm (length). Most full-frame digital sensors are approximately the same size. Film resolution is based on the ability of film to resolve "line pairs per mm" (lp/mm). I then took a look at the resolution specifications for some modern films. I did not consider the resolving capability of lenses. Some 35m films were rated at nearly 200 lines/mm, but most were less. According to the specification notes, Fujichrome Provia 100F film has about 140 lines per mm (l/mm) and Superia X-TRA 400 has a resolution of 125 lines/mm. There is a tradeoff between sensitivity (aka ISO) and grain size. The higher the ISO, the larger the grain size. Grain size increases noise and lowers the spatial resolution of more sensitive films. This assumes the frame is exposed at the optimum f-stop, and the camera is mounted on a tripod to minimise the camera shake.
To be clear, I am not comparing 35mm film to digital; I am comparing scans of 35mm film to digital.
While photographic film grains are randomly distributed and have size variations, digital image photocells on a specific sensor will be the same size and arranged in a grid. Direct comparison of film and digital resolutions is not straightforward. The ISO setting on a digital camera controls the gain of the electronic amplifier on the circuitry of the chip sensor. High ISO settings on a digital camera operating in low light conditions result in a noisy image, but the visual appearance differs from traditional photographic film grain.
To better compare these values with digital photography, we must transform this information into DPI (dots per inch) or pixels per inch. Doing some quick math, I calculated a frame of Fujichrome Provia 100F 35mm film has a maximum resolution of 5040 x 3500 lines or 16 megapixels when exposed at box speed. In comparison, a Sony α7 full-frame (35.8 mm x 23.9 mm) sensor has a maximum resolution of 6000 x 4000 pixels (24 megapixels) and a native ISO range of 50 - 25600. The modern digital full-frame sensor has better resolution. But this didn't answer my question. What scan settings do I want to use to extract the "best" archive scans from my Epson Perfection V600.
The dimension of a single frame of 35m film is 36mm x 25mm or approximately 1.42 inches x 09.98 inches. So it seems that to make archival scans of a negative of a single frame of Fujichrome Provia 100F 35mm film, I need to set my Epson Perfection V600 to scan at about 3571 PPI. If I scan lower-resolution 35mm film negatives, such Superia X-TRA 400, scanning at 3189 PPI is more appropriate.
The table below lists popular 35mm film stock and my approximate recommended scan resolution for each film stock (MTF in lines/mm at 1000:1 contrast) in pixels per inch (PPI). These calculations are for a 1000:1 contrast ratio. Fujifilm’s website was full of helpful information, but Kodak Alaris was less forthcoming. While For example, while KODAK PROFESSIONAL PORTRA 160 datasheet mentions that the film is "ideal for scanning", the document provides no suggestions. However, Kodak Alaris did include a Modulation Transfer Function graph that shows the cycles per millimetre. According to Ken Rockwell, "Cycles per millimeter is also called lines per millimeter". Assuming that is true, I have included the data for some popular 35mm film stock in the table below.1 NOTE: Some of these film stocks are discontinued.
| Manufacturer | Film Stock | Film Resolution | Recomeded Scan Resolution |
|---|---|---|---|
| Fujifilm | FUJICOLOR 200 | 125 | 3188 |
| Fujifilm | SUPERIA X-TRA 400 | 125 | 3188 |
| Fujifilm | FUJICHROME Velvia 50 | 160 | 4082 |
| Fujifilm | FUJICHROME Velvia 100 | 160 | 4082 |
| Fujifilm | FUJICHROME Provia 100F | 140 | 3571 |
| Fujifilm | FUJICOLOR PRO 400H | 125 | 3188 |
| Fujifilm | NEOPAN 100 ACROS II | 200 | 5102 |
| Kodak | KODAK PROFESSIONAL PORTRA 160 | 80 | 2041 |
| Kodak | KODAK PROFESSIONAL PORTRA 400 | 80 | 2041 |
| Kodak | KODAK PROFESSIONAL EKTAR 100 | 80 | 2041 |
| Kodak | KODAK PROFESSIONAL T-MAX 400 | 200 | 5102 |
| Kodak | KODAK PROFESSIONAL T-MAX 100 | 200 | 5102 |
| Kodak | KODAK PROFESSIONAL TRI-X 400 | 60 | 1530 |
| Kodak | KODAK PROFESSIONAL EKTAR 100 | 90 | 2296 |
| Kodak | KODAK PROFESSIONAL EKTACHROME E100 | 90 | 2296 |
| FPP | X2 | 100 | 2551 |
| Rollei | RPX 25 | 260 | 6633 |
| Rollei | RPX 100 | 160 | 4082 |
| Rollei | RPX 100 | 100 | 2041 |
I don't know much about other devices, but modern Macs, iPads and iPhones displays have a resolution between 220 (macOS) and 480 (iOS) pixels per inch. I think scanning negatives at very high resolutions (anything beyond 300 PPI) to downsample those scans to 1800x1200 or 960x640 for display on a website or mobile device screen is a wasted effort. However, scanning at higher resolutions seems wise when I scan images for archive when the original film negative is damaged (like so many of my wife's college travel photographs are).
For comparison, I have compiled a table of instant films.
| Manufacturer | Film Stock | Film Resolution | Recomeded Scan Resolution |
|---|---|---|---|
| Fujifilm | Instax Square | 10 | 320 |