I just got the new version of eyefi's mobiPro SD card. Eyefi is calling this the Ultimate WiFi SD Card. Eyefi has printed this phrase on the cover of the package. But can this card stand up to the claim?
I have used an earlier version of the eyefi mobi card and when the company introduced the 32GB eyefi mobiPRO I was curious to see what was improved. I ordered one right away.
Most new cameras now feature Wi-Fi radios for transferring images from the SD card. The photographer can snap an image and transfer to a smart phone for editing and easy sharing to social networks such as Instagram. Instead of waiting until they get back to the computer, photographers can edit and share images in real-time.
But not all cameras have this feature. My Nikon D5100 is an older model which does not. I could sell my D5100 and buy a newer model with Wi-Fi. But that is an expensive solution. A cheaper solution is to use an SD card that has the Wi-Fi. This means I can use the camera hardware I already have while still enjoying some of the benefits of a newer body.
Eyefi is selling the 32GB eyefi mobiPRO at an early bird special price for $79 with 1 year of their Eyefi Cloud service. The package also includes a card reader. Although I have collected several card readers over the years including one is a nice touch.

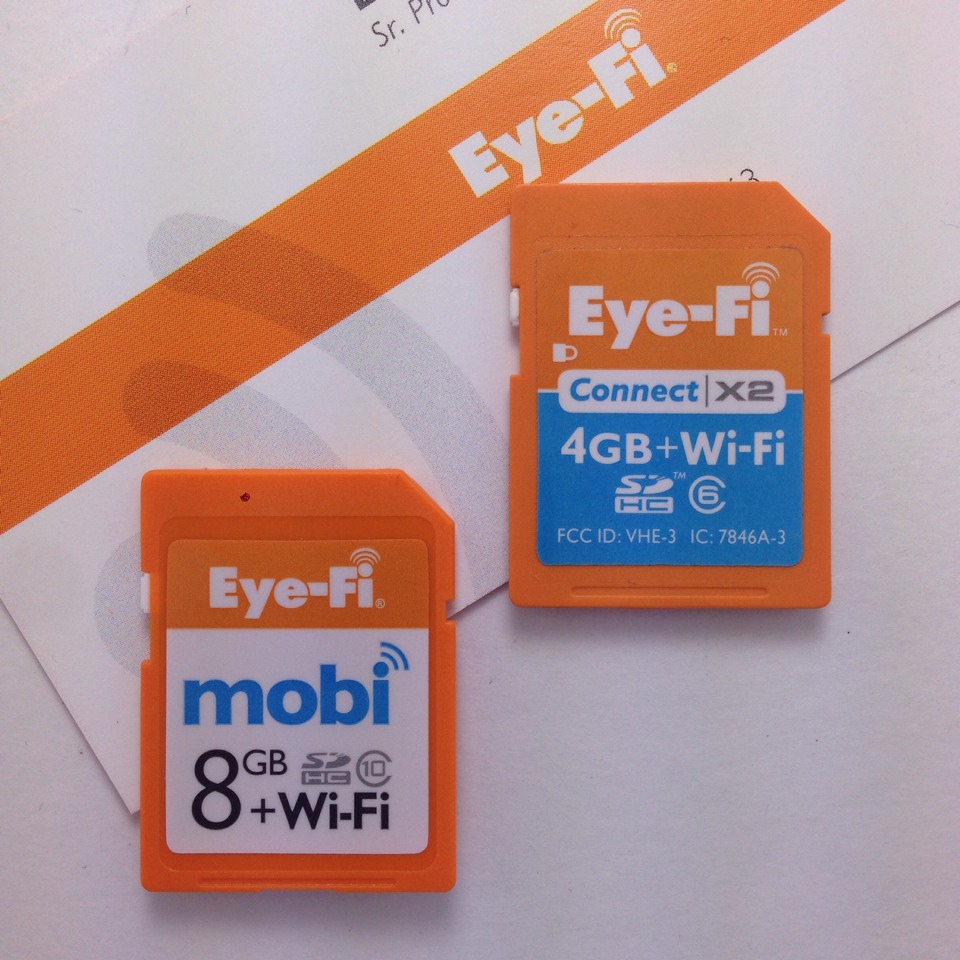
Inside the box I found a USB card reader, the 32GB eyefi mobiPRO SD card, and a membership card. On the back are instructions for activating the card and the cloud service. I have one of the original Connect X2 cards and one of the first generation 8GB mobi cards. The 32GB mobiPro seemed easier and more straight forward to setup than either of those card.
I launched the eyefi app on my iPhone and tapped the gear to bring up the Settings screen. From there I tapped Manage Cards and entered the activation code form the membership card. I tapped a few more button to install the mobiPro's profile and I was ready to go.

I inserted the mobiPro into the SD card slot of my Nikon D5100 and started snapping photos. The mobiPro is a class 10 card so I was able to use the full 4fps shooting speed of my Nikon D5100.
The mobiPro has RAW image support. When I was done shooting I launched the Settings app on my iPhone 6 and connected to the Wi-Fi signal of the mobiePro. Back in the eyefi app I was able to transfer RAW images to my iPhone. I did not time the speed of the transfers but they seemed snappier than the JPG transfer of the 8GB eyefi mobi.
I know that when using eyefi cards in the past that the battery of the Nikon D5100 was short. Perhaps this was because I kept the camera on while shooting to prevent the loss of the connection between the mobi and the iPhone. I have not tested it yet but given how robust the connection of the mobiPro seems I will have less fear of losing signal and I can turn my Nikon on and off as needed. Battery life should improve.
One of the complaints I had about the earlier mobi SD cards is that I could not choose which images I wanted transferred to my iPhone or iPad. With the earlier cards, connecting the iPhone to the mobi card meant that all the images on the SD card were transferred. My Nikon D5100 has a resolution of 16MP. Depending on the number of images I shot I could easily exhaust the storage of my iPhone. The eyefi mobi is one of the reasons I bought the 64GB iPhone 6. I often found myself running out of space while transferring images when all I really wanted was one or two images to share via social media. The mobiPro has a selective sync feature. I can choose which images I want transferred to my iPhone.
I couldn't find the settings for this in the eyefi app. This was frustrating but it turns out I needed to use the eyefi desktop app to set up the mobiPro with this feature. I found the instructions on the eyefi website. If I had paid attention to inside of the eyefi mobiPro box I would see the text directing me to the place on the eyefi web site with the necessary information.
I installed the mobi desktop app on my MacBook Air, insert the mobiPro via the USB reader, and configured the mobiPro per the instructions. Once complete I removed the mobiPro and inserted back into my Nikon D5100. I shot a couple of test images. To enable selected transfer I marked the image I wanted to transfer as locked. I launched the eyefi app and waited for the iPhone to connect. It was at this point I ran into problems. Neither the MacBook Air or the iPhone were able to connect to the mobiPro card. I tried repeatedly and after several attempts I had it working. This is the flaky network connectivity issues I had experienced with the earlier cards. Sometimes it works and sometimes it doesn't.
Is the 32BG mobiPro the Ultimate WiFi SD card? Perhaps not. The initial setup was easy but setting up the selective sync didn't go as well as I expected. Eyefi could invest some effort in making the WiFi connection more robust. I would be a very frustrated user if I only discovered about the selective sync setup needing a computer while I was out on a photo walk. Selective sync setup should not require a computer.
But assuming network connectivity issues don't plague this device I think I will enjoy using the mobiPro. The weather is improving and I have a number of photowalks planned for April and May. The 32GB mobiPro has arrived just in time for me to selectively share photos from my adventures.