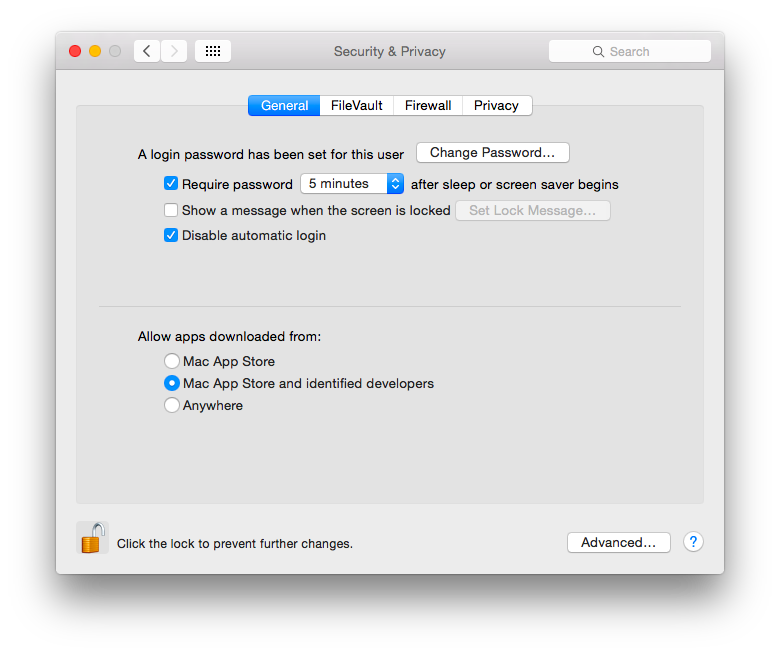
The following information is based on OS X 10.10 Yosemite. If you are running an earlier version of OS the information might still useful but you may have to look in different system preferences.
I love iCloud. iCloud connects all my Apple devices in ways that make it easy for me to work from any device . I always have the latest versions of my most important things — like documents, apps, notes, and contacts — on whatever device I am using. It lets me easily share photos, calendars, locations, and more with my friends and family. It even helps me find my iPhone if I lose it.
But what about the Mac? How does iCloud improve and extend the capabilities of OS X?
iCloud Drive is very similar to Dropbox and Google Drive. If you click Options.. you can see the list your apps that use iCloud Drive to store information. You can disable any of these apps at any time by de-selecting from the list. With iCloud Drive all your presentations, spreadsheets, PDFs, images, and any other kind of document stored in iCloud is accessible from a special folder on your Mac. Open the Finder, click on the icon, work your way through the folders and open any document.
To upload your files to iCloud, simply drag them into the iCloud Drive on your Mac running OS X Yosemite. Or start a new document using an iCloud-enabled app on your iOS device. Then you’ll be able to use those documents appear on your Mac.
[fusion_builder_container hundred_percent="yes" overflow="visible"][fusion_builder_row][fusion_builder_column type="1_1" background_position="left top" background_color="" border_size="" border_color="" border_style="solid" spacing="yes" background_image="" background_repeat="no-repeat" padding="" margin_top="0px" margin_bottom="0px" class="" id="" animation_type="" animation_speed="0.3" animation_direction="left" hide_on_mobile="no" center_content="no" min_height="none"]

With iCloud, you get an @icloud.com email account that’s ad-free, is up to date everywhere you check it, and includes e-mail at iCloud.com. Just select Mail in iCloud preferences and follow the onscreen instructions. Once iCloud is enabled on your Mac, you can use Mail, Calendar, and Contacts so send email, schedule your day and keep important information on your contacts.
iPhoto also has support for iCloud. You can sync photo to and from your Mac to your iPad or iPhone.
[/fusion_builder_column][fusion_builder_column type="1_1" background_position="left top" background_color="" border_size="" border_color="" border_style="solid" spacing="yes" background_image="" background_repeat="no-repeat" padding="" margin_top="0px" margin_bottom="0px" class="" id="" animation_type="" animation_speed="0.3" animation_direction="left" hide_on_mobile="no" center_content="no" min_height="none"]

Using iCloud Drive means you’ll always have access to the latest version of all your documents from any device. For example, you can start creating a presentation on your Mac at home, then make final edits and present it in class using your iPad. The changes you make along the way appear automatically on all your devices.
How do you enable it?
It's easy. Open System Preferences on your Mac. Click iCloud, enter your Apple ID, and select the services you’d like to enable. Boom! That's it. Feature enabled and ready to use.
[/fusion_builder_column][fusion_builder_column type="1_1" background_position="left top" background_color="" border_size="" border_color="" border_style="solid" spacing="yes" background_image="" background_repeat="no-repeat" padding="" margin_top="0px" margin_bottom="0px" class="" id="" animation_type="" animation_speed="0.3" animation_direction="left" hide_on_mobile="no" center_content="no" min_height="none"]