I had a lazy Sunday. I sat around an watched on Netflix a Canadian televisions series called Kim's Convenience. I enjoyed the hilarious antics the stubborn and opinionated antics of the main protagonist, Mr Kim.

Island in the Net by Khürt Williams
Technology and Photography Musings. Established circa 2000.
I had a lazy Sunday. I sat around an watched on Netflix a Canadian televisions series called Kim's Convenience. I enjoyed the hilarious antics the stubborn and opinionated antics of the main protagonist, Mr Kim.
I love watching clouds. Sometimes I think I photograph landscapes because of the clouds. It seems all challenge participants decided to look to the sky this week. I like Amy's interpretation of this week's theme. TheOnlyD800inthehameau looked to the skies for drama finding a moody cloud formation.
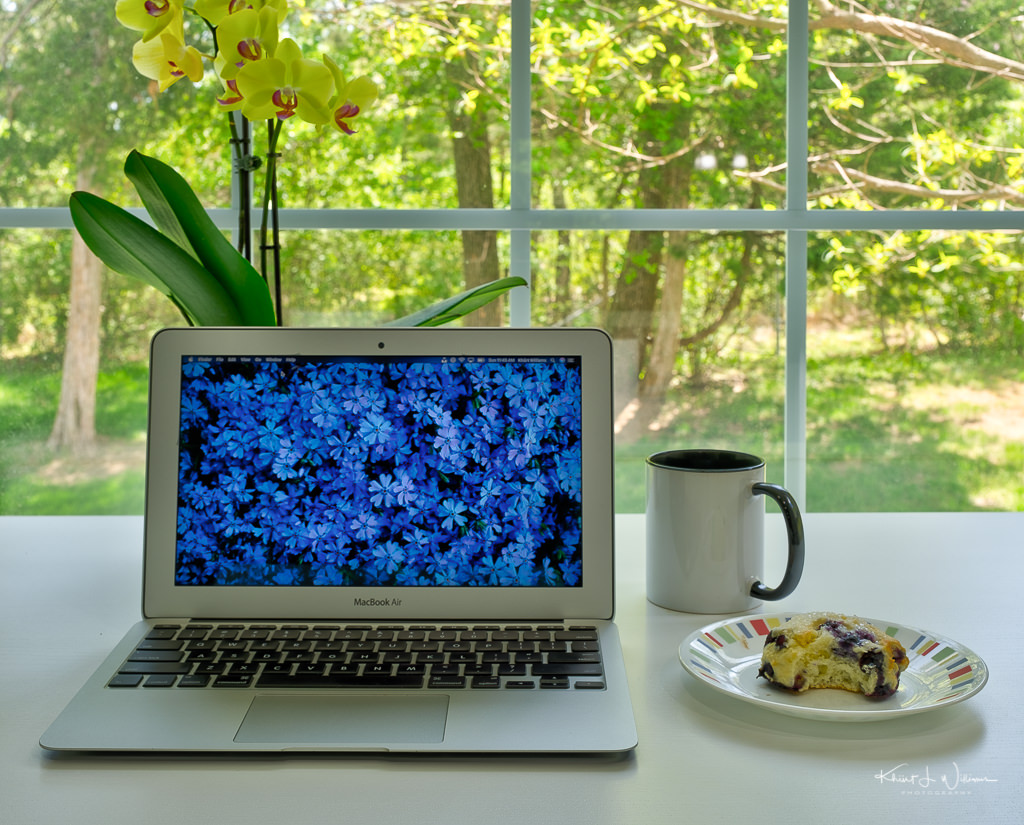
I vaguely understood the term "negative space", thinking it was the "blank areas" of an image, Wikipedia informed me further.
Negative space, in art, is the space around and between the subject of an image. Negative space may be most evident when the space around a subject, not the subject itself, forms an interesting or artistically relevant shape, and such space occasionally is used to artistic effect as the "real" subject of an image.
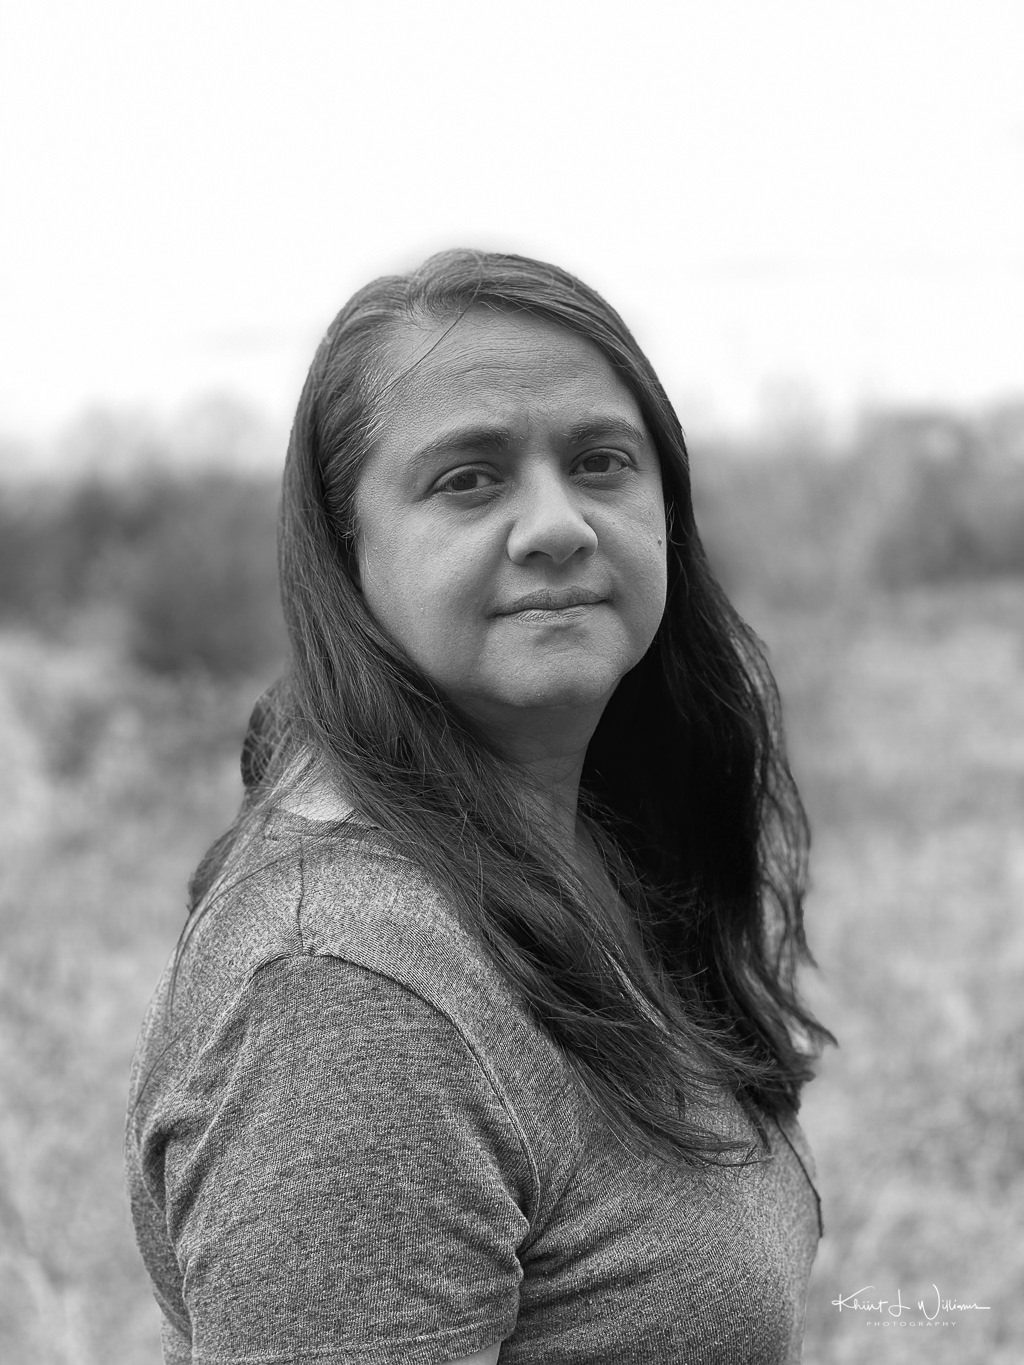
Ok. Wait. What? "Negative space" can be the "real" subject of an image? I hadn't captured anything like this. I had three pictures from the week, which I thought represented my interpretation of "negative space". But which to choose for the challenge. The boring one of a water bottle or the more interesting one of my wife? Maybe I'm cheating a little, but I am submitting both. I think the image of the botted water is closer to the description from Wikipedia. Still, I think the portrait of my wife, giving me her best "do I have to do this" look is more interesting.

I captured my choices for the weekly challenge using the native iOS camera app. The app has a portrait mode which is sometimes doesn't get it right. It uses multiple back cameras on the iPhone 11 Pro including the 6mm f/2 (which Apple calls the Telephoto lens due to its 51mm full-frame field of view) and the 4.25mm ƒ/1.8 (26mm FF). Together with software algorithms, a "bokeh" effect is achieved. I used Kevin Mullin's "Base Film" and "Newspaper" black and white preset.
What do you think?
Submitted for my 52 Week Smartphone Challenge.
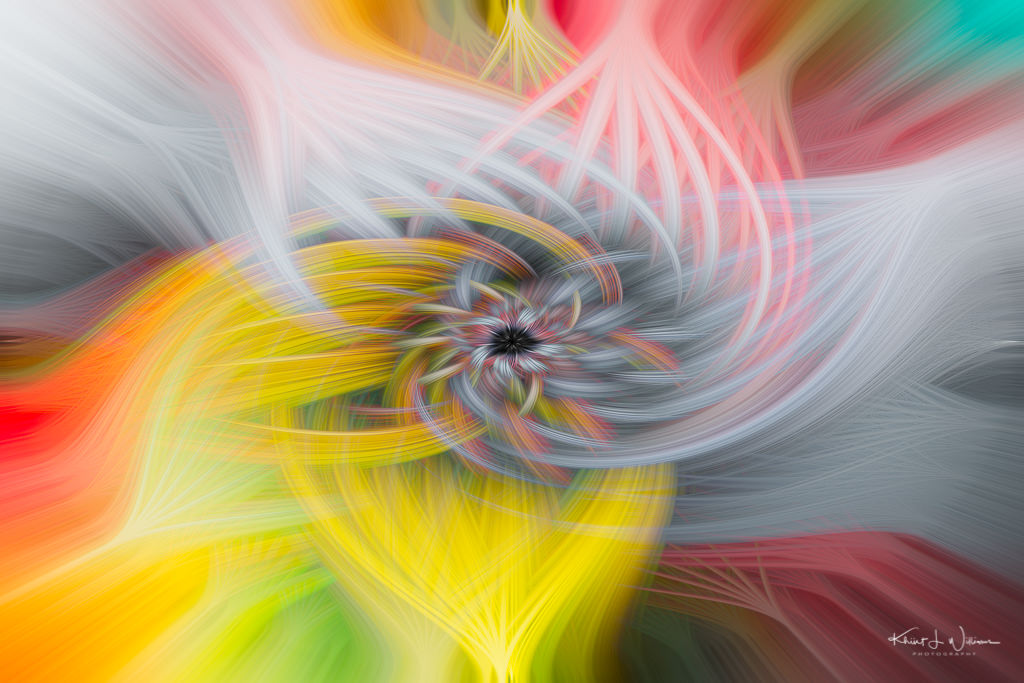
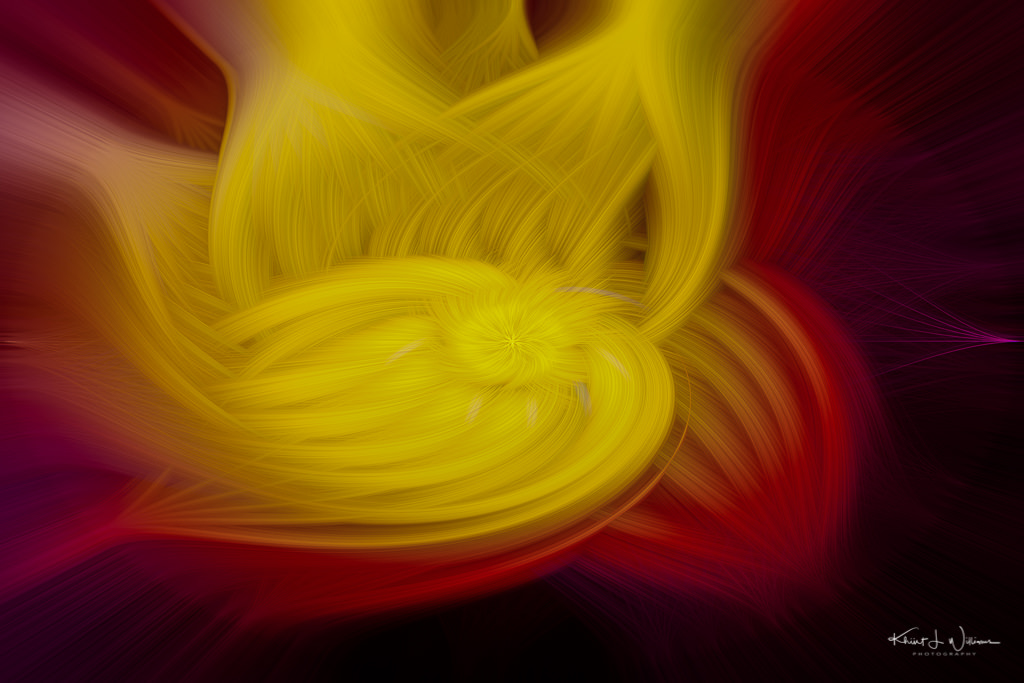
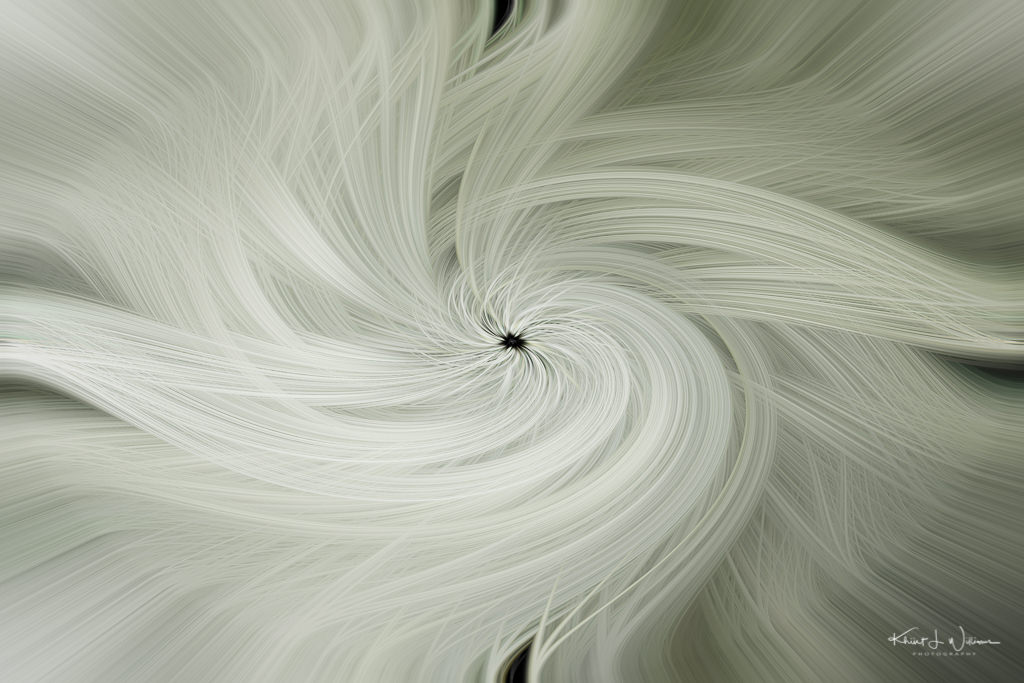
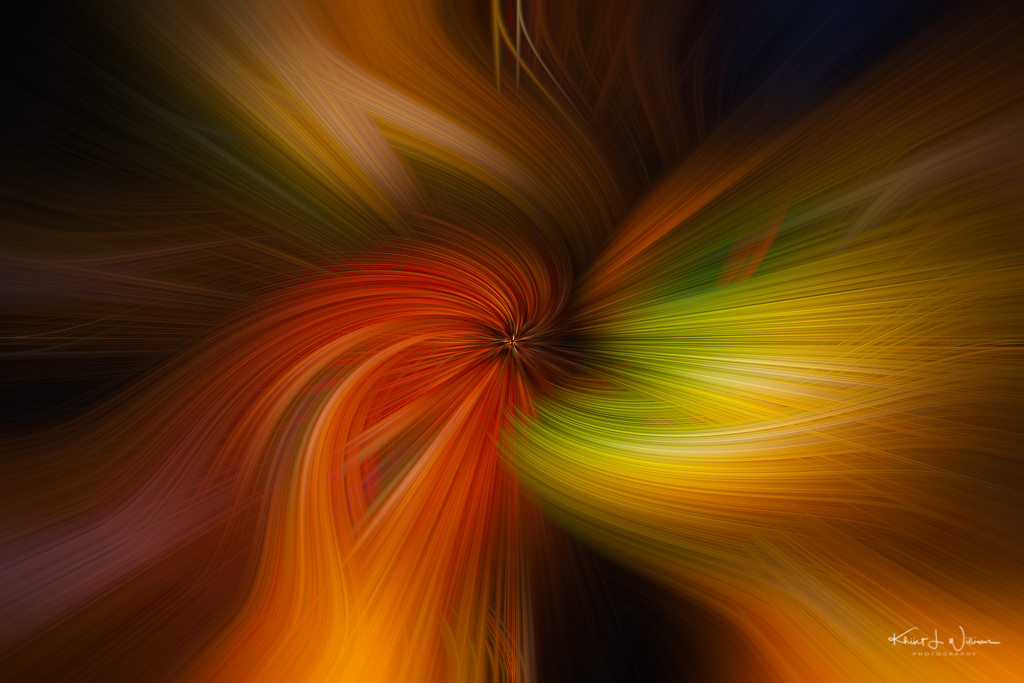
I learned a new technique which I have used to transform a mundane set of images into something I find exciting.
I first read about this twirl technique on Hanne Siebers's blog. Dina learned about the technique from her camera club, The North Norfolk Photographic Society. She has used it to transform a photograph of Klausbernd into a twist. I loved the idea and looked at this video to which Dina provided a link.
The video shows how to create exciting artistic twirl effects in Adobe Photoshop. For me, the process is a way to explore the features of Photoshop, but I also found it to be a distraction from pandemic social isolation as well as a way to find more creativity in my day. While I was able to learn the process via the video, I did a lot of stopping and rewinding and flipping back and forth from the video to Photoshop. I find all of that annoying. I find any kind of online video learning annoying. It's not my learning style. I wrote down the steps to do it, and I hope this is useful to others. The text-based steps below are how I have created all subsequent twirls. It does, however, require knowledge of and familiarity with the Adobe Photoshop menus. For people who are not familiar with the right-side panel, the video may be a better choice.
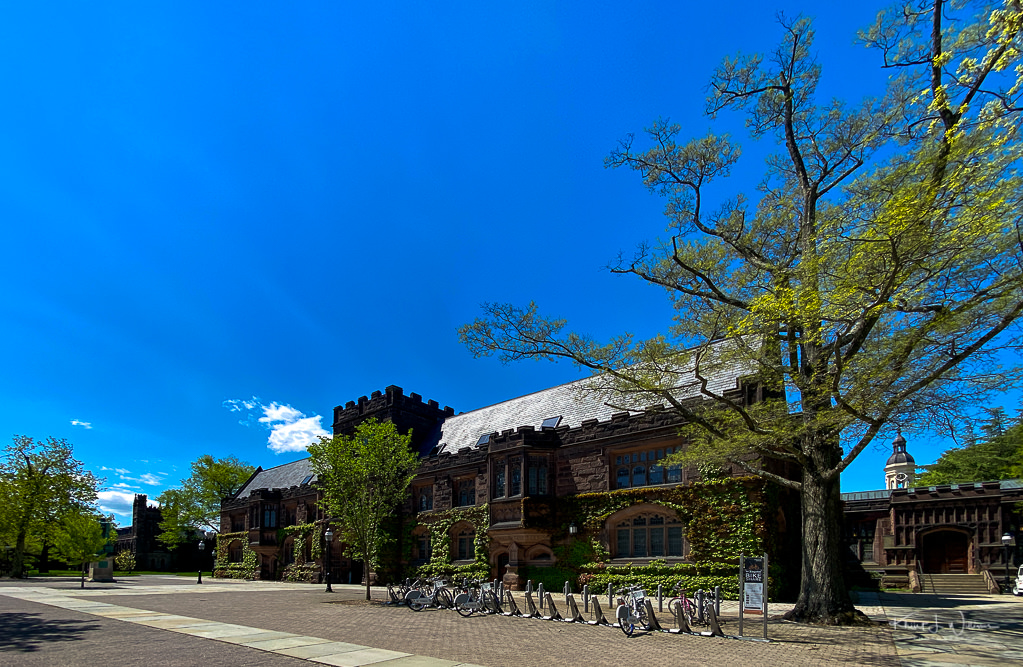
Any image will do, but I got the best results from simple images that contain one to three main colours. As the starting point for the twirl created in this blog post, I used one of my recent iPhone photographs of East Pyne Hall on the Princeton University Campus. Once you have selected an image open the image in Adobe Photoshop. NOTE: I am using Adobe Photoshop CC.
If any of this is unclear please let me know. I have screenshots of the menus that I hope to include in an update to this blogs post.